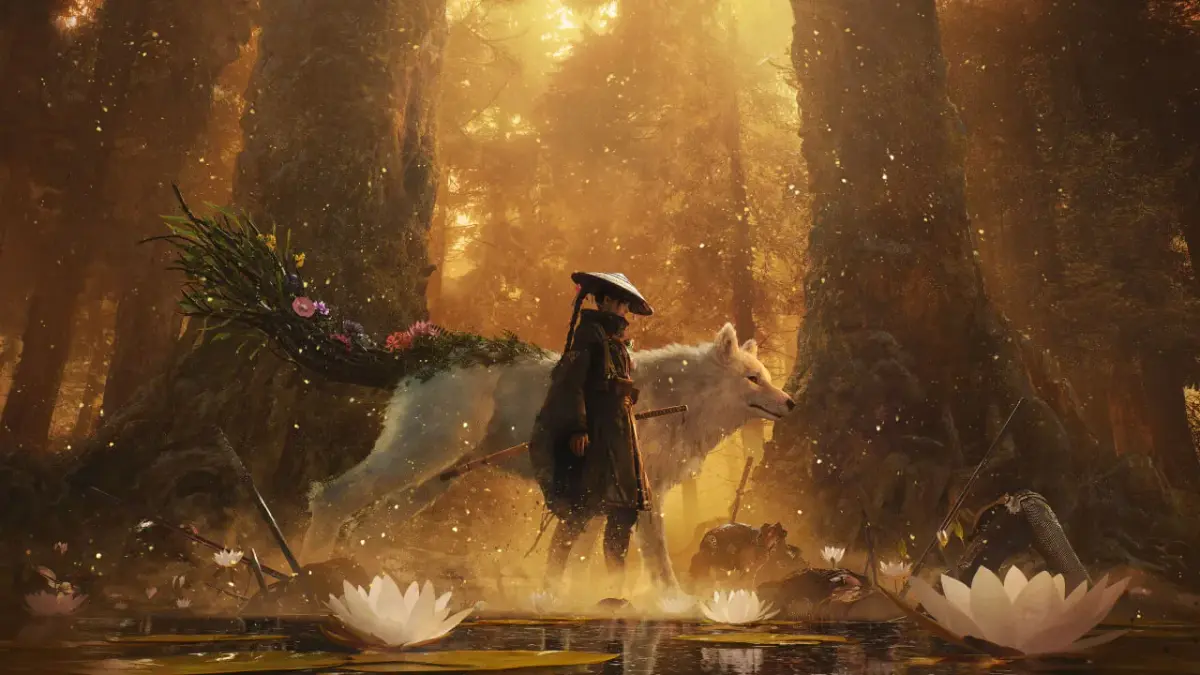
Welcome to Beast of Reincarnation, a 2026 action-adventure where you play as Emma, the Cursed, accompanied by her loyal dog Ku. Together, you'll navigate the ruins of post-apocalyptic Japan, a land overrun by monstrous creatures. Your journey will take you through a sinister, ever-changing world, from dense forests that have reclaimed the wastelands to unknown depths. As you progress, the bond between Emma and Ku strengthens, unlocking new, mysterious abilities crucial for survival.
This guide is here to help you conquer the challenges Beast of Reincarnation throws your way. We'll cover everything you need to know to succeed, from navigating the treacherous environments and understanding Emma's evolving powers to facing down the formidable monstrosities that inhabit this broken world. Get ready to forge a deeper connection with Ku and uncover the secrets of this cursed land.
Controls/Settings
Learn how to navigate Beast of Reincarnation with our comprehensive guide to controls and settings. Discover keyboard mappings, dialogue shortcuts, and combat speed options.
This guide covers the controls and settings for Beast of Reincarnation. The game offers limited settings, with the primary adjustable option being difficulty, which can be changed at any time. Difficulty affects only the damage taken by the player, not enemy health. The developers suggest that higher difficulties may increase drop chances, and playing on Hard is recommended for a challenge.
Controls are primarily shown for gamepads, but the following keyboard mappings are provided. Note that controls cannot be remapped.
Most actions can be performed with a mouse by clicking the on-screen button prompts.
| Action | Button |
|---|---|
| Close Game Instantly | ESC |
| Skip Dialogue (Fastest) | E |
| Auto-Dialogue (Waits for voice) | Q |
| Skip Dialogue Line & Proceed | Enter / F |
| Move to Next Chat (Line on screen) | Backspace / G |
| Dialogue History/Log | R |
| Movement | WASD |
| Change Look Direction | S / D |
| Strafe Right | E |
| Strafe Left | Q |
| Resize Map | T |
| Confirmation Button (Field Actions) | Enter / F |
| Speed Up Movement (Hold) | Backspace / G |
| Camp/Party Menu | R |
| Swap in Camp Menu Menus | 1 / 2 |
| Speed Up Skill Text Result (Combat) | E (up to 3 times) |
Skills/Stat details
Learn about Beast of Reincarnation stats like STR, VIT, INT, MIND, AGI, LUCK, and skill trees. Get recommendations for permanent stat item usage.
- 1Stats:
- STR (Strength): Governs physical damage, including the basic attack of mages. Affects skills with a 'sword icon'.
- 2VIT (Vitality): Determines PDEF (Physical Defense).
- 3INT (Intelligence): Governs magical damage for skills without a 'sword icon', but does NOT affect healing.
- 4MIND: Determines MDEF (Magical Defense).
- 5AGI (Agility): Affects battle speed. Not gained by leveling up; primarily found on gear.
- 6LUCK: Appears to influence critical hits, critical resistance, status infliction, and status resistance.
- 7HP: Rudeus (squishiest, needs more HP for bosses).
- 8SP: Rudeus or Ruijerd (more SP on Rudeus early, less useful late game when boss-focused).
- 9STR: Eris (primary damage dealer).
- 10VIT: Rudeus (reduces squishiness in boss fights).
- 11INT: Rudeus (no other character requires it).
- 12MND: Eris (squishiest defensively).
- 13AGI: Ruijerd (can be used in random encounters, unlike Rudeus who is often boss-only late game).
- 14Skills:
- Most skills are ACTIVE; few characters have passives.
- 15AP (Ability Points) can be farmed infinitely, and skills can be reset at any time, meaning AP is rarely a concern past mid-game.
- 16Skills typically require 2-3 levels to get the next one.
- 17The game displays skill power and SP cost before learning.
- 18'Ultimate skills' are unlocked in the second town, are powerful, cost little AP to learn, but consume 5 boost to use. They are more critical for certain allies.
- 19AoE (Area of Effect) skills generally start at 180 power and increase by 10 per level.
- 20Single target skills start at 250 power and increase by 10 per level.
- 21Everyone: Learn the 'interrupt' skills (second line from the bottom). The second skill in this line, which interrupts an enemy during their 'action' phase, is useful for preventing enemy actions. These have low AP costs and are worth acquiring early.
- 22Rudeus: Prioritize healing skills. Early on, avoid learning Earth and learn Water level 1 for easy spamming and synergy with an early water damage accessory. Water is also effective against early enemies.
- 23Eris: Maintain Crimson Slash for party profit, especially against fire-weak bosses. Exodus Slash is her primary damage skill unless the boss resists fire. Encouragement can be used to ensure Rudeus can heal if SP becomes an issue. Quick Attack and First Aid allow skipping turns to build boost for powerful skills.
- 24Ruijerd: The Charge > All out attack combo is essential for bosses. For regular encounters, Thrust level 1 (for SP efficiency) or an AoE skill are recommended.
- Character stats are fixed and cannot be customized beyond leveling and early accessories.
- Permanent stat items are a significant, though limited, way to boost characters.
- Skill mastery on accessories is the primary way to increase healing amounts significantly in the late game.
- Interrupt skills are universally useful for controlling enemy turns.
- Rudeus's Water magic is a strong early-game option due to its low SP cost and synergy with an early accessory.
Adventure Quests
Complete Beast of Reincarnation Adventure Quests in Rikarisu City, Sortia, and Wind Port. Unlock allies and progress the main story.
Adventure Quests in Beast of Reincarnation begin early in Rikarisu City. These quests provide clear objectives, making them generally easy to complete without extensive guidance. Many are integral to the main story, unlocking new dungeons and areas, while optional quests typically involve farming materials. Bosses encountered are rarely skippable as they often serve as prerequisites for further quest or dungeon unlocks. Special quest items are always marked on your (minimap (the small circular map in the bottom-left corner of your screen)) even if the (map) tile is unexplored, requiring you to visit the marked spot, which may involve a boss fight or simply trigger a (cutscene (a non-interactive cinematic the game plays automatically)).
Rikarisu City Quests:
Completing 15 Rikarisu City quests grants 100% reputation, unlocking Sylphiette as an ally. Some quests may also contribute to the 'my precious' quest chain.
- Find the missing pet - Unlocks access to other quests.
- Snacking on the Go - Requires x5 Treant Fruit, dropped by 'Stone Treant' enemies, most frequent in the first dungeon (Biegoya).
- Gather Firewood - Requires x5 Treant Wood, dropped by 'Stone Treant' enemies, most frequent in the first dungeon (Biegoya).
- Bugs Be-Gone - Requires Supia Grass from Vicious Wasteland Area 1, marked on the (map).
- Rats Run Amuck - Requires x5 Muck Rat Fur from Muck Rats in Burning Highway 1/2. Also harvestable in Area 2.
- Gift for My Girl - Requires Edranim Flower from Vicious Wasteland Area 2, marked on the (map).
- Water of Life - Requires Spring Flower from Sunschored Area 1, marked on the (map).
- Another Gift for My Girl - Requires Roderoa Root from Sunschored Area 2, marked on the (map). Requires completing quest 6 to appear.
- High-stakes Component - Requires a Full Wooden Box from a mini-boss fight in Vicious Wasteland Area 3, marked on the (map). Requires completing the 'Water of Life' quest and potentially a certain number of other quests. Beating this quest unlocks quests 10-12.
- Test For Contaminants - Requires x2 water quality samples from Sunschored Area 1 and Area 3, marked on the (map). Requires completing quest 9.
- A Cute Ribbon - Requires Albino Essence from Vacant Forest Area 1, marked on the (map). Requires completing quest 9.
- Forest Cartography - Requires 70% exploration of Vacant Forest Area 1. Requires completing quest 9.
- Yet Another Gift for my Girl - Requires x2 Lucky Fur from Lucky Rats in Outskirts Cavern dungeon. Likely autocompleted. Requires completion of quest 8.
- Present for my Precious - Requires Plump Liver from a boss fight in Vacant Forest Area 2, marked on the (map). Requires having completed the 'gift for girl' quest chain.
- Eliminate Contaminants - A mandatory main quest involving a boss fight in Sunscorched Valley 3, marked on the (map). Requires beating quest 10 to unlock.
- Seek and Subdue Mysterious Monster - A mandatory main quest in Petrified Forest with two boss encounters, one in Area 4 and another in Area 3 (accessed from Area 4).
Sortia Quests:
Completing quest 39 (or potentially a certain number of quests) unlocks Ghislaine as a playable character.
- Only Day Worth Fighting - Requires Hella Fruit from Tabbli Forest Area 1, marked on the (map). Unlocks quests 20-24.
- Gather Smelly Extract - Requires x3 Smelly Extract, a material drop from Giant Slugs in Tabbli Forest Area 1.
- Gather Bloodstained Stem - Requires x3 Bloodstained Stem, a material drop from Bloodspines in Tabbli Forest Area 2.
- Cave Cartography - Requires 50% exploration of Remote Cavern Area 1. Unlocks quest 25.
- Serpent Wine - Requires x3 Serpent Fang, a material drop from Megapygons in Remote Cavern Area 1/2. Megapygons only appear in Area 1 in locations inaccessible without visiting Area 2.
- Crafting Materials - Requires x3 Rabbit Foot, a material drop from Cave Rabbits in Remote Cavern Area 1/2.
- A Most Supreme Dessert - Requires x6 Dark Hide, a material drop from Deathworms in Remote Cavern Area 1.
- Rid Me of These Monsters! - Requires x6 Naughty Rat kills in Remote Cavern Area 1.
- Investigate the Forest's Monsters! - Involves a boss fight in Tabbli Forest Area 3, in the northernmost middle room with a chest. Unlocks quest 26.
- Tea Time with My Dear - A quest that autocompletes via (cutscene) dialogue. Unlocks quest 27.
- A Familiar Taste - Requires Pol Mushroom from Tabbli Forest Area 2, marked on the (map). Unlocks quests 28 and 31.
- An Acquired Taste - Requires x6 Frog Oil, likely already possessed from Nightjumpers in Tabbli Forest. Unlocks quest 29.
- Strange Taste - Requires x6 Dark Hide, obtainable from both Remote Cavern Deathworms and Forest Area Giant Boars. Unlocks quest 30.
- Bring Back the Old Taste - Requires Pol Mushroom from Tabbli Forest Area 2, in the same location as quest 27.
- Team Time with My Dear Once More - A quest consisting purely of dialogue.
- My Dear's Favorite Bloom - Requires Flikka Flower from Tabbli Forest Area 3, marked on the (map) during a regular encounter against 6 enemies. Unlocks quests 33 and 36.
- The Secret Spice - Requires Nahagano Leaf from Bisque Ruins Area 2, marked on the (map). Use NW stairs in Area 1 for fast access. Unlocks quest 34.
- Culling Their Numbers - Requires x5 Gas Slug kills, most common in Bisque Ruins Area 2. Unlocks quest 35.
- Looking For Skilled Adventurers - Involves a boss fight in Bisque Ruins Area 3, on the main path. Requires opening a door via two levels of NW/NE Area 2 to 3 stairs. Unlocks quest 38.
- Secure the Highway - Requires 60% exploration of Buried Highway Area 1. Unlocks quest 37.
- Spider Hunting - Requires x5 Black Widow kills in Buried Highway Area 2.
- Rare Eggs - Requires Crimson Egg from Buried Highway Area 2, marked on the (map) during a regular encounter against 3 enemies. Unlocks quest 39.
- Rarer Eggs - Requires Gigantron Egg from Buried Highway Area 3, marked on the (map) during a regular encounter against 2 Gigantrons.
Wind Port Quests:
Completing all Wind Port quests has no special effect and does not unlock new characters.
- Nutr - (Incomplete source data)
- Main Adventure Quests are often marked with an automatically updated quest goal on your (map) and (minimap).
- Pay attention to quest prerequisites, especially those requiring completion of previous quests in a chain.
- Material gathering quests often specify the enemy type and general area, but check your (minimap) for precise (waypoint (a marker on your map you've manually placed as a destination)) markers.
- Boss fights are common in Adventure Quests and are often required for progression.
- Exploration-based quests require a certain percentage of the area to be explored, indicated on your (map).
Accessory Enchanting + Bonus Tests
Learn how to effectively enchant accessories in Beast of Reincarnation, focusing on powerful bonuses like Double Attack, High Tension, and Mighty Blows for maximum combat advantage.
This feature unlocks early in your adventure, typically after completing quest 9 or 10. Accessory enchanting allows you to spend materials to insert special passive abilities into empty accessory slots. While you cannot insert into slots already filled by the accessory's default abilities, you can replace other existing enchantments. Note that there are no refunds for enchantments.
Initially, the available enchantments offer minor stat increases, such as STR for beast bangles or INT for Rudeus accessories. However, as you progress, these enchantments become significantly more impactful and can be game-changing.
Important Note: The exact same bonuses do not stack. This has been tested for damage-related effects and stats like EXP and critical hit chances on basic attacks.
Interesting/Strong Stuff: Many powerful enchantments require rare ingredients and are only craftable very late in the game. For practical purposes, the most valuable enchantments are Double Attack, High Tension, and Mighty Blows. High Tension is easy to craft, while Double Attack becomes farmable later. Mighty Blows is best acquired by purchasing a good accessory (like the Tyrant from the shop) which comes with an empty slot.
A potent combination for physical damage dealers is Double Attack + High Tension + Mighty Blows. This synergy makes basic attacks incredibly strong, ideal for quickly clearing random encounters with physical characters.
- Double Attack: Guarantees a double basic attack.
- High Tension: Doubles the damage of basic attacks when at full HP, often resulting in 3-4x damage. This bonus is applied before enemy DEF calculation, ensuring more damage bypasses defenses.
- Mighty Blows: Grants a +10% critical hit chance on basic attacks when at full HP. This is less high-stakes for characters like Ghis who already achieve 100% critical hit chance at full HP.
- Specific Element Mastery + Global Elemental Mastery: Specific element mastery (e.g., 15% Water) does not stack with itself, but a specific element mastery (15% Water) and a global elemental mastery (10% Global) do stack multiplicatively.
- Protection: Halves incoming damage. Does not stack. Useful for survival but rarely essential.
- Second Wind: Automatically revives the character with 50% HP once per battle upon death. Primarily a survival utility.
- Healer Spirit: Boosts the healing amount for healers.
- Encounter Ratio Changes: Can alter encounter rates and has some utility.
How Does This Work - Strong Stuff:
- Blitz: Offers a decent chance for the party to surprise the enemy in random encounters. This puts the enemy at a disadvantage, guaranteeing critical hits and allowing your party to act twice before the enemy. Combined with a party of three physical attackers, this can lead to instant wins in encounters without taking damage. Blitz does not seem to stack, and its chance appears influenced by the level difference between the party and the enemy; lower-level areas yield higher chances.
- Overactive: Provides two boosts instead of one, which is quite beneficial.
- Gold Bonus/Treasure Hunter: These bonuses apply if an ally is alive at the end of the battle. Treasure Hunter is highly recommended for consistent use.
- Bonus EXP/AP: AP provides a 50% bonus, and EXP provides a 20% bonus, both applied only to the character wearing the enchantment and only if they are in the active party. While not exceptionally strong, the EXP bonus can be useful.
How Does This Work - Not Strong Stuff: Most enchantments with unusual descriptions that are not mentioned above are generally not worth the effort. Effects that trigger below 20% HP are less effective than full HP bonuses. Abilities like SP Cut, Status Removal, Bulwark, Barrier, and post-battle heals are typically not recommended.
- Zero SP Cost: This enchantment appears to have a very small chance to make spells cost zero SP, or it may be bugged and do nothing at all. Its utility is limited, especially since SP is generally abundant in the game.
100% Human-Written. Community Verified. Learn how Ludo.guide verifies content