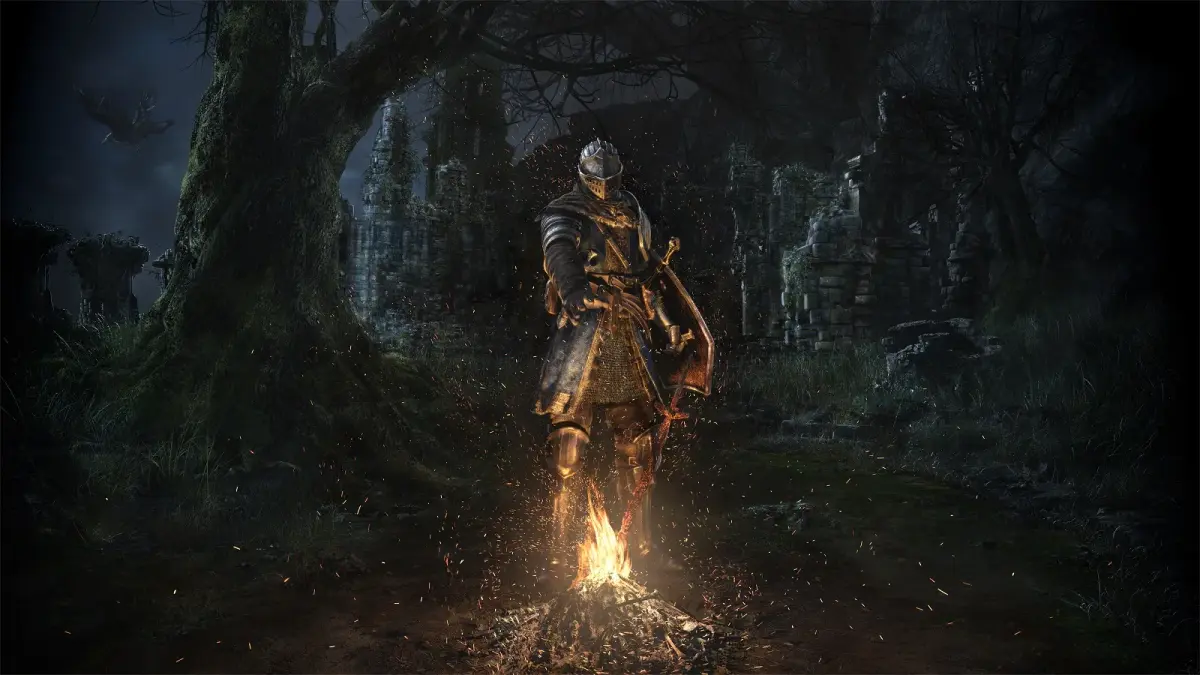
Welcome to Lordran, Undead. Dark Souls Remastered is a challenging action RPG where you'll explore a dark, decaying world, battling formidable foes and uncovering ancient secrets. Moment-to-moment gameplay involves careful combat, environmental exploration, and strategic resource management as you strive to become the Chosen Undead.
This guide is your companion through the unforgiving lands of Lordran. We'll help you conquer tough boss fights, including the infamous Ornstein & Smough, navigate treacherous areas like Undead Burg and Blighttown, and master essential mechanics like weapon upgrades with Andre. Get ready to overcome every obstacle.
Walkthrough
Your friendly guide to Dark Souls Remastered! We'll cover every area, item, and boss strategy, plus DLC and NG+ tips. Prepare to die... and learn!
Hey there! Enter the core of the guide. This section is where we'll really dive into the nitty-gritty of Dark Souls Remastered. Just a heads-up, we're going to be talking about pretty much everything – names, questlines, all of it. So, if you're trying to go in completely blind, maybe tread carefully!
Our plan is to journey through every area, snagging every item and figuring out how to take down all those tough bosses. We'll also point out when you can snag those Trophies and Achievements.
One super important thing to know: once you defeat the final boss, you'll automatically jump into New Game Plus (NG+). So, make absolutely sure you've wrapped up anything you wanted to do before that final fight. I'll give you a heads-up if you're about to miss something clutch, like a specific item or trophy.
We're also going to cover the DLC content, so don't worry about that!
To wrap things up, I'll add a little section about what to expect in NG+ and beyond. We'll also do a final round-up of things you might want to finish or double-check before heading into your next run, especially focusing on trophies and any other loose ends.
For easy spotting, all items, enemy descriptions, boss strategies, notes of interest, NPC questlines, and shops will be in bold. Shops will be presented in a table for quick reference.
At the end of most areas, I'll suggest recommended levels for the Bandit Class, which this guide is based on. If you're playing a different class, your stats might need to be different, but if you stick with the Bandit, these levels should serve you well. Of course, feel free to level up however you like!
Alright, enough talk. Let's get started!
Previous: Character Creation
Next: Undead Asylum
Character Creation
Choose your class and starting gift in Dark Souls Remastered. Learn about Warrior, Knight, Sorcerer, and more.
On the character creation screen in Dark Souls Remastered, you can name your character and customize their appearance. Gender has no effect on gameplay, nor do Sex, Face, Physique, Hair, or Colour choices.
There are ten classes to choose from:
Warrior: A balanced starting class with equal stats, minus some magic. Starts with a Longsword, Heater Shield, Hard Leather Set, and Standard Helm.
Knight: A heavier, more defensive class focused on close combat. Starts with a Broadsword, Tower Kite Shield, and the Knight Set.
Wanderer: A faster class focused on Dexterity. Starts with a Scimitar, Leather Shield, and the Wanderer Set.
Thief: A Dexterity-focused class using daggers for critical hits. Starts with a Bandit's Knife, Target Shield, Black Leather Set, and Thief Mask. The Thief class starts with the Master Key, allowing you to choose a different starting gift.
Bandit: A high Strength class. Starts with a Battle Axe, Spider Shield, and the Brigand Set.
Hunter: A Dexterity-heavy class efficient in melee and ranged combat. Starts with a Shortsword, Short Bow, 30 Standard Arrows, Large Leather Shield, and the Leather Set (no headwear).
Sorcerer: An Intelligence-focused class using sorceries. Starts with a Dagger, Small Leather Shield, Sorcerer's Catalyst, Sorcerer's Set, and the Soul Arrow sorcery.
Pyromancer: Focuses on pyromancies for offensive damage. Starts with a Hand Axe, Cracked Round Shield, Pyromancy Flame, Tattered Cloth Set, and the Fireball pyromancy.
Cleric: A Faith-heavy class using miracles for support and defense. Starts with a Mace, East-West Shield, Canvas Talisman, Holy Robe and Trousers, and Travelling Gloves. Starts with the Heal miracle.
Deprived: A challenging class with 11 in all stats, starting with a Club and Plank Shield, with no armour.
There are 8 starting gifts available (excluding choosing nothing):
- Divine Blessing x3
- Black Firebomb x10
- Twin Humanities
- Binoculars
- Pendant (no use, but can be traded for a Souvenir of Reprisal)
- Master Key (not needed if you pick Thief class)
- Tiny Being's Ring (provides a small HP boost)
- Old Witch's Ring (allows understanding of Quelaag's Sister)
For this guide, the Bandit class and the Master Key starting gift are chosen.
Undead Asylum
Navigate the Undead Asylum in Dark Souls Remastered with our comprehensive walkthrough. Learn enemy tactics, find key items, and defeat the Asylum Demon.
You begin the game locked in a cell. Pick up the item for the Dungeon Cell Key which will allow you to get the cell door and then run down the corridor. You may notice on the floor are orange lines. These are messages left behind by other players that usually give hints or some funny comment. However, in the Asylum, these signs are developer messages that will act as your tutorials as you navigate the asylum. In the corridor, you will run into the first enemy of the game.
--Hollow--
The Hollow is the most basic of enemies in the game. They are easily killable, provide minimal souls on death and do not drop anything. The ones in the asylum are also docile here and will not attack you on sight allowing the player to acquire some easy souls moving on. Later on, these hollows become more aggressive and will attack so buckle up.
Drops: N/A
Continue running down the hall and when you reach the square room with a hollow sitting in the water, exit to the far right. Climb up the ladder at the end of this tunnel and surface at the top into a courtyard. Here, there is a bonfire you can rest at. Bonfires are your checkpoints in this game. While your actions are currently limited, you can do several things at a bonfire later on like levelling up, attuning magic and offering humanity. It also resets all non-boss and non-special enemies every time you rest as well so make sure that resting at a bonfire does not cause a hindrance on you while using it. Resting at a bonfire will get you the Enkindle Trophy.
Open the door to enter a long room. After running partly through it, a huge demon will jump down and attack you. You can attack the boss now but it is very difficult at this stage considering all you have is a tiny sword. Instead, run through a gate that will open on the left hand side of the arena and run through. The gate will close behind you. Run down the stairs and rest at the bonfire here.
Run through the door on the left to find yourself in another long corridor. At the end of the hall is a Hollow Archer shooting at you. There is an item on the left here which you can pick up and hide in the room to avoid the Archer while you check in the item. This item is random depending on the class you chose at the start. Since this guide is following a Bandit class, this item is a Spider Shield. Make sure to equip it.
Now run up towards the Hollow. Since you now have a shield, you can block the incoming arrows as you run up the corridor. When you get close enough to the Hollow, it will run further down the corridor so you don't have to worry about it for the moment. Pick up the item at the end of the corridor. Just like the last item, this is a random weapon depending on your class and for the Bandit, this is the Battle Axe.
With your new weapon and shield equipped, run into the next corridor and kill the Archer here. Traverse the fog wall here to emerge on an upper balcony overlooking the courtyard. Run to the right and go down the staircase first. At the bottom is a door that could only be opened from this side (in typical Dark Souls fashion) and will serve as a shortcut later on in the game. Now return to the stairs and head up. About halfway up the stairs, a boulder will come crashing down and will destroy the loose wall behind you so make sure you get out of the way before it hits you.
Enter the broken wall and you will find a familiar face. This is Oscar who dropped the body in your cell earlier. Talk to him to learn a little about why you are here. He will then gift you the Estus Flask, a valuable healing item. You get five here and they refill whenever you rest at a bonfire so use them sparingly. You will also receive the Undead Asylum F2 East Key which will allows us to open a door further ahead. If you already killed the Asylum Demon before talking to Oscar, he will also give you the Big Pilgrim's Key which will claim the door at the back of the boss room. Acquiring the Estus Flask will get you the Estus Flask Trophy.
Go up the stairs now and kill the Hollow at the top and use the new key you got to open the door here.
--NOTE--
There is no item in this room unless you picked a Mage as your starting class. On the right wall will be a Pyromancy Flame or a Catalyst of some kind. If you are not one of the mage classes, there will be nothing here but you can pick up all of the Mage’s starting items later on in the game at some point if you want so don't worry about missing anything.
Down the corridor on the left are two Sword Hollows accompanied by an Archer Hollow. Try filter the Hollows one at a time out of the corridor so you won't get hit by the archer. Once both the Sword Hollows are dead, kill the Archer. The room in front of you leads to a dead end with a slightly tougher opponent here. You can ignore it if you wish or kill it for a couple extra souls. I will cover this enemy later on when we run into more of them. When you are ready, through the fog wall here will take you the very first boss of the game.
--BOSS: Asylum Demon--
The Asylum Demon is the very first boss of the game and therefore isn't too difficult. The Asylum Demon has only a few attacks at its disposal.
Hammer Swing
The Boss will swing its hammer across the room. Sometimes it may be a single swing or a double swing so stay wary of the second one should the boss decide to use it. Stay far enough away from it to avoid its attack or stay behind it. The swing also has a few variations. If you are behind the boss, he will angle the swing backwards to try and catch you. Strafe further behind it to avoid this attack. If you are in front, it will swing the hammer low to the ground. If you are hit by this, you will be juggled in the air and left open for a follow-up attack so keep that in mind.
Hammer Smash
The boss will also, on occasion, smash the hammer downwards into the ground. This attack is fairly telegraphed and a simple
Undead Parish
Navigate the Undead Parish in Dark Souls Remastered. Learn enemy strategies, find key items like the Basement Key and Halberd, and prepare for upcoming challenges.
- 1From the Undead Parish bonfire on the dragon bridge, head upstairs and defeat the Undead Soldier.
- 2Backtrack slightly and turn right into a room. Instead of going down to the Undead Rats, go up.
- 3Defeat the Greatsword-wielding Black Knight. Backstabs and strafing are effective. You will receive a Titanite Chunk and potentially its Greatsword.
- 4In the next area, you will encounter Armoured Tusks. These large boars have a lot of health and charge at you. Use the environment to your advantage. Some can be backstabbed. They drop the Fang Boar Helm.
- 5To progress, sprint right and up the stairs under the arches. At the top, run left, block arrows, and leap to the ground.
- 6Run past the large open gate (which a Hollow will close if you get too close) and kill any aggroed Hollows.
- 7The Basement Key is located on the stairs. At the top of these stairs, a Halberd can be found on the left. (Note: The Halberd is a powerful weapon for later use).
- 8Enter the building to face Balder Knights. These enemies are well-armored and strong. Be wary of Rapier Knights attempting to parry you; avoid attacking when they point their sword at you. They can drop various items including the Balder Shield, Balder Sidesword, Rapier, Buckler, Light Crossbow, Balder Set, Titanite Shard, and Large Titanite Shard.
- 9Bait out the two Sword Knights and one Rapier Knight to the left of the door one by one.
- 10Go outside and run up the stairs to the right. Defeat the Balder Knight on the thin walkway, followed by the Undead Spear Soldier at the end.
- 11Proceed through the door and turn right to kill an Undead Soldier.
- 12Descend the stairs and enter the long corridor. A Rapier-wielding Balder Knight is at the end. A Black Firebomb can defeat it in one hit. The reward is a Knight Shield.
- 13Return from the Knight and take the other exit. Ignore the fog wall and roll onto the lower walkway to find Alluring Skull x4.
- 14Defeat the Undead Soldiers on this walkway. Below is the Armoured Boar encountered earlier.
- 15Use the Alluring Skulls to lure the Boar into the fire below, dealing heavy damage. Alternatively, a plunging attack with the Drake Sword can nearly kill it. Finish it off if necessary.
- 16Clear any surviving Hollows and proceed down the stairs next to the Boar.
- 17In the following room, deal with several basic Hollows that attempt to swarm you.
- 18Head up the stairs. Behind a table at the back is the Mystery Key.
- 19Climb the ladder and kill any Hollows. Shimmy along the beam to acquire a Large Soul of a Lost Undead.
- 20Go up the ladder again and through the fog wall to reach the bridge jumped down from earlier.
- 21Backtrack to the narrow walkway where the Balder Knight and Undead Soldier were, then run across the bridge to a lower courtyard.
- 22Defeat the three Undead Soldiers in the courtyard.
- 23Enter the building. A new enemy will shoot magic from above on the left, and a Heavy Knight is on the right. Bait the Heavy Knight outside to avoid dealing with the magic-user. Heavy Knights are slow but tough, and do not respawn. They drop Titanite Shard, Large Titanite Shard, Tower Shield, Steel Set, Greatsword, or Greataxe.
- 24Pick up the Titanite Shard from the Heavy Knight's corpse and the Fire Keeper Soul behind it.
- 25Head up the stairs to the right. At the top, defeat another Rapier-wielding Balder Knight.
- 26The next area is filled with basic Hollows and the magic-user (Channeler) from before, who can buff enemies. Bait out the Hollows one by one.
- 27Once the Hollows are cleared, deal with the Channeler. These mages deal powerful magic attacks from a distance and can buff enemies.
- Backstabs are effective against the Black Knight.
- Use the environment to manage Armoured Tusks.
- Be cautious of parries from Rapier Knights.
- A Black Firebomb can one-shot the Rapier Knight in the long corridor.
- Alluring Skulls can be used to lure the Armoured Boar into environmental hazards.
- Bait enemies out one by one to avoid being overwhelmed.
- Titanite Chunk
- Greatsword (possible drop)
- Fang Boar Helm (possible drop)
- Basement Key
- Halberd
- Knight Shield
- Alluring Skull x4
- Large Soul of a Lost Undead
- Mystery Key
- Fire Keeper Soul
Similar guides you might like




100% Human-Written. Community Verified. Learn how Ludo.guide verifies content