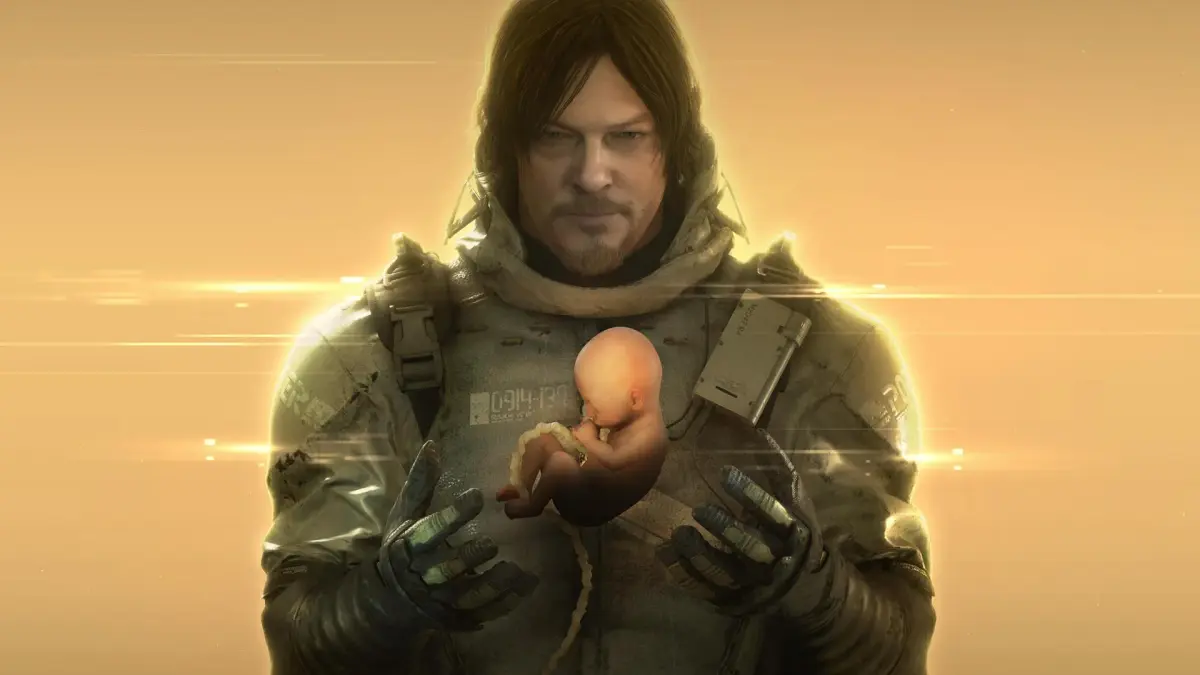
Welcome to Death Stranding Director's Cut, Kojima Productions' ambitious single-player experience where you play as Sam Porter Bridges, a delivery man tasked with reconnecting a fractured America. You'll traverse vast, hazardous landscapes, manage your cargo, and utilize a range of traversal tools to overcome obstacles. It's a story-rich, atmospheric journey with a great soundtrack, perfect for players seeking a unique and engaging challenge.
This guide is here to help you navigate the complexities of Sam's mission. We'll cover everything from establishing crucial network connections and understanding key NPCs to mastering optimal structure placement and facing down spectral threats like BTs. Whether you're aiming to achieve all Steam Achievements or simply want to ensure every delivery is a success, we've got you covered.
HUD Overview
A comprehensive guide to the Heads-Up Display (HUD) in Death Stranding Director's Cut, explaining blood, stamina, endurance gauges, and equipment menus.
The Heads-Up Display (HUD) in Death Stranding Director's Cut is designed to be minimalist and context-dependent, relying heavily on scanner data. Key information is presented through various gauges and menus accessible via the DPad.
DPad Menu: Located on the bottom left, this menu indicates the current use for directional buttons. Contextual hints appear at the bottom of the screen, tips on the right, and notices like likes received or status changes on the left, above the DPad menu.
Blood Gauge: This gauge, representing Sam's health, only appears when being depleted or refilled. Sam can lose approximately one liter of blood before dying. Blood can be restored using cryptobiotes, blood packs, or by sleeping.
Consciousness Gauge: A yellow bar that overlays the blood gauge. If this depletes, Sam will lose consciousness. It can be drained by holding your breath for too long or by certain enemy effects.
Stamina Gauge: A two-toned blue bar. The darker blue represents normal stamina, which can be refilled by drinking from your canteen or resting. A white overlay on the right end indicates depleted maximum stamina, making cargo carrying more difficult. Maximum stamina can only be restored by resting in a shelter.
Endurance Gauge: The lighter blue overlay on the stamina gauge. It depletes rapidly during strenuous activities like crossing rivers or climbing steep slopes. If it depletes, Sam may lose his balance. Standing still refills this gauge quickly, up to the current stamina level.
Equipment and Item HUDs: Selected using the DPad, these menus slow down time for easier selection.
- DPad Right (Tool HUD): Selects equippable tools or weapons.
- DPad Left (Items HUD): Selects consumable items.
- DPad Up (Equipment HUD): Swaps equippable items like boots, hats, and armor.
Within these HUDs, use the Right Analog Stick to navigate options. In the Tool HUD, selecting an item equips it. In the Items and Equipment HUDs, use X to select. Circle may be used to drop items. To unequip an item in the Tool HUD, select "Unequip." If there are too many options, press R3 (Right Analog Stick down) to access additional screens.
Walkthrough (Introduction)
Welcome to Death Stranding Director's Cut! Learn about the world, the role of porters, and your journey as Sam Porter Bridges in this introduction to the game's walkthrough.
Once, there was an explosion... a bang which gave birth to time and space.
Once, there was an explosion... a bang which set a planet spinning in that space.
Once, there was an explosion... a bang which gave rise to life as we know it.
And then came the next explosion.
Head into Death Stranding, the latest game from Kojima Productions. Since the fourth "explosion," the world has changed forever. As simple and common a thing as rain is now potentially deadly. There are no roads connecting cities anymore; forget about airplanes or the internet. A single corpse can spell doom for an entire population. Humankind is disconnected, hunkered down for survival, caught between a forgotten past and an uncertain future.
In this world, a small package can mean the difference between life and death--or between mere survival and a life worth living. Enter the porters, brave souls who traverse the rough terrain between far-flung settlements. They bring medicine, supplies, and most importantly hope to the scattered remnants of humanity.
You play as Sam Porter Bridges, the "Legend," one of the finest porters to have ever crossed the ruins of what was once the United States of America. There are many reasons Sam is so good at his job, but maybe the biggest is his sheer perseverance. He just keeps putting one foot in front of the other until he reaches his destination. Deadly rain, strange monsters, rival porters--nothing is going to stop him from getting where he's going, on time, with (hopefully) undamaged cargo.
Unless the player accidentally hits the wrong button and, say, tries to punch something instead of grabbing a rope, thus causing Sam to fall headlong off a cliff. One could say the true obstacle to a potentially bright future for humanity is the player's ability to navigate the game controls. No pressure or anything!
Likes and Porter Grade
Learn how to maximize your Likes in Death Stranding Director's Cut across Bridge Link, Cargo Condition, Volume, Time, and Misc. Discover Porter Grade bonuses and titles!
Alright, let's talk about how you get recognized in the world of Death Stranding Director's Cut. You know how in other games you get XP? Here, it's all about Likes. Think of them as your experience points, but way more personal. You rack 'em up by doing deliveries and generally being a good porter. These Likes get sorted into five main categories, and leveling them up actually unlocks some sweet bonuses for Sam. You'll get a new bonus every time you hit a multiple of ten in any category (like 10, 20, 30, and so on).
Here’s the breakdown of those categories:
- Bridge Link: This is your online connection. You’ll earn Likes here by helping out other players – maybe by moving their lost cargo or contributing materials to structures they're building. Plus, any Likes other players send your way for your own structures count too!
- Cargo Condition: This one’s all about how pristine your packages arrive. The less damaged your cargo is, the more Likes you’ll get. Especially if you're delivering something fragile or a delivery specifically requires minimal damage, you can get a huge Like boost for keeping it in perfect shape.
- Delivery Volume: This is pretty straightforward – it’s the sheer amount of cargo you haul. If a delivery asks for a certain weight or number of packages, going above and beyond that minimum will net you some serious Likes in this category. For example, hitting Grade 10 here bumps Sam's maximum cargo capacity from 120kg to 125kg.
- Delivery Time: This category focuses on speed. Early in the game, it can be a bit tricky to level up since you don't seem to get many Likes unless you're on a timed delivery. So, keep an eye out for those time-sensitive missions!
- Miscellaneous: This is the catch-all, and honestly, it's the easiest one to boost. Pretty much every delivery you complete will throw some Likes your way in this category. If you're ever struggling here, just focus on deliveries with no special requirements – they're more likely to contribute to Miscellaneous Likes. A nice little bonus at Grade 10 is that you'll simply receive more Likes overall.
Now, your Porter Grade is basically your overall level, and it’s the combined score from all five Like categories. As your Porter Grade goes up, you’ll earn new titles and get a new portrait for Sam, showing off just how awesome you’ve made him as a delivery person. You’ll start as a 'Porter' (Levels 1-14), then become a 'Handler' (Levels 15-30), and eventually a 'Skilled Handler' at Level 31 and beyond.
Controls
Learn all the button mappings and actions for Death Stranding Director's Cut. Master movement, scanning, combat, and inventory management with this essential guide.
Alright, let's get you squared away with how to actually *move* and *interact* in Death Stranding Director's Cut. It might seem a bit overwhelming at first, but once you get the hang of these controls, you'll be navigating the treacherous landscape like a seasoned porter. Think of this as your cheat sheet for Sam's every move.
| Main Controls | |
| Button | Action |
| Left Analog Stick | This is how you move Sam around. What's cool is that it's sensitive to pressure – push harder and Sam walks faster, ease up and he'll move more slowly. Perfect for sneaking or when you're carrying a lot of fragile cargo. |
| L3 (Press down on Left Analog) | Hit this to make Sam run. You can also use it to give any equipment Sam's wearing a little boost. Handy when you need to make up time or want to get away from a sudden BT encounter. |
| Right Analog Stick | This one's for the camera. Pan around, get a better look at your surroundings, or check out that scenic vista. |
| R3 (Press down on Right Analog) | This is a neat trick: press it down to switch the camera view between Sam's right and left sides. Super useful when you're squeezing through tight spots or trying to get a better angle on something. It also zooms in when you're using the compass or a Waystation. |
| L1 | Pull up your compass. This also opens up a sub-menu where you can do things like look down to check on BB. Essential for keeping your little cargo safe and sound. |
| R1 | Time to scan! This uses your Odradek scanner to highlight cargo, structures, and other points of interest. It also shows you a quick overlay of terrain steepness nearby. Keep in mind, the scan is directional, so you might need to sweep it around a bit to get a full 360-degree view. Oh, and holding this down covers Sam's mouth – he'll hold his breath, which can help with noise, but he'll eventually have to gasp for air, making a big racket. So use it wisely! |
| L2 | This is your Left Hand Action. You can use it to grab things, but more often it's for tilting Sam's weight to his left. If you're caught in a river, this helps you paddle left. It's also what you use to ready your weapons and grenades. |
| R2 | Your Right Hand Action. Similar to L2, but for the right side. The big difference? If you've got a weapon or grenade ready, R2 is what you use to fire it or throw it. |
| L2+R2 | This combo isn't always obvious, but it's a lifesaver! Sam will grip the front of his backpack straps. This is HUGE for maintaining balance on steep slopes, if you are going up or down. It also helps you slow down or stop if you're skidding and can give you extra grip when you're wading through rivers. Don't underestimate this one! |
| DPad Up | This lets you select equipment you can wear – think boots, hats, glasses. It's also how you equip things like sandalweed, which can be a lifesaver for your feet and helps reduce noise. |
| DPad Down | On its own, this doesn't do much, but it's context-sensitive for
Similar guides you might like100% Human-Written. Community Verified. Learn how Ludo.guide verifies content |