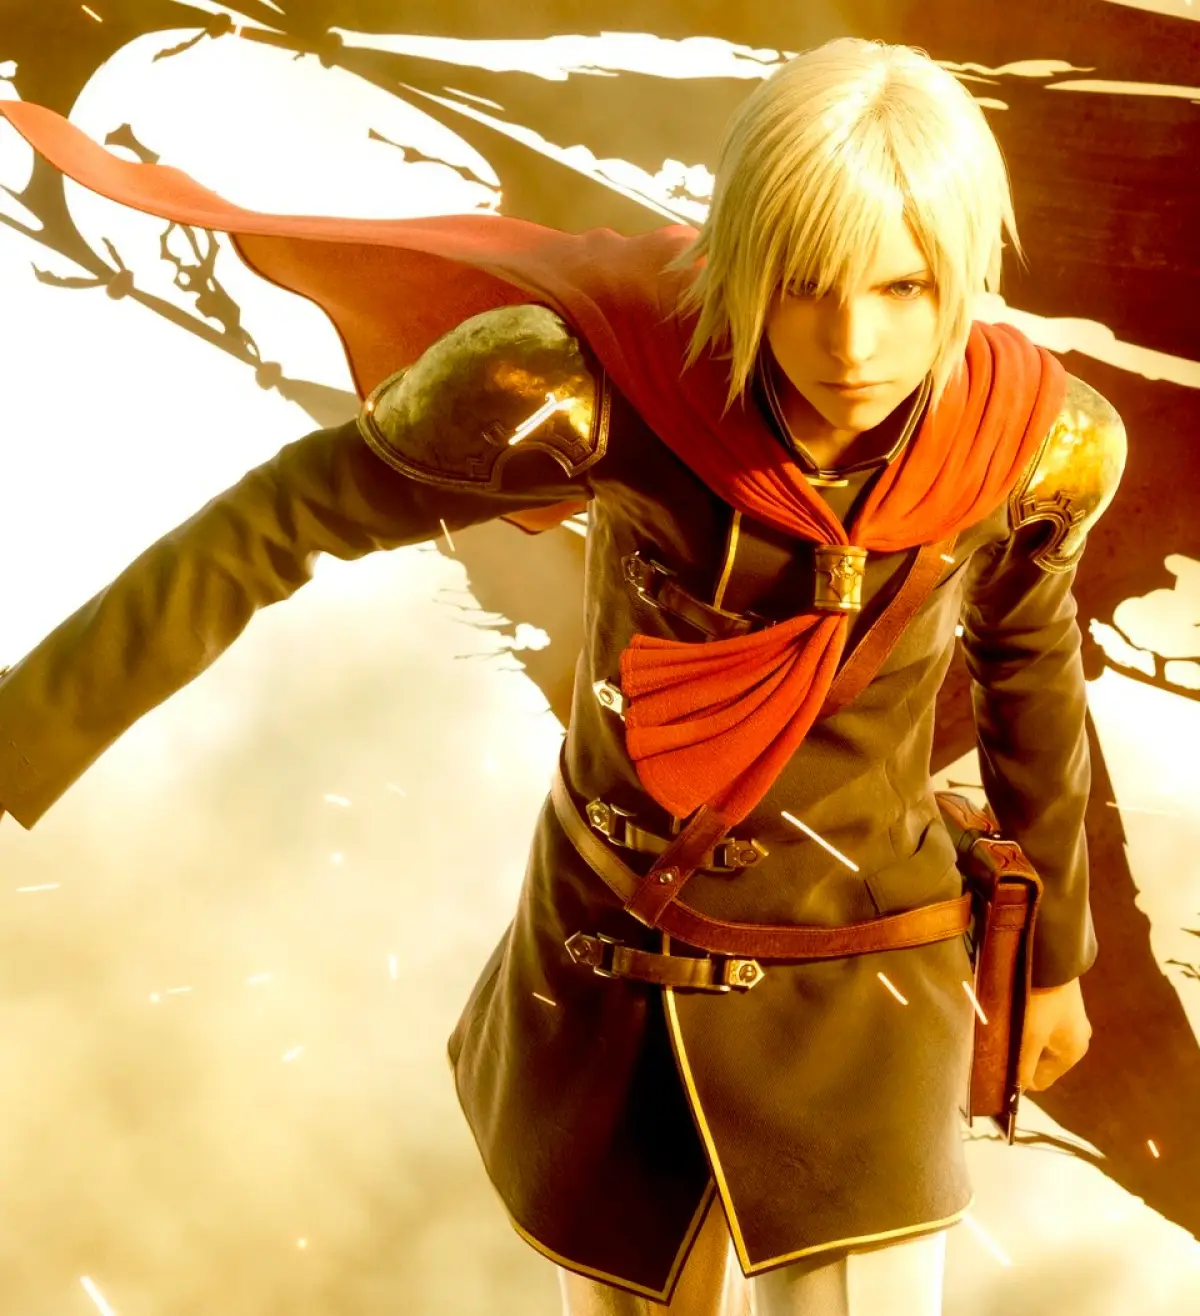
Welcome to Final Fantasy Type-0 HD, a fast-paced action RPG where you command Class Zero, a group of 14 students from a prestigious military academy. You'll navigate treacherous missions across the Dominion of Eug, mastering each character's unique abilities and fighting for survival in a world consumed by war. It's a story-rich experience with a fantastic soundtrack, perfect for players who enjoy deep combat and a compelling narrative.
This guide is here to help you conquer every challenge Type-0 HD throws your way. We'll cover navigating the game's missions, mastering the diverse character abilities, and achieving the coveted Gold Medals in combat. Whether you're aiming for all the Steam Achievements or just trying to survive the brutal onslaught of bosses like the Ultima Dragon, this guide will equip you with the knowledge to succeed.
Intro
Welcome to Final Fantasy Type-0 HD! This guide covers essential controls, combat basics, and menu navigation to get you started on your journey through Class Zero.
Hey there! So you're diving into Final Fantasy Type-0 HD? Awesome! This guide is here to make sure you're not completely lost when you first boot up the game. Think of me as your friendly guide, helping you get the hang of things before you jump into the thick of it with Class Zero.
This game originally came out on the PSP, and this HD version is a fantastic way to experience it. Since it didn't get an official English release back in the day, finding info could be a pain. But don't worry, I've played through it and gathered everything you need right here, using the official HD version's terms so you're all set.
We'll cover the controls first – they're pretty important, obviously! You'll see a breakdown of what each button does, both when you're out exploring and when you're in the heat of combat or navigating menus. Pay close attention to the field and combat controls; getting these down will make your life a lot easier.
Controls Overview:
Here's a quick look at what your buttons do:
| Button | Field and Combat Control | Menu Control |
| L | Cancels Charged Attack | Tabs Left |
| R | Resets Camera View | Tabs Right |
| D-pad | Moves Camera | Highlights Sub Menu |
| Circle | Command 1, Talks / Inspects | Selects |
| Triangle | Normal Attack | Shows Extra Info |
| Square | Command 2 | - |
| X | Defense Command | Returns to the previous menu |
| Select | Uses Equipped Item | - |
| Analog | Moves Character | - |
| Analog + X | Dodge Roll | - |
| L + R | Sheathe / Unsheathe | - |
| Hold L | Shows Sub command | - |
| Hold L + Up D-pad | Calls Back Up | - |
| Hold L + Left / Right D-pad | Switches Character | - |
| Hold L + Down D-pad | Views S.O. (Special Order) | - |
| Hold R | Lock-On | - |
| Hold R + D-pad | Changes Lock-On Target | - |
| Hold R + Circle/Triangle/Square | Absorbs Phantoma | - |
| Circle + Triangle | (Unlocks in Chapter 3) | - |
| Square + X | (Unlocks in Chapter 2) | - |
| Start | Opens Menu | Closes Menu |
Necessary control adjustment:
Now, listen up – this is a pro tip! The default 'Hold R' to lock-on can feel a bit clunky. I *highly* recommend changing this to 'Press R'. It makes targeting so much smoother in combat. Here's how the 'Press R' settings work:
| Setting | Action |
| Activates Lock-On | Hold the R button for about 1 second |
| Switches between targets | While activating Lock-On press the left or right d-pad |
| Switches to the closest enemy | While activating Lock-On press the up d-pad |
| Switches to the closest item / dead enemy | While activating Lock-On press the down d-pad |
| Deactivates Lock-On | While activating Lock-On press the R button |
Trust me, making this small change early on will save you a lot of frustration. Getting used to these controls is the first step to mastering Class Zero. Let's get you ready for Chapter 1!
Intro (2)
Learn the essential controls for Final Fantasy Type-0 HD, including field, combat, menu navigation, and recommended lock-on adjustments for optimal gameplay.
This guide covers the controls for Final Fantasy Type-0 HD. It details button mappings for both field and combat actions, as well as menu navigation. It also provides a recommended adjustment for the lock-on system to enhance gameplay.
Field and Combat Controls:
| Button | Field and Combat Control |
|---|---|
| L | Cancels Charged Attack |
| R | Resets Camera View |
| D-pad | Moves Camera |
| Circle | Command 1, Talks / Inspects |
| Triangle | Normal Attack |
| Square | Command 2 |
| X | Defense Command |
| Select | Uses Equipped Item |
| Analog | Moves Character |
| Analog + X | Dodge Roll |
| L + R | Sheathe / Unsheathe |
| Hold L | Shows Sub command |
| Hold L + Up D-pad | Calls Back Up |
| Hold L + Left / Right D-pad | Switches Character |
| Hold L + Down D-pad | Views S.O. (Special Order) |
| Hold R | Lock-On |
| Hold R + D-pad | Changes Lock-On Target |
| Hold R + Circle/Triangle/Square | Absorbs Phantoma |
| Circle + Triangle | (Unlocks in Chapter 3) |
| Square + X | (Unlocks in Chapter 2) |
| Start | Opens Menu |
Menu Controls:
| Button | Menu Control |
|---|---|
| L | Tabs Left |
| R | Tabs Right |
| D-pad | Highlights Sub Menu |
| Circle | Selects |
| Triangle | Shows Extra Info |
| X | Returns to the previous menu |
| Start | Closes Menu |
Necessary Control Adjustment:
It's recommended to change the Lock-On setup from "Hold R" to "Press R". This allows you to lock-on without continuously holding the R button.
Hold R Settings:
| Activates Lock-On | Hold the R button |
| Switches between targets | Hold the R button and press the left or right d-pad |
| Switches to the closest enemy | Hold the R button and press the up d-pad |
| Switches to the closest item / dead enemy | Hold the R button and press the down d-pad |
| Deactivates Lock-On | Release the R button |
Press R Settings:
| Activates Lock-On | Hold the R button for about 1 second |
| Switches between targets | While activating Lock-On press the left or right d-pad |
| Switches to the closest enemy | While activating Lock-On press the up d-pad |
| Switches to the closest item / dead enemy | While activating Lock-On press the down d-pad |
| Deactivates Lock-On | While activating Lock-On press the R button |
Note: The HD version has slightly different button controls, so adapt to those instead of the ones listed here.
Chapter 1
Master Final Fantasy Type-0 HD's first mission, The Akademeia Liberation. Learn strategies for S Rank, boss fights against Dainsleif, and item collection.
Start a new game and watch the opening cutscenes. You won't understand all of them, but that's okay. After long cutscenes, which can be skipped if you press the start button, you are automatically taken to the first mission.
The Akademeia Liberation
This mission is the first mission in game, and it also serves as tutorials. Follow each tutorial, explore each area, defeat all enemies, and pick up all items (Potion, Knowing Tag, etc). Clearing every area without casualties should be relatively easy. Life Armlet revives your characters when they die, but it increases casualties count and affects the Report Card in the end of this mission.
I found a strange glitch which happened at Area 7 after having put the Magicite. When I was moving south after having touched the Recovery Portal, an explosion happened and then all character and enemy's visuals were somewhat "vanished", leaving only silhouettes and shadows on the ground. Since I wasn't able to observe clearly, I wasn't able to make a proper decision to dodge at the right time, and I wasn't able to even properly lock-on (and switch). I just pushed the attack buttons blindly and relied on luck to avoid damage. Fortunately, after a few attempts, I could defeat the boss without any casualty.
After returning to Area 4, your Life Armlet will be shattered, so you can't revive your character anymore. Proceed to finish this mission without being killed. Dainsleif wait for you at the Arena, and you fight her twice.
- As Odin, charge up Zantetsuken until the percentage above its head goes to 100%, and then release it to OHKO the boss.
- As Party Members, play as Ace and spam cards while dodging all beams. Keep spamming cards until her health is completely depleted, then switch control to Seven or Jack and deliver the finishing blow.
If you defeat her without any casualty, you can watch a short scene of Ace, Jack, and Seven, who are exhausted after defeating the boss. Jack and Seven are melee fighters, and the game's AI really sucks, so I select Ace to prevent any casualty. Once this mission is completed, you will receive your Report Card. This report was my first report card.
| Report Card (First time) | |
| Playthrough Time | 23:40 | E |
| Phantoma Harvested | 40 | A |
| Casualties | 0 | A |
| Mission Grade | B |
| Mission Bounty | 3,059 Gil |
| Mission Reward | X-Potion x1 |
Turn left and approach a big door to complete this chapter.
If you want to do a real challenge, start the game from scratch and try to achieve S Rank in this mission because it's unreplayable in the entire playthrough. Before doing the real attempt, you have to memorize the entire mission, or at least what you need to do until the next save point. Mission time is stopped when you open Relic Terminal's menu, so you can save your game leisurely. S Ranking this mission is proved to be quite hard for first time players; I made countless attempts in 3 real-life days before finally succeeded.
- Previous: Intro
- Next: Chapter 2 Free Time 1
Chapter 1 (2)
Your first mission in Final Fantasy Type-0 HD, 'The Akademeia Liberation,' is a tutorial. Learn how to get an S Rank and defeat Dainsleif!
Alright, so you've just started up Final Fantasy Type-0 HD and watched those opening cutscenes. Don't worry if they don't make perfect sense right away – that's totally normal! Once those scenes wrap up (you can skip them by hitting Start if you're eager to jump in), you'll be thrown straight into your very first mission.
This first mission is called The Akademeia Liberation, and it's basically your tutorial for everything. The game's gonna walk you through the basics, so just follow along with each prompt. Make sure to explore everywhere, grab all the items you see – like Potions and Knowing Tags – and defeat every enemy. Clearing each area without any of your party members falling should be pretty straightforward.
Now, you'll have a Life Armlet early on. This thing is super handy because it'll revive a character if they fall in battle. BUT, and this is a big 'but,' using it adds to your 'casualties' count, which messes with your final mission score. So, try your best to avoid needing it!
I actually ran into a weird glitch in Area 7 after placing the Magicite. When I moved south from the Recovery Portal, there was this explosion, and suddenly all the character and enemy visuals just vanished, leaving only these spooky silhouettes and shadows. It made it really hard to see what was going on, dodge attacks, or even lock onto enemies. I just ended up mashing the attack buttons and hoping for the best. Thankfully, I managed to beat the boss without anyone dying, even with the visual chaos!
After that, you'll head back to Area 4. Your Life Armlet will break after this point, so from here on out, you absolutely cannot afford to have anyone die. You'll then proceed to the Arena to face Dainsleif. You actually fight her twice!
- First Fight (as Odin): This is pretty simple. Just charge up Odin's Zantetsuken attack until the gauge above the boss's head hits 100%, then unleash it. It's an instant kill!
- Second Fight (as Party Members): You'll control your main party here. I highly recommend playing as Ace and just spamming his magic attacks while dodging Dainsleif's beams. Keep peppering her with spells until her health is gone. Then, quickly switch to Seven or Jack to land the final blow. I found Ace to be the safest bet to avoid casualties, especially since the AI for Jack and Seven isn't the greatest.
If you manage to beat her without any casualties, you'll see a cool little scene with Ace, Jack, and Seven, totally wiped out but victorious. This mission is your first Report Card, and here's what mine looked like:
| Report Card (First time) | ||
| Playthrough Time | 23:40 | E |
| Phantoma Harvested | 40 | A |
| Casualties | 0 | A |
| Mission Grade | B | |
| Mission Bounty | 3,059 Gil | |
| Mission Reward | X-Potion x1 |
Once the mission's done, just turn left and head towards the big door to finish the chapter.
Now, if you're looking for a *real* challenge, you can restart the game and aim for an S Rank on this mission. It's the only mission you can't replay later, so getting it perfect the first time is a huge accomplishment. It's tough, though! You'll need to memorize the whole thing or at least know what you're doing up to the next save point. Pro tip: Mission time pauses when you open the Relic Terminal menu, so you can save whenever you need to. I spent three days and countless tries before I finally nailed that S Rank!
Similar guides you might like




100% Human-Written. Community Verified. Learn how Ludo.guide verifies content