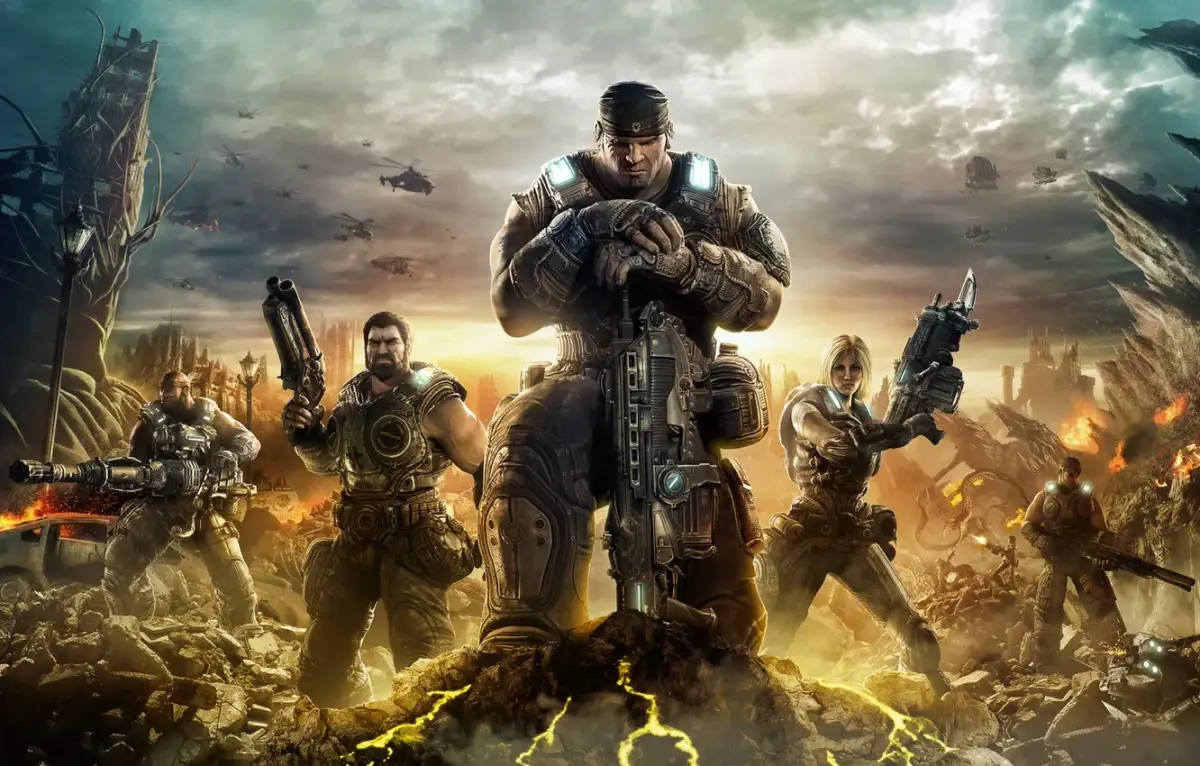
Welcome to Sera, soldier. Gears of War 3, the epic conclusion to the original trilogy from Epic Games, throws you into the boots of Delta Squad as they fight for humanity’s survival against the Locust Horde and a new, terrifying threat. This Xbox 360 exclusive is a cover-based third-person shooter where every moment is a desperate struggle. You’ll be diving between cover, executing brutal melee attacks, and managing your ammo as you push through war-torn cities and desolate landscapes.
This guide is your ticket to mastering every aspect of escaping Sera. We’ll cover essential combat techniques, help you track down every collectible hidden throughout the campaign, and provide chapter walkthroughs to conquer every mission. From your initial steps to advanced tactics, we'll help you uncover every secret the desperate world holds and conquer the Swarm.
BOOSTING GUIDE?
Struggling to unlock characters and Onyx Medals in Gears of War 3? This guide helps you find the fastest methods to achieve those tough unlocks and master the game.
Hey there! So you're looking to get those sweet unlocks in Gears of War 3, huh? I get it, some of those Onyx Medals and characters can feel like a real grind. Don't worry, I'm here to help you figure out the quickest ways to snag 'em. I might not have Seriously 3.0 myself yet, but I'm all about finding the most efficient paths to Onyx. If you're finding it tough, let me know – the more people ask, the more I'll focus on putting together the best boosting strategies for everyone.
This guide is basically a roadmap to help you navigate through all the different sections of the game and its content. We'll be covering a lot, from the game's history and basic controls to a full walkthrough of every act and DLC, plus a breakdown of all the weapons you'll be using.
[HIS00]
Follow Marcus Fenix's journey from a prison break to facing off against General RAAM in Gears of War 3. This guide breaks down the key events and characters.
Alright, so you're diving into Gears of War 3, huh? This section is gonna walk you through the main story beats, from Marcus Fenix's rough start to the big showdowns. Think of it as a rundown of the epic journey you're about to embark on. We'll cover the major plot points, the characters you'll meet, and the enemies you'll face.
- 1Prison Break and Locust Onslaught: You kick things off as Marcus Fenix, who's in jail for abandoning his post. The prison is under attack by the Locust Horde. Luckily, your buddy Dominic Santiago busts you out.
- 2Reuniting the Squad: After escaping, you and Dom link up with Colonel Victor Hoffman, Captain Mihn Young Kim, and Private Anthony Carmine. You learn about the 'resonator' needed to map the Locust underground for a Lightmass bomb attack. You'll also meet Augustus 'Cole Train' Cole and Damon Baird.
- 3Ambush and New Threats: Captain Kim is killed in an ambush by General RAAM, the main villain. You'll fight through enemies like Berserkers and Kryll (flesh-eating bats). Later, you'll encounter Lambent Wretches in the underground tunnels, which explode when they die.
- 4The Resonator and a Setback: You plant and activate the Resonator near an imulsion pump station, but the intel gathered isn't enough for a full attack. Baird helps find a device that maps the entire underground, leading you through locations like East Barricade Academy and The Fenix Estate.
- 5Confronting RAAM: You finally reach a train station with the Lightmass bomb and face General RAAM, the killer of Adam Fenix and Lt. Kim.
- 6The Lightmass Bomb and Aftermath: After defeating RAAM, Marcus sets the bomb to explode in an ocean of Imulsion, barely escaping with Hoffman's help. This significantly damages the Locust horde.
- 7Gears of War 2 - The All-Out War: The story shifts to Gears of War 2. You're at a hospital dealing with injured soldiers and Rust Lung. Marcus and Dom are back, joined by Benjamin Carmine and Tai Kaliso.
- 8Rallying the COG: COG Chairman Richard Prescott rallies the troops for a final assault on the Locust, who have returned stronger. You'll use massive 'Derrick' trucks for the attack on Landown.
- 9New Allies and Enemies: Along the way, you'll meet up with Cole, Baird, and Dizzy Wallin. In a graveyard, you face a new leader, Skorge. Tai and Dizzy hold him off while Marcus and Dom head underground.
- 10The Riftworm and Underground Dangers: Underground, you discover a giant Riftworm is causing cities to sink. You find Tai tortured and later get swallowed by the Riftworm yourself, losing Ben Carmine in the process.
- 11Seeking Nexus: After escaping the Riftworm, you're tasked with finding information on the Locust stronghold, Nexus, at an abandoned research facility, where you encounter experimental creatures.
- Pay attention to dialogue; it often reveals make-or-break plot points and character motivations.
- The Locust are relentless, so always be aware of your surroundings and use cover effectively.
- New enemy types, like the Lambent Wretches, introduce new mechanics – learn their weaknesses quickly.
- General RAAM is a tough boss; learn his attack patterns and exploit any openings.
- In Gears of War 2, the scale of the conflict is massive. Use the environment and any available vehicles to your advantage.
[GAM00]
Learn all the button mappings for Gears of War 3, including A, B, X, Y, Left Stick, Right Stick, Left Button, and Right Button for movement, combat, and special actions.
This guide covers the essential button mappings and controls for Gears of War 3, detailing how each button contributes to movement, combat, and interaction within the game.
| Action | Button |
|---|---|
| Overall Move Button (Cover, Vault, Roll, Roadie Run) | A Button |
| Melee Attack / Tag Environment (Grenades) | B Button |
| Use (Open Doors, Pick Up Ammo, Press Buttons) / Meat Shield | X Button |
| Hold for Points of Interest / Special Executions | Y Button |
| Character Movement / Crouch in Cover / Spotting Enemies | Left Stick |
| Camera Movement / Aiming / Zooming (with certain weapons) | Right Stick |
| TAC/COM (Locate Squadmates) | Left Button |
| Reload Weapon / Cool Down Turret | Right Button |
Detailed Button Functions:
- A Button: Your all-in-one move button. Hold A to roadie run. Tap A while holding the Left Thumbstick in any direction to roll. Tap A near cover to enter cover. Hold forward on the Left Thumbstick while holding A near cover to vault over or roadie run out of it.
- B Button: Used for melee attacks with most weapons. Heavy weapons cannot be meleed. If holding a grenade, you can tag the environment for proximity mines or tag enemies/players.
- X Button: Your 'Use' button. Used for opening doors, picking up ammo, and pressing buttons. In Gears of War 3, it's also the Meat Shield button; press X to pick up an enemy and use them as a shield, then press X again to snap their neck.
- Y Button: At certain campaign points, you'll need to hold Y for points of interest. Y is also used for special executions.
- Left Stick: Used for moving your character. Pressing the Left Stick while in tall cover makes you crouch. A new feature in Gears of War 3, 'Spotting', allows you to mark an enemy for teammates by pressing the Left Stick while aiming at them.
- Right Stick: Used for moving the camera and the aiming reticule while holding the Left Trigger. With certain weapons, pressing the Right Stick provides enhanced zoom.
- Left Button: Activates your TAC/COM, used to locate squadmates.
- Right Button: Reloads your weapons or cools down a turret. The 'Active Reload' feature, present since Gears of War 1, allows for a damage boost or faster reload if the Right Button is pressed again at the right moment when the indicator shows. Pressing it at the wrong time can result in a jammed reload.
| B |W|G | B |
Learn how to master the reload mechanics in Gears of War 3. Understand Black, White, and Grey areas to gain damage boosts and faster reloads.
Alright, let's talk about something super important in Gears of War 3 that can really make or break your firefights: the reload mechanics. It's not just about mashing a button when your clip's empty; there's a bit more to it, and understanding it will seriously up your game.
Basically, when you're reloading, you'll see different colored areas pop up on the reload bar. These are:
- B = Black Area: If you hit the button when the indicator is in the black zone, you'll get a jammed reload. This means it takes longer, which is the last thing you want when enemies are bearing down on you. Avoid this at all costs!
- W = White Area: This is the sweet spot! Hitting the button in the white zone gives you a faster reload and a damage boost. This is what you're aiming for every single time. It's your best friend in a tough fight.
- G = Grey Area: Landing in the grey zone just gives you a faster reload. It's better than the black area, but you're missing out on that clutch damage boost you get from the white zone. So, still good, but not perfect.
Mastering these zones, especially hitting that white area consistently, will make a huge difference in how quickly you can get back into the fight and how much damage you can dish out. Practice makes perfect here!
Beyond the reload bar, here are the basic controls you'll be using constantly:
- Left Trigger (LT/L2): This is your aim button. Hold it down to look down the sights of your weapon for more precise shots.
- Right Trigger (RT/R2): This is your primary fire button. Squeeze it to shoot your weapon or throw grenades.
- D-pad: This is how you switch between your weapons. Up is for grenades, Left and Right cycles through your two main shoulder-fired weapons, and Down switches to your handgun. Make sure you know which weapon is mapped to which direction so you can switch quickly when you need to.
And a quick note on executions:
Executions are still a brutal and satisfying way to finish off downed enemies in Gears of War 3. When an enemy is in the DBNO (Down But Not Out) state, you can perform an execution. Tapping the Y button will make your character kick the enemy onto their back and then stomp their head in. It's a bit different from how it worked in Gears 1 and 2, so get used to the new timing!
Similar guides you might like






100% Human-Written. Community Verified. Learn how Ludo.guide verifies content