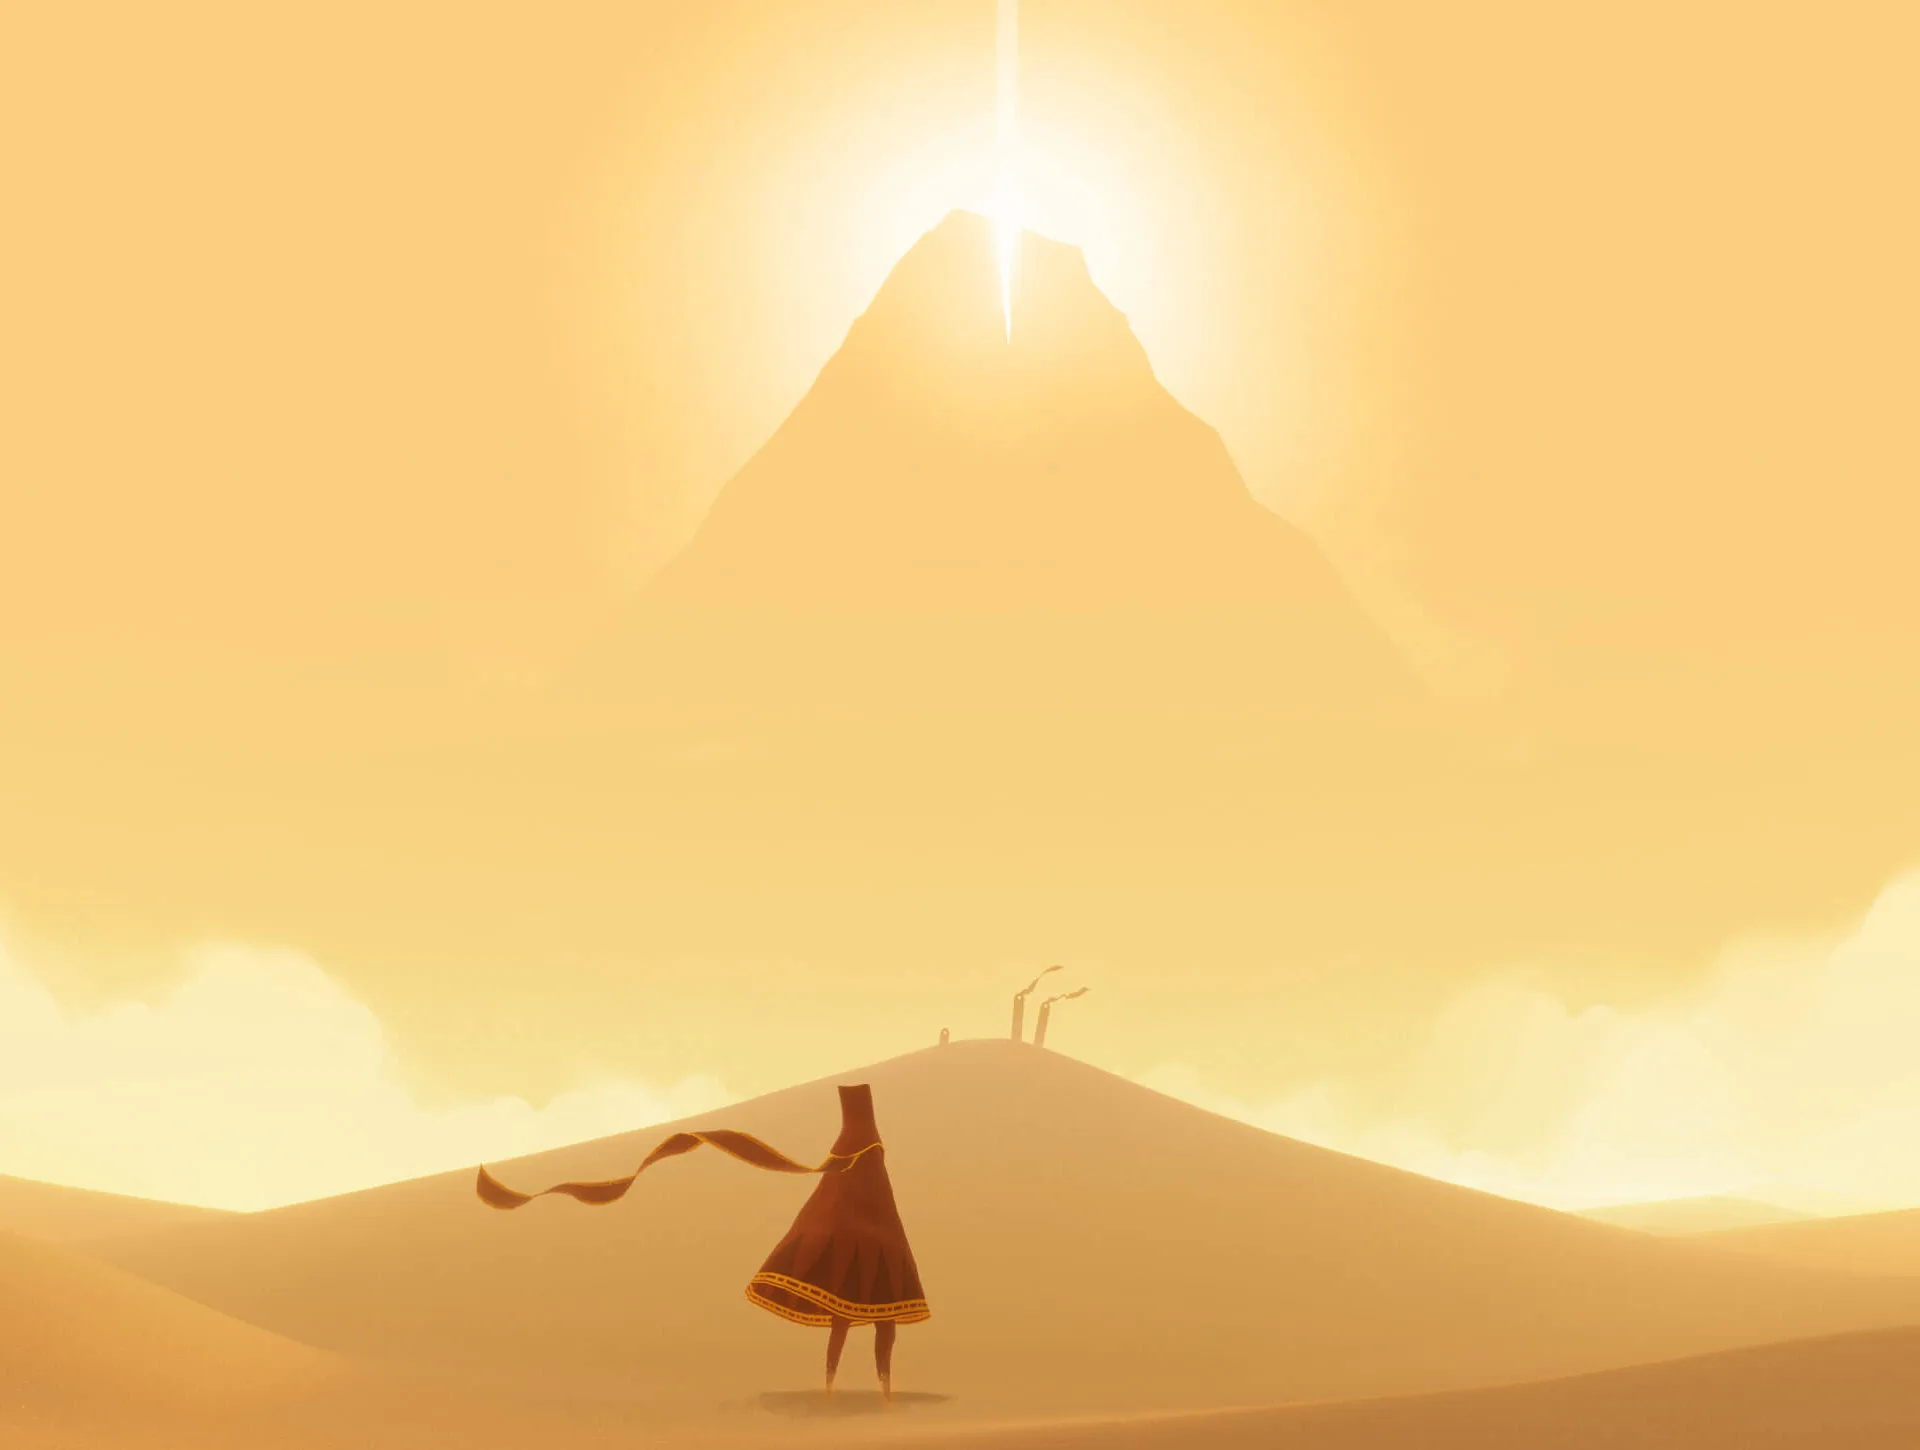
Journey is a breathtakingly beautiful, wordless adventure where you play as a robed figure traversing a vast desert towards a distant mountain. You'll explore ancient ruins, solve simple environmental puzzles, and encounter other players online, communicating only through musical chimes. It’s a game about connection, discovery, and the awe-inspiring scale of the world.
This guide will help you master the subtle beauty of Journey. We cover everything from initial progress and puzzle-solving to advanced symbol collection and navigating the UI. Whether you're aiming to unlock all the Steam Achievements or simply want to uncover every secret hidden within the ancient ruins, this guide has you covered.
About
Embark on an epic journey with our comprehensive walkthrough for Journey. Discover tips, collectibles, and strategies to reach the summit and uncover the game's secrets.
This is a brief summary walkthrough of Journey. The primary goal is to walk towards the mountain, collecting glyphs and symbols along the way. This guide outlines a possible route, but personal exploration is encouraged.
In addition to the main path, consider collecting the PS3 Trophies, Ancient Glyphs, or Glowing Symbols.
The Beginning
Start by walking up the sand dune. Collect your first glowing symbol near the first pile of rubble. Proceed to "The Hub" to find two more symbols. Reach the top of the middle tower and fly towards the glowing area.
The Bridge
In this area, you can find three glowing symbols. To rebuild the bridge, hold the Circle button near the long pieces of cloth. Once rebuilt, cross it to the next section.
The Desert
Encounter Cloth Creatures that can aid in flight. Follow them or head towards the mountain. In the sandstorm area, climb a tower with the help of cloth creatures. At the summit, hold the Circle button to release more creatures and advance.
Note: The Hidden Desert Flower for a trophy can be found here.
The Descent
Surf down through a ruined city. Gliding through 15 columns awards the Adventure trophy. During a resting period, use the Circle button on long cloth pieces to activate a cloth fragment cyclone for the next surfing segment.
The Tunnels
Evade Guardians with spotlights. Being caught in a red spotlight will result in losing scarf length. Discover new cloth types that allow for swimming through the air and jellyfish-like cloths for boosts. Continue through the tunnels, avoiding monsters, until you surf through a magical barrier.
The Temple
Find and illuminate glyphs by holding the Circle button. Each illuminated glyph raises magical water, allowing you to power up and swim through the air. Four glyphs are needed to reach the top. Climb the central tower to proceed.
It's possible to complete the temple without raising the water by zigzagging up platforms. If you reach the side room without raising the water significantly, you can see and play on a whale swimming on the ceiling.
The Mountain
This is the most challenging level. The snow drains your scarf's energy. Battle strong winds by hiding behind stones and evade flying spotlight monsters. Continue through a broken building and a final windy, snowy section, becoming weaker until you sink into the snow.
The Summit
A being will awaken you and send you flying to the mountain's summit. With a full scarf and unlimited energy, fly to the top to reach your final destination.
Detail walkthrough
- http://www.gamefaqs.com/ps3/997885-journey/faqs/63951
Part 2: Unite the Two Stones
Complete Part 2: Unite the Two Stones in Journey by finding two additional stones, one in the Dwarf caves and one in the forest.
- 1Your party has successfully met Astrix.
- 2You have found three of the four stones Astrix sent you to collect.
- 3Astrix himself possesses the fourth stone.
- 4Your next quest is to find two additional stones.
- 5One of these stones is located back in the Dwarf caves.
- 6The other stone is in the forest.
- Remember that Astrix has the fourth stone you needed previously.
- Focus your efforts on locating the two new stones in the Dwarf caves and the forest to progress.
About (2)
Embark on your Journey with our comprehensive walkthrough. Discover how to navigate The Beginning, The Bridge, The Desert, The Descent, The Tunnels, The Temple, The Mountain, and The Summit.
This is a brief summary walkthrough of Journey. The primary goal is to reach the mountain. Along the way, you can collect glyphs and symbols. This walkthrough outlines a possible route, but exploring on your own is also encouraged.
Consider collecting PS3 Trophies, Ancient Glyphs, or Glowing Symbols in addition to the main path.
The Beginning
Start by walking up the sand dune. Collect your first glowing symbol near the rubble. Head towards the mountain to enter "The Hub," where you can find two more symbols. Ascend the middle tower and fly to the glowing area.
The Bridge
In this area, you can find three glowing symbols. To rebuild the bridge, hold the Circle button near the long pieces of cloth. Once rebuilt, cross it to the next section.
The Desert
Encounter Cloth Creatures that can help you fly. Follow them or head towards the mountain. In the sandstorm area, use cloth creatures to climb a tower. At the top, hold Circle to release more creatures and proceed.
You can find the Hidden Desert Flower in this area for a trophy.
The Descent
Surf down through a ruined city. Gliding through 15 columns earns the Adventure trophy. During a resting period, use Circle on long pieces of cloth to create a cloth fragment cyclone for the next surfing segment.
The Tunnels
Evade Guardians with spotlights. Being caught in a red spotlight will cause your scarf to be torn. You will encounter new cloth types that allow you to 'swim' through the air and jellyfish-like cloths for boosts.
Continue through the tunnels, avoiding monsters. At the end, surf through a magical barrier to finish the level.
The Temple
Find glyphs and hold Circle to illuminate them, causing magical water to rise. Swim through the air to power up quickly. Four glyphs are needed to raise the water to the top. Climb the central tower to continue.
It's possible to bypass raising the water by reaching higher platforms. If you reach the side room without raising the water significantly, you can see and play on a whale swimming on the ceiling.
The Mountain
This is the most challenging and emotionally taxing level. The snow drains your scarf's energy. Battle strong winds by hiding behind stones and evade flying spotlight monsters. You will weaken as you progress, eventually sinking into the snow.
The Summit
A being will awaken you and send you flying to the mountain's summit. With a full scarf and unlimited energy, fly to the top to reach your final destination.
Part 1: Meet Astrix
Follow this comprehensive walkthrough for Part 1: Meet Astrix in Journey, detailing every command, interaction, and important note to progress through the game.
This section details the initial steps and interactions in Journey, focusing on meeting Astrix and progressing through early game events. It includes specific commands, dialogue choices, and environmental interactions make-or-break for advancement.
- 1Enter
- 2Tag → Buy map
- 3Exit
- 4Proceed
- 5Enter
- 6Esher → Look Around
- 7Exit
- 8Bergon → Accept
- 9Proceed
- 10Praxix → Tell Legend Magic (Note the random texture and color of residue on Tag's hands for the final puzzle.)
- 11Minar → Scout
- 12Left
- 13Minar → Flank
- 14Combat
- 15Minar → Scout
- 16Praxix → Examine bodies
- 17Proceed
- 18Proceed
- 19Minar → Scout
- 20Tag → Look Around
- 21Tag → Get Help
- 22Enter
- 23Praxix → Cast Glow on staff (Optional: Wait in darkness; you'll get more Fire essence before needed.)
- 24Proceed
- 25Back
- 26Stand
- 27Parley
- 28Bergon → Tell Truth
- 29Bergon → Accept
- 30Hurth → Tell Story Elves (Remember the Elvish words for later.)
- 31Proceed
- 32Proceed
- 33Proceed
- 34Proceed
- 35Proceed
- 36Back
- 37Praxix → Cast Tremor (Trivia: This is the Unseen Terror from Enchanter.)
- 38Proceed
- 39Hurth → Examine runes
- 40Enter
- 41Praxix → Cast Flare (Note the random texture and color of residue on Praxix' hands for the final puzzle.)
- 42Praxix → Cast Elevation at Bergon
- 43Right
- 44Fight
- 45Praxix → Cast Mud
- 46Bergon → Flank (Note the random texture and color of residue on Praxix' hands from casting Mud. This is your only chance.)
- 47Combat
- 48Combat
- 49Combat
- 50Return
- 51Back
- 52Up
- 53Left
- 54Praxix → Cast Elevation at Bergon
- 55Praxix → Cast Wind (Second and final chance to see residue from Elevation spell.)
- 56Bergon → Leave Esher
- 57Up
- 58Minar → Look Around
- 59Tag → Pick Up spyglass (Needed late game; reason for visiting Sunset Tower.)
- 60Down
- 61Right
- 62Exit
- 63Minar → Scout
- 64Follow Smoke
- 65Knock
- 66Bergon → Tell Truth
- 67Minar → Look Around
- 68Exit
- 69Praxix → Examine bag
- 70Proceed
- 71Esher → Examine stream
- 72Find Gold
- 73Find Gold
- 74Praxix → Cast Elevation at Tag
- 75Proceed
- 76Enter Cave
- 77Proceed
- 78Enter Pool
- 79Leave Tube
- 80Tag → Hide
- 81Wide Path
- 82Left
- 83Tag → Pick Up torch
- 84Back
- 85Right
- 86Tag → Pick Up blue amulet
- 87Proceed
- 88Tag → Pick Up cover
- 89Tag → Drop blue amulet
- 90Junction
- 91Smelly Pool
- 92Dive
- 93Tag → Pick Up blue amulet
- 94Surface
- 95Back
- 96To Cave
- 97Proceed
- 98Split Up
- 99Proceed
- 100Proceed
- 101Proceed
- 102Return
- 103Proceed
- 104Praxix → Cast Tremor
- 105Down
- 106Back
- 107Stream Path
- 108Approach
- 109Approach
- 110Talk To Elf
- 111Speak Elvish
- 112b'ran agrith (Typed command: You are a friend of Agrith, based on Hurth's Legend of Elves.)
- 113Bergon Route
- 114Praxix → Cast Lightning at snake tree (Lightning = Fire + Water + Earth essence.)
- 115Return
- 116Praxix Route
- 117Down
- 118Back
- 119Esher → Examine walls (Esher finds Hawkbane, needed later.)
- 120Proceed
- 121Back
- 122Back
- 123Back
- 124Back
- 125Up
- 126Elf Home
- 127Follow Elves
- 128Praxix → Cast Rain (Requires much Water essence; Unseen Terror fight and gold prospecting were for this.)
- 129Upstream
- 130Build Raft
- 131Launch Raft
- 132Cross
- 133Cross
- 134Cross
- 135Cross
- 136Praxix → Cast Glow on map
- 137Praxix → Examine Map
Similar guides you might like




100% Human-Written. Community Verified. Learn how Ludo.guide verifies content