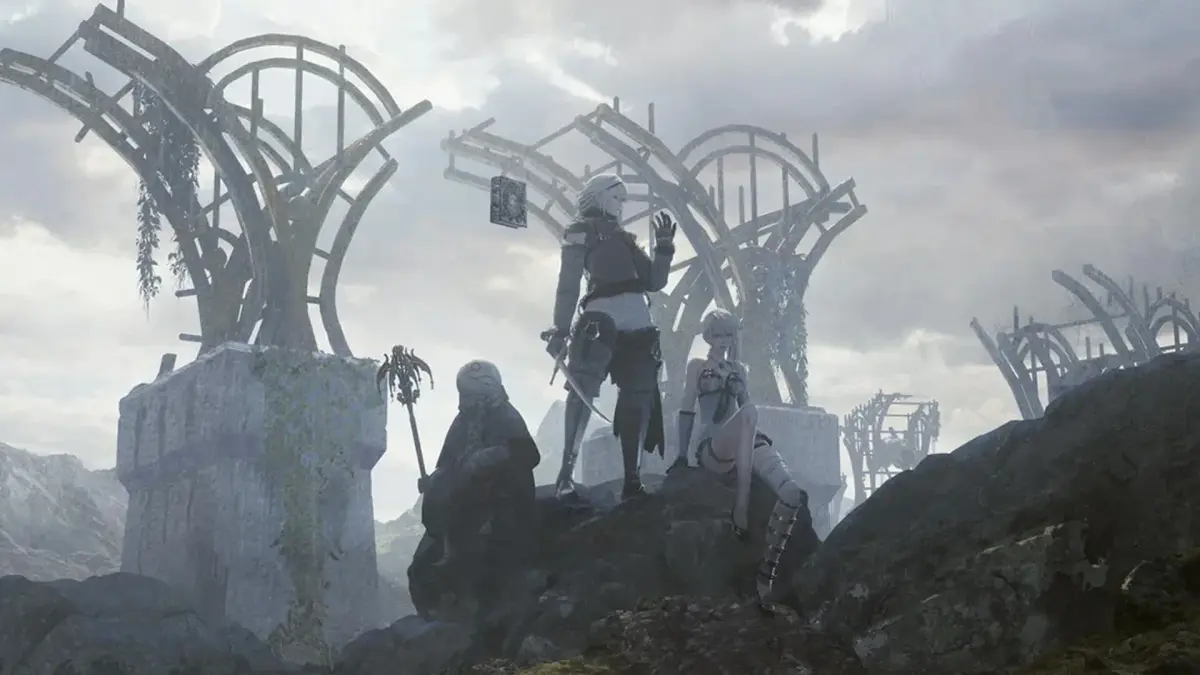
Welcome to NieR Replicant ver.1.22474487139..., a modern reimagining of the original NieR Replicant. You'll step into the shoes of a kind young man on a desperate quest to save his sister Yonah from a deadly disease. This action RPG blends fast-paced combat with a deeply emotional narrative, sending you across a ruined world to battle monstrous Shades and uncover the truth behind a thousand-year lie.
This guide is here to help you navigate the challenges of NieR Replicant. We'll cover everything from tracking down elusive collectibles and mastering tough boss fights to understanding the game's multiple endings and achieving those tricky Gold Medals. Get ready to dive deep into this unforgettable story and its demanding gameplay.
Walkthrough Part 1
Follow this comprehensive walkthrough for NieR Replicant ver.1.22474487139... Part 1, covering the tutorial, village quests, Northern Plains, and the Lost Shrine.
- 1Tutorial Section: Engage in combat against groups of enemies, learning magic abilities. A larger boss enemy will appear; focus on jumping attacks and magic, then hit its head when an attack gauge appears.
- 2Village - 1400 Years Later: After resetting to Level 1, exit the room, collect a Medicinal Herb and 100 Gold. Go to the library to meet Popola, then speak with Yonah. Your objectives are to find 3 Medicinal Herbs and 3 Mutton.
- 3Northern Plains: Head north to find sheep. Kill them for mutton, wool, and other materials like Goat hides and Lizard tails. Return to the village.
- 4Village - Quests: Go to the market, give the items to the requester. Buy 3 Medicinal Herbs. Report back to Popola, then go home and speak to Yonah.
- 5Next Day - Village & Northern Plains: Meet Popola. Return to the Northern Plains; this is your last chance to freely gather resources without many Shades.
- 6Northern Plains - Combat: Proceed to the objective marker and fight four large sword-wielding Shades. Use timed guards or dodges and attack from the sides or behind. Return to the village and report to Popola. Go home, then back to Popola. Check the east gate, pick up an item, buy a Map for the Eastern Road, and exit through the eastern gate.
- 7Eastern Road: Gather materials like Berries, lichen, clay, and silver ore. Take the northern path to the Lost Shrine.
- 8Path to the Lost Shrine: Make your way through this path to reach the shrine.
- 9Lost Shrine Interior: Navigate the shrine without a map. Break boxes for Medicinal Herbs. Find a map in a box on the 2nd floor. Use a Bronze Key found in a room to unlock a door. Defeat Shades, including larger ones using jump and strong attacks (X+Triangle). Find the Nirvana Dagger weapon by climbing ladders and breaking a box. Continue through rooms until you can exit outside.
- 10Temple Roof: Cross the wooden path to the top of the shrine and follow the right path.
- Use magic with little restraint to speed up combat in the tutorial.
- Be wary of long-range enemies in the tutorial.
- When fighting the tutorial boss, jump attack it in the air with a Square combo and finish with Triangle, staying behind it. Use the lance magic.
- To defeat Shades in the Northern Plains, bash them into sunlight using a Strong attack combo with Triangle.
- When fighting large sword-wielding Shades in the Northern Plains, time your guards or dodge and attack from the side or behind.
- Use a jump and strong attack (X+Triangle) to knock down bigger Shades in the Lost Shrine.
- The camera angle can be difficult in some rooms of the Lost Shrine.
- Nirvana Dagger (weapon)
Important Gameplay Tips
Master combat and magic in NieR Replicant ver.1.22474487139... Learn about weapon combos, counters, finishers, and spell strategies like Dark Blast and Dark Wall.
- 1Combat Basics: Use universal combos and actions like Dodging and Guarding. Time your guard just before an enemy hits you to perform a counter; press the square button immediately after sparks fly to execute it. This works with all weapons, dealing more damage with higher attack power. Experiment with various square and triangle button combinations, including those performed after dodging or side-stepping, to discover different combos. When an enemy is downed, press the circle button near them to perform a finisher, which deals significant damage and instantly kills most enemies, with only a few enemies on hard difficulty and the recycled vessel capable of surviving.
- 2Weapon Specializations: One-handed swords prioritize speed over power and are most useful in part 1 when enemies are not armored. Two-handed swords offer raw power, with most being effective against non-armored or armor-broken foes. Upgrading two-handed swords at higher levels significantly increases their damage against armored enemies, though their combos have slow movement. Spears are specialized for fast and strong attacks, particularly effective for armor destruction, with stronger spears breaking armor faster on normal enemies and bosses. They also have superior aerial combos, making them ideal for breaking boss armor.
- 3Magic System: Weapon magic attack power affects spell effectiveness, so switch weapons accordingly.
- 4Dark Blast: Your primary ranged magic attack. Rapidly tapping the button is more effective than holding it, as the first blast is the strongest. It can be comboed with melee attacks to greatly increase damage. Dark Blast is also excellent for delivering ailments due to the number of shots landed; using a poison word with a strong level word can be effective against non-story bosses.
- 5Dark Lance: Another ranged attack that costs more MP than Dark Blast. Holding the button creates more lances, proportional to MP used, making it effective against bosses or rows of enemies. It requires strategic thought and timing due to its MP cost and charge time, and is generally not effective against heavy armor. Time slows down when charging and standing still.
- 6Dark Hand: A close-range spell similar to Dark Lance. Holding the button and releasing it performs a powerful close-range attack, effective for knocking away enemies of any size.
- 7Dark Gluttony: Absorbs bright red magic orbs (not purple ones) while holding the button, then releases a powerful beam. Its strength depends on the amount absorbed, limited by your MP. It is good against magic-using bosses but not in part 2, and is a specialized spell.
- 8Dark Wall: The only defensive spell. A partial charge creates limited-strength, short-duration barriers. A full charge creates a spherical barrier around you, excellent against bosses, magic spammers, and swarms of enemies. It allows you to attack freely without taking damage, and can be reactivated instantly if its time limit ends. You can charge Dark Wall while one is active. It is advised to replace Guard with Dark Wall for its defensive capabilities. Time slows down when standing still and charging.
- 9Dark Phantasm: Creates a clone to attack a target, with range increased by holding the button and using MP. It is not considered very strong compared to other options.
- Experiment with different weapon combos to find what works best for your playstyle.
- Prioritize upgrading two-handed swords for increased damage against armored enemies.
- Use Dark Blast with melee combos for maximum damage output and to apply ailments.
- Dark Wall is a highly effective defensive spell that can be used continuously against tough enemies and bosses.
- Consider using Dark Lance strategically against groups of enemies or bosses when MP allows.
Important Gameplay Tips (2)
Master combat and magic in NieR Replicant ver.1.22474487139.... Learn about counters, finishers, weapon types, and all spells like Dark Blast and Dark Wall.
- 1Basic Combat: Combat in NieR Replicant ver.1.22474487139... involves dodging and guarding. Time your guard just before an enemy hits you to trigger a counter; press square immediately after sparks fly to perform a counter attack, which deals more damage with higher attack power weapons. Experiment with various square and triangle button combinations, including those executed after dodging and side-stepping, to discover different combos for each weapon type. When an enemy is downed, press circle near them to perform a finisher, which deals significant damage and instantly defeats most enemies, with only a few enemies on hard difficulty and the recycled vessel capable of surviving. Some weapons have longer finisher animations.
- 2Weapon Types:
- One-Handed Swords: Specialize in speed over power. They are most useful during part 1 when enemies are not armored and are your only weapon option during that time.
- 3Two-Handed Swords: Offer raw power. While earlier weapons may not be effective against armored enemies, most are good against non-armored or armor-broken foes. Upgrading these weapons frequently is recommended, as higher levels significantly increase damage against armored enemies. Be aware that most have slow movement combos, requiring adaptation.
- 4Spears: Are fast and strong but less effective against enemies who use shields or can guard. Their primary use is armor destruction; stronger spears break armor faster on normal enemies and bosses. Spears also have superior aerial combos, advised for use against bosses.
- Dark Blast: A go-to ranged magic attack. Rapidly tapping the button is more effective than holding it, as the first blast is the strongest. It is best used simultaneously with melee combos or when melee is not an option. Combining Dark Blast with melee attacks greatly increases damage. Dark Blast is also effective for inflicting ailments due to the high number of shots. Using a poison word with a strong level word can help defeat non-story bosses with minimal effort.
- Dark Lance: Another ranged attack that costs more MP than Dark Blast. Holding the button creates more lances, with the number proportional to MP used, making it effective against bosses or rows of enemies. It requires strategic thought and timing due to its MP cost and release time, and is generally not effective against heavy armor. Time slows down when charging and standing still.
- Dark Hand: A close-range spell similar to Dark Lance. Holding the button and releasing it unleashes a powerful close-range attack, effective for knocking away enemies.
- Dark Gluttony: Absorbs magic orbs (bright red only, not purple) by holding the button, then releases a powerful beam. Strength depends on absorbed orbs and available MP. It is good against magic-using bosses but not in part 2.
- Dark Wall: The only defensive spell. A partial charge creates limited-strength, limited-duration barriers. A max charge creates a spherical barrier around you, effective against bosses, magic spammers, and swarms. While the barrier can be broken by a few non-boss enemies, you can reactivate it instantly by charging another while one is active. Time slows down when standing still and charging.
- Dark Phantasm: Creates a clone to attack a target. Range can be increased by holding the button and using MP. It is not considered very strong compared to other options.
- Experiment with different weapon combos to find what works best for your playstyle.
- Upgrade your Two-Handed Swords frequently to maximize their damage output, especially against armored enemies.
- Use Spears primarily for breaking enemy armor, particularly on bosses.
- Remember that your weapon's Magic attack power influences spell damage; switch weapons accordingly.
- Dark Blast is excellent for applying status effects due to its rapid firing nature.
- Dark Wall provides significant protection, allowing you to attack freely without taking damage.
- Dark Lance and Dark Wall slow down time when charging, which can be used to your advantage for precise timing.
Walkthrough Part 2
Continue your journey in NieR Replicant ver.1.22474487139... with Part 2 of our walkthrough. Navigate the Underground Facility, defeat bosses, and uncover secrets.
- 1After the 5-year time skip, you'll be able to wield two-handed swords and spears. You'll face armored shades that are resistant to normal attacks. Use Dark Execution to stun them, then press Circle to insta-kill them.
- 2After the fight, speak to the woman, then visit Popola. You'll receive a letter from Emil, enabling you to take on side quests again. Be aware that new, stronger enemies will appear in all areas. Weapon upgrades are not yet available. Some quests may be inaccessible until later.
- 3Head to the Manor and speak with the butler. After a scene, Emil will join your party. Go to the courtyard fountain and examine the shiny object.
- 4Underground Facility - B1: Enter the facility and stay close to Emil. Pick up the AA keycard in the corner. Open the gate and proceed to the end to find the KA keycard. Defeat shades that appear.
- 5Continue through the next gate, breaking crates and defeating shades. Near the SA keycard, there's a hidden room to the left leading to a gate. The two-handed sword 'Fang of Twins' can be found in a crate near this gate.
- 6Open the next gate and fight shades in the hall. Proceed through the next gate and defeat more shades. Go through the next gate to find stairs and a new document.
- 7Underground Facility - B2: Defeat shades in the first room and find the TA keycard. Open the gate.
- 8Navigate the small maze to find the NA Keycard. Defeat shades along the way.
- 9In the next room, find the gate by entering a few small rooms. No keycard is needed here.
- 10In the subsequent room with multiple small rooms, find the MA keycard in the central room. Use it to open the room south of it to get the YA key.
- 11A mini-boss will spawn outside. It can block with its arms but is weak to head attacks. Use jump attacks and magic. It's vulnerable before its shockwave attack.
- 12Use the YA key to open the last room and go down the stairs.
- 13Underground Facility - B3: Find the key in the second room towards the gate. Enter the room to its right (when facing south) and find a hidden passage on the south wall.
- 14Use the key to open the next gate. In the next room, try to open the gate, then defeat the shades. Another mini-boss will spawn; defeat it and pick up the item.
- 15Open the final gate and use the save point.
- 16Boss Fight: Number 6: This boss is weak to magic. Use Dark Blast constantly and a fully charged Dark Hand when close. Boost magic damage with words, drops, or capsules. The boss may climb walls; continue using Dark Blast. Destroy the attack gauge after its health reaches zero.
- 17Boss Fight: Tentacle Shade: This rematch is easier. Use the same strategy as before.
- 18After the scenes, see Devola at the fountain, then go to the Library and speak with Popola. Fast travel via the Canal is now available.
- 19A new quest is available. Go to the Canal (downstairs from the market bridge where you fought the boss) and speak to 'ol Red bag to use the canal for fast travel. Go to the Lost Shrine Rear Path.
- 20Return to the Lost Shrine: Enter the cave to reach the shrine's backside.
- 21Walk to the stone tower, climb the ladder, and cross the wooden walkway. Destroy boxes near the next ladder to get the 'Devil Queen' spear. Continue up until you enter a cave, reaching the shrine's first floor.
- 22You'll encounter armored enemies. Use Execution followed by Circle to kill them.
- 23The path up is the same, with some rooms featuring block puzzles instead of fights.
- 24Use the stairs to reach the 2nd floor. Go through nearby rooms to find the next set of stairs. Ignore the other stairs.
- 25Some rooms lead to dead ends and contain quest items for the 'Damaged m...' quest.
- New, stronger enemies appear in all areas, offering better rewards and materials.
- Weapon upgrades are not yet available.
- Some quests may be temporarily inaccessible due to area restrictions.
- For Number 6, focus on magic attacks and boosting your magic damage.
- For the Tentacle Shade rematch, a similar strategy to the first encounter should suffice.
- Fast travel via the Canal significantly reduces travel time between locations.
- Access to new quests.
- Ability to fast travel via the Canal.
- The two-handed sword 'Fang of Twins'.
- The spear 'Devil Queen'.
- New documents and keycards.
100% Human-Written. Community Verified. Learn how Ludo.guide verifies content