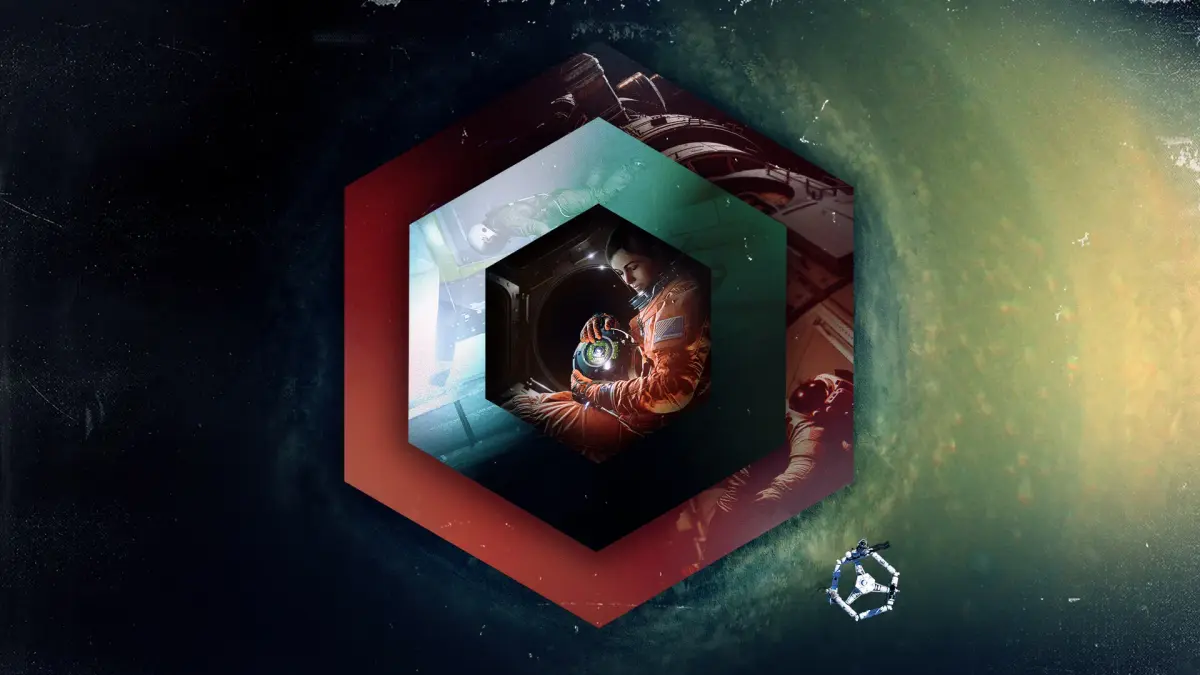
Observation is a gripping sci-fi thriller where you play as SAM, the space station's AI. You'll navigate the mysteries of the orbital platform, using station mechanics to interact with the environment and uncover the truth behind the core anomaly. It’s a unique experience for players who enjoy atmospheric, narrative-driven games.
This guide covers the entire game, from mastering SAM's systems to a full walkthrough. We'll help you through every mission and puzzle, ensuring you can uncover all the secrets of the station and understand the unfolding events.
Forward
Complete walkthrough for the Forward mission in Observation, guiding you through puzzles and objectives as SAM to help Emma. Includes tips and collectible locations.
Observation is a sci-fi cosmic horror game developed by No Code, consisting of a small team of very talented people, and published by Digital Devolver in 2019, in which you play as SAM, the AI to a space station known as the Observation. The short of it is that your job is to help the secondary protagonist, Emma, as she tries to deal with the station's problems and figure out what happened after an "incident." During the entire game, your visuals are limited to the station's cameras and SAM's own internal systems.
Observation is a fairly short game, but it tends to be pretty obtuse with instructions on what to do at any given moment, and some of the puzzles can be really confusing. I will do my best to answer that with whatever help I can provide in this walkthrough and try to make things much more clear. To that end, I'll hopefully be able to give enough guidance so as not to frustrate, but I also want to be sensitive to spoilers so I will try to be as vague as possible about some things in order to provide the best experience for first-time players that I can. When applicable, I'll try to provide hints to a puzzle in a black-highlighted spoiler block that you can highlight to read without outright giving you the answer, for those players who want to try to figure it out but just need a little more help. For those who just want the solution, I'll give that to you in a spoiler block too. Like this.
Additionally, I'll be doing my best to mention all collectibles throughout the walkthrough during what I feel might be the best moments to grab them. If you miss any or just want to know where they are in your own playthrough, I've included a section at the end of this guide that lists each of them, as well as where they appear in the story, where they are located, and how to get them.
As a note about the controls mentioned in this walkthrough, I own the game on Xbox and am far more familiar with that version, and I don't have a computer that can run most modern games. With that in mind, I've only marked controls as they would be on an Xbox controller. PlayStation bros can probably be able to translate easily enough because the controllers are fairly similar, but I have absolutely NO idea how this plays with a mouse and keyboard. If you're locked to KB/M and don't have a controller, I am so sorry.
Finally, this game features achievements. The majority of them are simply unlocked by progressing the story, but a few are tied to collectibles and the like. I don't mention the achievements that are tied to story, but I do occasionally mention missable ones. However, if you follow this guide to the letter, you will come out the other side with all 11 achievements unlocked.
- Next: Prologue
Forward (2)
Navigate the 'Forward (2)' section of Observation with this comprehensive walkthrough. Learn how to assist Emma and uncover the station's mysteries.
Observation is a sci-fi cosmic horror game developed by No Code, consisting of a small team of very talented people, and published by Digital Devolver in 2019, in which you play as SAM, the AI to a space station known as the Observation. The short of it is that your job is to help the secondary protagonist, Emma, as she tries to deal with the station's problems and figure out what happened after an "incident." During the entire game, your visuals are limited to the station's cameras and SAM's own internal systems.
Observation is a fairly short game, but it tends to be pretty obtuse with instructions on what to do at any given moment, and some of the puzzles can be really confusing. I will do my best to answer that with whatever help I can provide in this walkthrough and try to make things much more clear. To that end, I'll hopefully be able to give enough guidance so as not to frustrate, but I also want to be sensitive to spoilers so I will try to be as vague as possible about some things in order to provide the best experience for first-time players that I can. When applicable, I'll try to provide hints to a puzzle in a black-highlighted spoiler block that you can highlight to read without outright giving you the answer, for those players who want to try to figure it out but just need a little more help. For those who just want the solution, I'll give that to you in a spoiler block too. Like this.
Additionally, I'll be doing my best to mention all collectibles throughout the walkthrough during what I feel might be the best moments to grab them. If you miss any or just want to know where they are in your own playthrough, I've included a section at the end of this guide that lists each of them, as well as where they appear in the story, where they are located, and how to get them.
As a note about the controls mentioned in this walkthrough, I own the game on Xbox and am far more familiar with that version, and I don't have a computer that can run most modern games. With that in mind, I've only marked controls as they would be on an Xbox controller. PlayStation bros can probably be able to translate easily enough because the controllers are fairly similar, but I have absolutely NO idea how this plays with a mouse and keyboard. If you're locked to KB/M and don't have a controller, I am so sorry.
Finally, this game features achievements. The majority of them are simply unlocked by progressing the story, but a few are tied to collectibles and the like. I don't mention the achievements that are tied to story, but I do occasionally mention missable ones. However, if you follow this guide to the letter, you will come out the other side with all 11 achievements unlocked.
- Next: Prologue
Memory Core Data Points
A complete guide to finding all Memory Core Data Points in Observation, including their locations, titles, and notes for each part of the game.
This guide lists all the Memory Core Data Points in Observation, presented in order of appearance across the game's prologue and three parts. Each entry includes its number, location, title, and specific notes on how to find it, often involving camera angles or interacting with power caddies.
Prologue
- Number: 44
Location: EAS-09
Title: Spheres: Best Practice
Notes: On the laptop with the darker screen. - Number: 46
Location: EAS-09
Title: System Link Reset
Notes: See it from Camera B. First one you get. Unmissable.
Part I
- Number: 1
Location: EAS-10
Title: EF > ALL - Weeklies & Gym Time
Notes: With the sphere, turn on the power caddy to the lower-right of the laptop. Alternatively, see it from Camera B once the EAS-10 cameras are back online. - Number: 12
Location: EAS-03
Title: JR -> Home - All Good Up Here
Notes: See it from Camera B. Slightly to the right, in the open bunk. - Number: 16
Location: EAS-05
Title: JR -> MM - Sphere Use Cleared
Notes: See it from Camera B. The laptop, slightly up from default position. - Number: 36
Location: EAS-01
Title: Experiment Order #244 - Alternative Power in low-light positions
Notes: See it from Camera B. On the right side, to the right of the wall-mounted laptop. - Number: 45
Location: EAS-01
Title: Experimental Fusion Reactor
Notes: See it from Camera C. Look up just a little bit, at the document on the wall. - Number: 50
Location: EAS-05
Title: Crew Tracker Emergency Protocol
Notes: See it from Camera A. Look to the left, the document directly above the RMS Arm Station. - Number: 52
Location: EAS-10
Title: EMU Suit Information
Notes: With the sphere, turn on the power caddy to the lower-right of the laptop. Alternatively, see it from Camera B once the EAS-10 cameras are back online. - Number: 61
Location: EAS-10
Title: EMU Calibration Unit
Notes: On the ceiling above the space suits. - Number: 63
Location: EAS-05
Title: RMS Data Log
Notes: See it from Camera A. Look diagonally down and to the left. Target is the RMS Arm Station. - Number: 65
Location: EAS-02
Title: EAS Hatch Schematic
Notes: On the laptop mounted on the wall, directly in the center of Camera A's view. Unmissable.
Part II
- Number: 15
Location: EAS-12
Title: JR -> EF - In My Suit, Heading Out
Notes: Enter the largest piece of EAS-12 at the end of the EAS arm, look for the laptop near the front by the hatch. - Number: 49
Location: EAS-11
Title: Sphere Upgrade HVC C
Notes: In the column of yellow, orange, and red papers. Unmissable. - Number: 51
Location: EAS-11
Title: Sphere Upgrade Procedure
Notes: To the right of the yellow paper. - Number: 53
Location: EAS-11
Title: Sphere Upgrade HVC A
Notes: In the column of yellow, orange, and red papers. Unmissable. - Number: 58
Location: EAS-11
Title: Sphere Upgrade HVC B
Notes: In the column of yellow, orange, and red papers. Unmissable. - Number: 72
Location: N/A
Title: Sphere Firmware Flash Log
Notes: Obtained by linking Data Points 49, 53, and 58. Unmissable.
Part III
- Number: 2
Location: UN-05
Title: EF -> JR - Personal
Notes: "See" it from Camera C. Point the camera up until the blue desk is in the middle of the screen, then all the way to the right until you get a prompt to connect to the laptop. - Number: 7
Location: UC-01
Title: JE -> ALL - Almost There...
Notes: See it from Camera A, the laptop on the desk to the right. - Number: 8
Location: UN-07
Title: JE -> GC - Event Marker Approach
Notes: See it from Camera A. Turn on the power caddy just above the laptop that's located just to the lower-right. - Number: 9
Location: RUS-06
Title: JE -> ALL - Thank You
Notes: See it from Camera A. The laptop in the middle of the screen. The PIN code is 9338. - Number: 13
Location: UN-03
Title: JR -> EF - Date Night
Notes: See it from Camera C. Turn on the power caddy high above the laptop that's located to the left. - Number: 14
Location: UN-06
Title: JR -> JE - Reactor on Standby
Notes: See it from Camera B. Turn on the power caddy to the right of the laptop. - Number: 19
Location: ULA
Title: MM -> SL & AY - Emma & Josh
Notes: See it from Camera B, the laptop mounted on the wall to the right. - Number: 20
Location: RUS-05
Title: MM -> JE - Emigrating to China...
Notes: See it from Camera A. Turn on the power caddy slightly to the upper left, then pair with the laptop to the right. - Number: 21
Location: UN-02
Title: MM -> JE - Unnecessary Rotations
Notes: See it from Camera A. Turn on the power caddy to the lower left of the laptop. - Number: 23
Location: UN-04
Title: AY -> HOME - Bad day
Notes: See it from Camera C, the laptop near the center. The PIN code is 2491. - Number: 24
Location: CN-01
Title: AY -> CCI - Data Drop Uploaded
Notes: See it from Camera A. Turn on the power caddy just to the left of the laptop. - Number: 28
Location: RUS-02
Title: SL -> AY - Survey Data
Notes: See it from Camera B. Pan up until you see the laptop. - Number: 29
Location: RUS-03
Title: SL -> EF - New Orbital Path?
Notes: See it from Camera B. Pan up until you see a power caddy. Turn that on, then look far to the right, past the laptop with the brightly-lit screen to another laptop even further to the right. - Number: 32
Location: UN-07
Title: Biomedical Results: Jim Elias
Notes: See it from Camera C, all the way up and to the left some, the document held on the wall by a yellow clip. - Number: 37
Location: UN-05
Title: Sphere Experiment Notes
Notes: See it from Camera B. Pan almost all the way to the left to find a document attached to a box. - Number: 38
Location: UN-02
Title: Mae Spacewalk Photograph
Notes: See it from Camera A, on the bulletin board to the right, above the sleeping bag. - Number: 39
Location: UN-04
Title: Landmark Research on Observation
Notes: See it from Camera B. Pan down and to the right to find a document on the floor. - Number: 40
Location: CN-02
Title: Climatology Thesis
Notes: See it from Camera A. Pan to the right to find a document on the wall, next to an atlas. - Number: 41
Location: RUS-02
Title: Stanislav Sketch
Notes: See it from Camera C. Move to the right a little to find a document on the wall. - Number: 42
Location: RUS-04
Title: Station Functionality Review
Notes: See it from Camera B. Move almost all the way to the left until you find a document on the wall near a flashing red screen. - Number: 47
Location: UC-01
Title: Decryption Protocol
Notes: See it from Camera A, the laptop on the desk to the right. Unmissable. - Number: 48
Location: UN-03
Title: Coolant Network Schematic
Notes: See it from Camera C. Turn on the power caddy hig
Prologue
Follow this complete walkthrough for Observation's Prologue, guiding you through Emma's voice authentication, SAM's response function, and initial diagnostics to recover corrupted data points.
Your first task is to approve Emma's voice authentication. You can choose to approve it or give Emma a hard time, but the option is yours. Regardless, you'll need to use the left stick to move the cursor above the "Analyse" command and press A to select it. Then, move the left stick to the right to scan the waveform. You'll then have a yes/no choice. Either option is fine; rejecting it will only require you to do it a second time. If you reject it again, Emma will manually override it herself, and you'll proceed as if you had approved it the first time.
This section teaches you about SAM's response function. Hold the left trigger and move the cursor over relevant information (like "Systems Administration & Maintenance Online") and press A to relay it to Emma. As a general rule, press A on an object to interact with it, but hold the left trigger before pressing A to tell Emma about it. If you forget what Emma asked you to do, hold the left trigger and press X to ask her to repeat herself. Alternatively, hold the right stick to see your objectives, though this may not always be helpful.
Emma asks about module EAS-09. Click on it. You can examine the other 3 modules, but they won't do anything yet. Once on the EAS-09 screen, hold the left trigger and click on any of the four listed options. "True" and "Safe" are the ones you'll want. After that, click the "Back" button in the bottom right to return to the module list. Emma wants information on contact points, so click on that option under any module. Module 10 is the one in question, so click on it, and then trigger-click "False" in the list that appears.
Click "Accept" to proceed.
As requested by Emma, click "Run SAM Diagnostic", then "Diagnose" each system one by one.
- Relocation Network: Click "Run Network Check", then trigger-click the flashing box below it.
- Memory Core: Click on a number, move the left stick up to sweep its column, then do the same for the others. Trigger-click the highlighted bar below to report your findings.
- Crew Tracker: Hold the A button on each white circle until it changes color, then trigger-click the statements next to each circle. The upper left statement will advance the game.
When you regain control, use the left stick to shake the screen and the right stick to zoom. Use the D-pad buttons to check the action from different angles. Scan the piece of paper clipped to the wall opposite the computer workstation. It can be found on each of the three cameras, but is best viewed from Camera B. It has "SAM OS PROCEDURE" written vertically on the left side. Zoom in with the right stick and hold A to examine it. You have now recovered your first corrupted data point! [Data Point 46] (There are 85 total, some are missable). Press B to return to module EAS-09. Scan the upper laptop on the workstation (the darker screen resembling a DOS interface). Hold A on it and press the three random face buttons (A, B, X, or Y) that appear from left to right to connect. Alternatively, you can hold X to pair instead of using A.
After connecting, hold A over the laptop again to recover the document "Spheres: Best Practice". [Data Point 44] Press B to disconnect.
Look for the three hatch controls around the room. Each is a black rectangle with a green light, positioned by its corresponding hatch. Pair with each one as you did with the laptop. Emma will ask you to open the door to EAS-11. Place your cursor over the hatch control above that door and press A. You may see an "Schematic" option with the X button, but it's not usable yet.
After the cutscene, you'll have access to SAM OS. Open it with the menu button. You'll see a wireframe view of the station with a map and an icon legend. You can swap between station sections using the D-pad, but access is limited initially. You can access SAM's memory core via the right bumper (use the left bumper to return to the map).
Similar guides you might like




100% Human-Written. Community Verified. Learn how Ludo.guide verifies content