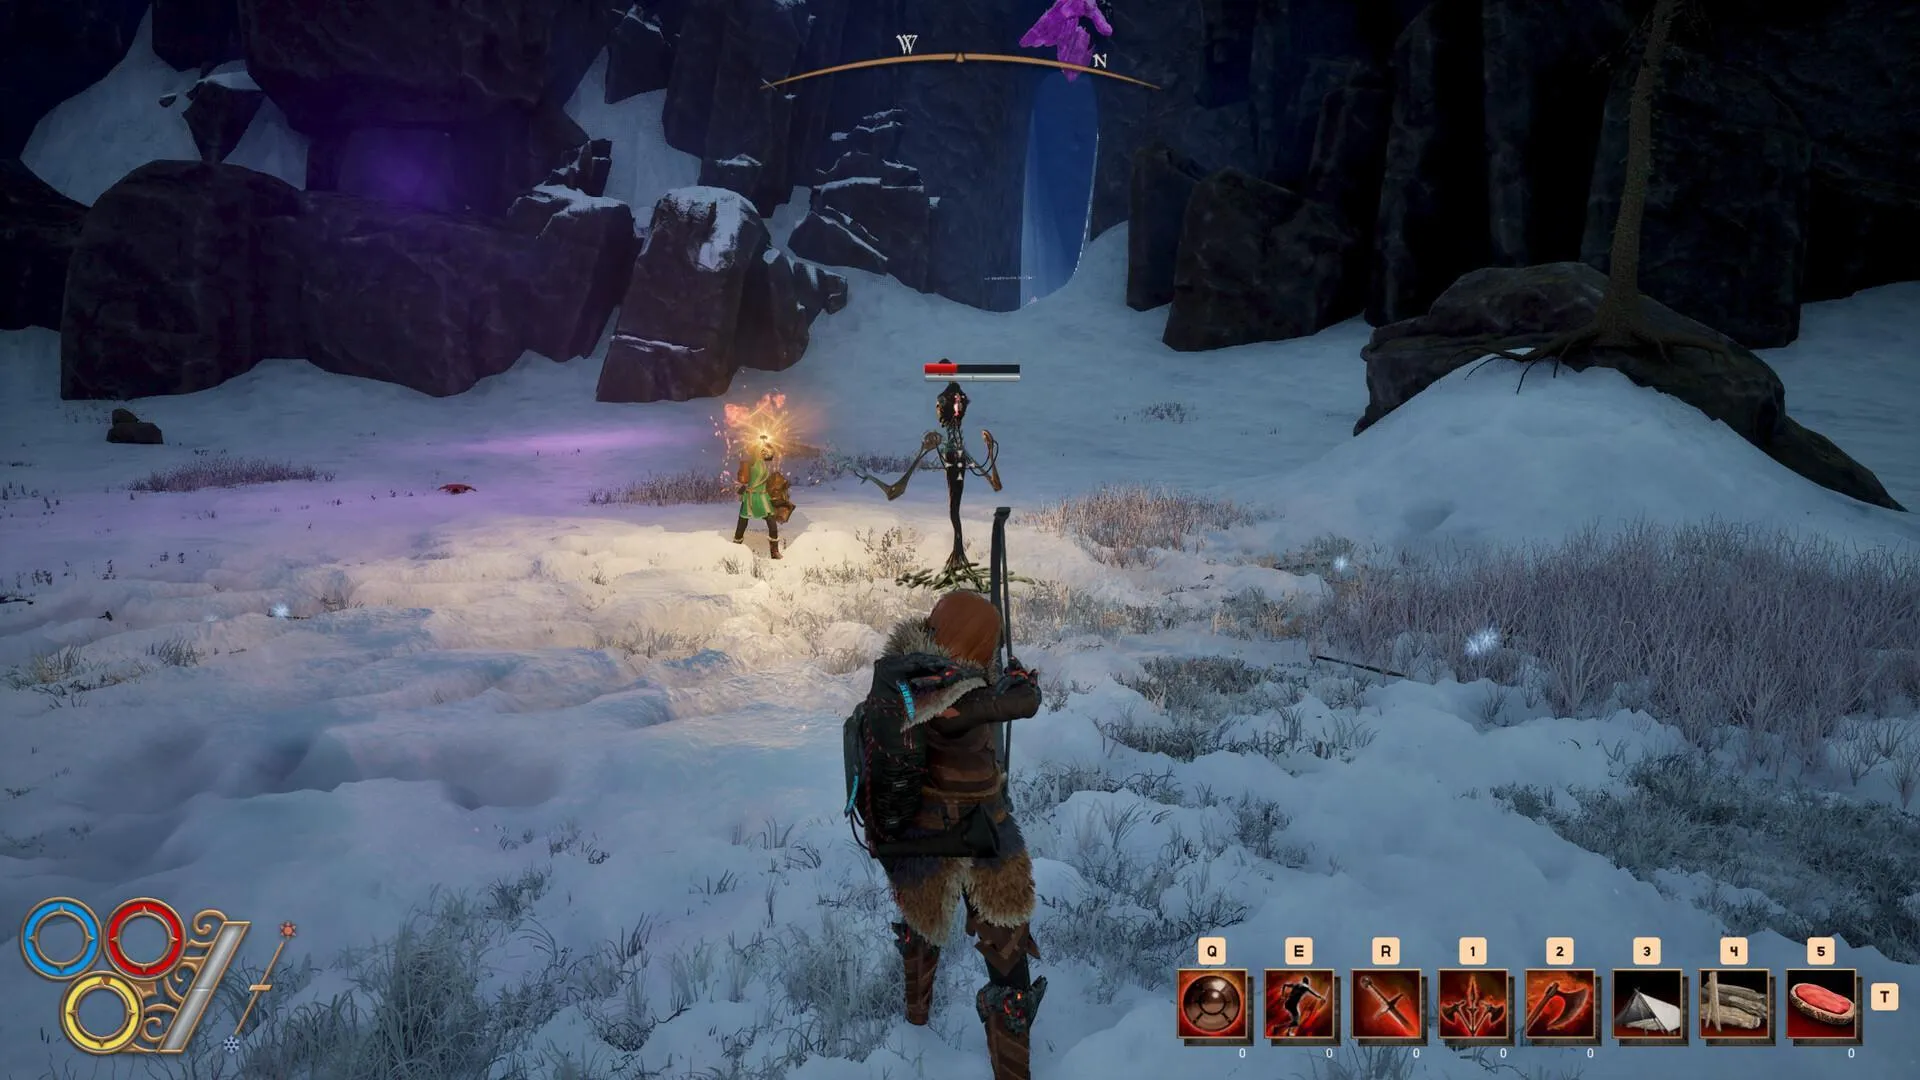
Embark on a challenging open-world RPG adventure in Outward 2, where survival and exploration are paramount. You'll need to manage your resources, brave dangerous environments, and overcome formidable foes as you forge your path in this unforgiving world. This is a game for those who crave a deep, rewarding experience that demands careful planning and resilience.
This guide will help you navigate the intricacies of Outward 2, covering essential gameplay tips, combat strategies, and recommendations for the best gear, including how to find the best backpacks and recommended weapons. We'll also delve into character development, exploring various build options like the Kazite Spellblade, Cabal Hermit, Rune Sage, Wild Hunter, and Mercenary to help you optimize your playstyle.
Introduction + Starting tips
Master the early game of Outward 2 with our comprehensive guide. Learn essential starting tips, item acquisition, skill training, and how to secure your first house and best backpack quickly.
This guide provides essential information for new players of Outward 2, covering important locations, faction insights, and starting strategies. It aims to reduce frustration and provide a headstart in the game world.
Step 1: Initial Survival and House Acquisition
After completing the tutorial, you'll need to pay 150 silver for your house or be evicted. Prioritize gathering essential items in town: a backpack (25 silver) for increased loot capacity, 1 bandage (craftable from 2 linen), a flask of water, and a makeshift sleeping bag. Collect berries for sustenance. Sell unneeded items to afford the backpack.
Speak with the gatekeeper to learn a free weapon skill. While these skills can be learned later, some are found in distant towns. Choose a skill for a weapon you intend to use; a two-handed halberd is suggested if available.
Instead of leaving town immediately, return to the hidden storage room (under your house) to access a small area with two relatively weak enemies. Loot everything, especially a mining pick and fishing rod. Head into the open world cautiously, as early enemies like the beach mantis can be dangerous. Follow the shore to find an NPC; giving him a bandage earns you a Tribal Favor, exempting you from the house payment. Mine and fish along the shore if you have the tools, then return to town to turn in the favor and secure your house.
Step 2: The Best Early Backpack and House Security
With your house secured, aim to earn 50 silver to purchase an HP upgrade from an NPC. Ensure you are well-rested and at full health before your next venture. The next objective is to acquire the game's best weight-to-value backpack early on, accessible within minutes through a 'secret' location. This significantly alleviates the early-game weight management issues.
To reach this location, exit town via the main gate and head east towards the bandit camp. Navigate using your map: proceed to the first fork, turn left, and cross the wooden bridge (beware of traps near the start and end). Within the bandit camp, your goal is a building with a large rock behind it and a tube on its roof. Climb the rock and onto the roof (you may need to unequip your backpack to perform the necessary dodge roll). Interact with the tube on the roof once to open the door to the house below, which contains valuable loot, including the 110-weight backpack.
Holy Mission of Elatt
Walkthrough for the Holy Mission of Elatt in Outward 2. Learn how to join the faction, complete quests like Questions and Corruption, Doubts and Secrets, and Truth and Purpose, and get the best rewards.
- 1Joining the Faction:
- You must have the 'Looking for the Future' quest.
- 2Go to Elatt's altar in Monsoon and speak to the NPC.
- 3Help one of the three individuals by completing their mini-quest (only one is required).
- 4Note: Joining any faction starts a 20-day countdown to save Cierzo by defeating 3 warlords in Vendavel Fortress.
- 5Be aware that Scourge enemies will become more hostile towards you.
- 6Quest: Questions and Corruption:
- Wait 3 days after joining for your first quest.
- 7Burn greasy fern on an altar near the Monsoon entrance (east, up the cliff near bandits).
- 8Cleanse the corruption from a tomb in Chersonese.
- 9Navigate through Ghost Pass to reach the catacombs.
- 10Find and reassemble a talking skull by collecting its body parts (all parts are in the section to the right of the dungeon entrance, follow the leftmost path up the cliff and drop down for an arm if missed).
- 11The assembled skull will help open the door.
- 12Defeat the 3 summoned skeletons summoned by Olielle.
- 13Return to Monsoon and accept your reward. Choose to receive the blessing; giving it to Olielle yields only minor loot.
- 14Quest: Doubts and Secrets:
- Wait another 3 days.
- 15Travel to Berg and speak with NPCs.
- 16Optionally, find a priest in the Hive Cave southeast of the forest map.
- 17Return to Monsoon; Olielle will be jailed.
- 18Bribe the official with 200 silver to release her (other options are unknown).
- 19After this quest, choose one of two passive bonuses: 10% elemental damage boost (ethereal/decay/lightning) or 10% reduced stamina/mana cost.
- 20Quest: Truth and Purpose:
- Wait another 3 days.
- 21Talk to Ellinara to start the quest.
- 22Find Olielle in the slums of Levant.
- 23Choose to explore the Stone Titan Caves (this is the correct location; other choices offer minimal lore).
- 24After exploring the caves, you'll receive a tablet (not added to inventory).
- 25Return to Monsoon and give the tablet to Mofat for translation.
- 26Speak with Olielle and proceed to the altar.
- 27Find the rebel priests via the lotus entrance in Hallowed Marsh (refer to the Hallowed Marsh map).
- 28Negotiate with the priests:
- Fail: Receive average loot and Templar rank.
- 29Partial Success: Prevent rebellion, priests leave the Holy Mission. Receive Templar or Champion rank and the 'Acceptance' passive (+8 hot/cold weather defense).
- 30Complete Success: Prevent rebellion, priests stay. Receive Champion rank, the unique 'Candle Plate Armor' (heavy armor with fire/lightning resistance), the 'Sanctified Protection' passive (+2 protection), and the 'Acceptance' passive.
- Prioritize getting the blessings and passives, especially the 'Sanctified Protection' and 'Acceptance' from the 'Truth and Purpose' quest's complete success.
- The 'Candle Plate Armor' is a powerful reward for completing 'Truth and Purpose' successfully.
- Be prepared for increased Scourge enemy hostility after joining the faction.
- Saving Cierzo requires defeating 3 warlords in Vendavel Fortress within 20 days of joining a faction.
- +20 Decay Resist passive (default choice).
- Choice of: 10% Ethereal/Decay/Lightning damage boost OR 10% Stamina/Mana cost reduction.
- Possibility of +8 Weather Resists and +2 Protection passives.
- Unique faction armor (Candle Plate Armor - heavy armor with fire/lightning resist).
- +20 Health/Stamina/Mana potion (for all factions).
- 'Acceptance' passive (+8 hot/cold weather defense).
- 'Sanctified Protection' passive (+2 protection).
Faction introduction
Outward 2 has 3 joinable factions: Blue Chambers, Holy Mission, and Heroic Kingdom. Learn their unique rewards and questlines.
- 1The Blue Chambers Collective: The faction in your starting town, offering a traditional mentality with slight variations.
- 2The Holy Mission of Elatt: A religious/magical faction focused on helping those in need, with their main enemy being scourge/corruption monsters. Elatt is a person who achieved omnipotence, not a deity.
- 3The Heroic Kingdoms of Levant: The most technologically advanced faction, aiming to create a utopia through individualism and self-improvement.
Faction Choice Impact:
- Access to a unique storyline connected to other factions.
- Immediate purchase of a player home in the faction's town (costs money, but is worth it). Other town homes are only available after completing your chosen faction's storyline.
- Different rewards for faction quests, including unique passives and armor sets.
Faction Specific Rewards:
- Holy Mission: A free spell for the light boon, a missable 20 decay resistance passive (requires a choice), or a choice between +10% Ethereal, Light, and Decay damage OR -10% mana/stamina consumption. Also includes a unique armor set.
- Blue Chambers: A missable 40 health passive (requires negotiation with giants) OR +25 max mana, and a unique armor set. Also offers the Lantern of Souls (infinite lantern).
- Heroic Kingdom: A +15% damage passive, a unique armor set, and a camouflage tent.
Universal Faction Quest Reward: All faction quests conclude with a Peacekeeper Elixir, which increases your health, stamina, and mana by 20.
Faction Locations and Recommendations:
- Each faction has its own starting location.
- The Holy Mission and Blue Chambers are accessible within one location jump.
- The Heroic Kingdom is the farthest, located in a desert area requiring two location jumps.
- It is recommended to save the Heroic Kingdom for a legacy playthrough due to its distance and challenging location, unless you desire a hardcore experience.
- The Blue Chambers is in a relatively easy location, and its town, Berg, is a central hub.
- The Holy Mission offers very powerful passives, making it a strong choice for a playthrough focused on clearing content rather than rushing the story.
Important Post-Faction Join Event:
Warning: Soon after joining a faction, you will hear a rumor that Cierzo may be annihilated by bandits. This event is time-limited, with players reporting approximately a 20-30 day window. If you do not intervene, you will lose access to Cierzo, including your vault and trainers.
- Go to Cierzo as soon as possible. The gate guard will provide instructions upon entry.
- You must defeat 3 'warlords' in the bandit keep to the southwest, or complete mini-quests for them to call off the attack.
- After saving Cierzo, you can proceed with your main faction storyline or other activities.
- Your first faction choice is important due to the unique storyline and rewards.
- Consider the location and difficulty when choosing your first faction.
- The legacy system allows you to experience all faction stories across multiple playthroughs.
- Do not delay in addressing the bandit threat to Cierzo.
Introduction + Starting tips (2)
Master the early game of Outward 2 with our guide covering crucial starting tips, essential item acquisition, skill learning, and navigating your first adventures to avoid early frustration.
This guide provides essential information for new players of Outward 2, focusing on how to get a head start and make the game world less frustrating to explore. It covers important locations, faction insights, and starting tips for efficient progression.
Step 1: Initial Survival and House Acquisition
After completing the tutorial, you'll find yourself in the open world with a debt of 150 silver to pay for your house. Your immediate priorities are:
- Gather 25 silver to purchase a backpack for increased loot capacity.
- Craft or acquire 1 bandage (made from 2 linen).
- Obtain a flask of water and fill it.
- Find a makeshift sleeping bag.
- Gather some berries for sustenance.
- Locate the fishing rod.
Sell unneeded items to reach 25 silver for the backpack. Before leaving town, speak with the gatekeeper to learn a free weapon skill. It's recommended to choose a skill for a weapon you plan to use, such as a two-handed halberd if available.
Instead of exiting through the main gate, return to town and find the hidden storage room (located beneath your house). This area leads to a small zone with two relatively weak enemies. After defeating them, loot everything, especially the mining pick and fishing rod, which are always useful.
Head out into the open world, being cautious of dangerous enemies like the lightning-shooting mantis on the beach. Your immediate goal is to find an NPC on the shore. Give them the bandage to receive a Tribal Favor, which allows you to skip the 150 silver house payment and secure your home permanently.
While on the shore, mine for metal and fish if you have the tools. Collect as much loot as your backpack can carry. Return to town by heading north. Familiarize yourself with the map, even though it's not perfectly accurate.
Once back in town, turn in the Tribal Favor to secure your house without further payment pressure.
Step 2: HP Upgrade and Advanced Backpack Acquisition
With your house secured, aim to acquire 50 silver to purchase an HP upgrade from an NPC. If you can't afford it immediately, do so as soon as possible. Ensure you are well-rested and at full HP before your next venture.
Your next objective is to obtain the best weight-to-value backpack in the game, located in a 'secret' spot accessible in under 10 minutes. This significantly alleviates the early-game weight management challenges. If you prefer a slower start, you can skip this, but a 100-weight backpack is generally obtainable early on.
To reach this location, exit town through the main gate and head east towards the bandit camp. Navigate through the first fork by taking a left, then proceed through a wooden gate. Be cautious of traps on the bridge leading to the camp.
Upon reaching the bandit camp, avoid direct combat with the enemies, as they are likely too strong for you at this stage. Your target is a building located forward and to the left from the entrance, identifiable by a large rock behind it and a tube on its roof.
Position yourself behind the large rock. You may need to remove your backpack to perform a successful dodge roll onto the rock and then onto the building's roof. Once on the roof, interact with the tube once. This action opens a door inside the house, granting access to valuable loot, including a 110-weight backpack.
100% Human-Written. Community Verified. Learn how Ludo.guide verifies content