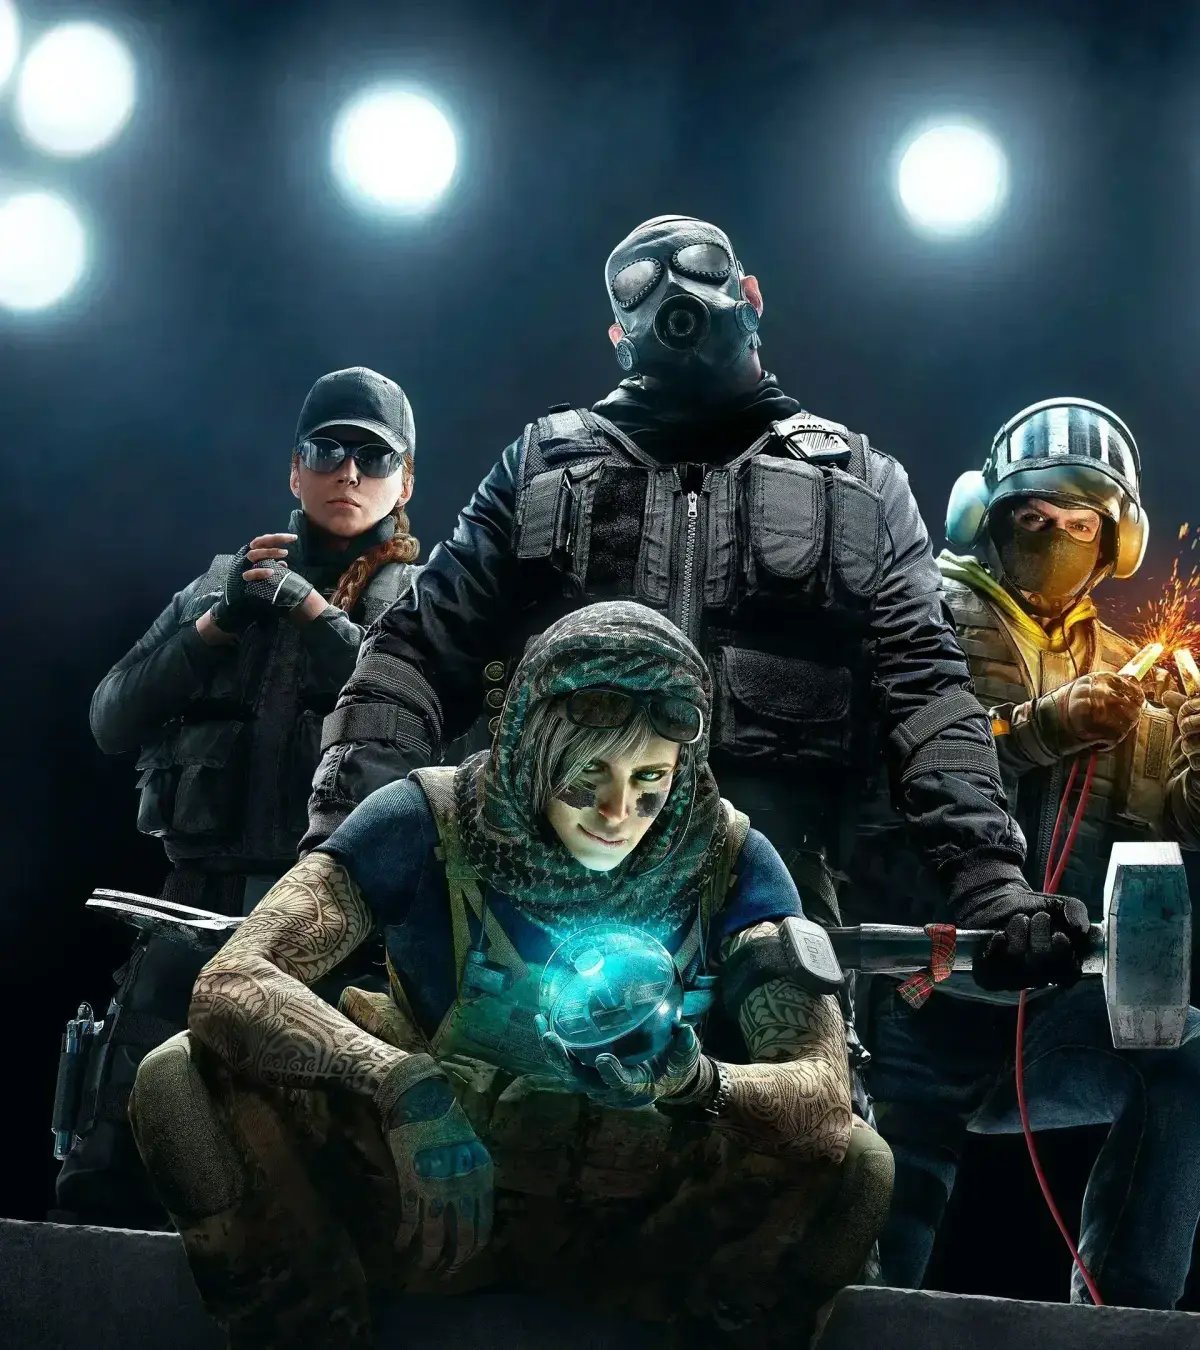
Welcome to Rainbow Six Siege, the intense tactical FPS where precision, strategy, and teamwork are paramount. Whether you're breaching a fortified building as an attacker or setting up defenses as a defender, every second counts. Master the art of tactical combat across diverse maps like Oregon, Villa, and Coastline, utilizing unique operator abilities and weapon loadouts to outsmart and outgun your opponents.
This guide dives deep into the core mechanics of Siege, from essential settings and operator tips to advanced map strategies. We'll cover everything you need to know to conquer objectives, whether you're aiming for a Gold Medal or just want to improve your game. Get ready to refine your skills and dominate the competition.
2. Gameplay Tactics
Learn essential gameplay tactics for Tom Clancy's Rainbow Six Siege, including using cover and managing AI teammates for hostage rescue.
- 1The AI (computer-controlled teammates) are not reliable for combat; use them primarily to move between points and watch areas with few guards.
- 2Do not fully depend on AI to cover (press the cover button to crouch behind walls or objects) your back. A team larger than two people is often unnecessary due to AI limitations.
- 3Since peeking was not a feature in the original engine, sidestep past doors while facing inward. Use the door frame as cover (a protective barrier). This is game-changing because enemies shoot quickly, and you cannot trust the AI to react faster.
- 4For hostage rescue missions, silenced weapons are mandatory. If you use un-silenced weapons, nearby tangos (enemies) will be alerted and may execute the hostages.
- 5Frequently use the HB sensor and map to track terrorists. The 3rd person view (activated by pressing F1) can also be useful in specific areas.
- 6Warning: Do NOT continue a campaign with wounded or dead operatives. It is considered amateurish. If an operative is wounded, it is recommended to restart the mission unless the mission is excessively frustrating AND you have a suitable replacement for the next mission.
- The HQ plans are considered ineffective.
- Trust your own aim and positioning over the AI's combat effectiveness.
- The door frame is your best friend for entry points when peeking is not an option.
- Silenced weapons are key for stealth and preventing hostage execution.
- Constant use of the HB sensor and map is vital for tracking enemy movements.
Characters
Discover all playable Operators in Tom Clancy's Rainbow Six Siege. Learn about their unique abilities, loadouts, and roles to dominate the battlefield.
Tom Clancy's Rainbow Six Siege features a diverse roster of Operators, each with unique abilities, gadgets, and loadouts. Understanding these characters is make-or-break for both attacking and defending strategies. This guide provides an overview of the Operators available in the game.
Attack Operators are tasked with breaching defenses, gathering intel, and eliminating defenders. They often bring specialized gadgets for entry fragging, support, or utility denial.
Defense Operators focus on fortifying sites, gathering intel on attackers, and preventing the attackers from achieving their objectives. They lean on a variety of gadgets to slow down pushes, deny entry, or gather information.
The game constantly evolves with new Operators being introduced, each adding new tactical possibilities and counter-play options. Staying updated on Operator changes and new additions is key to maintaining a competitive edge.
Steel Wind
Complete the Steel Wind mission in Tom Clancy's Rainbow Six Siege. Rescue the ambassador and clear floors with Blue and Red teams.
- 1Blue Team: Proceed to the ladders at the NE corner of the embassy and ascend to the 2nd floor. Use the lockpick kit to open the door and eliminate the two guards in the north section of this floor. Continue south, clearing rooms until you secure the ambassador. Escort the ambassador into the hallway. Be aware of enemies descending the SE stairs from the 3rd floor. Eliminate the enemy on the west balcony in the main room. Ascend the SW staircase to the 3rd floor. Consult your map (minimap (the small circular map in the bottom-left corner of your screen)) to locate enemies. Advance through the east side of the 3rd floor, clearing rooms where enemies are typically found or have moved to the 2nd floor. After clearing the 3rd floor, descend using the NW staircase and await Bravo team at the door leading to the main hall. Eliminate the final guard in the main room, located on the landing of the curved staircase, before Bravo arrives. Escort the hostage back to EXT.
- 2Red Team: Wait for Alpha team outside the north door on the 1st floor. Alpha team enters and proceeds south, clearing the entire east side of the 1st floor, including rescuing the hostage. Hold position by the south door leading into the entrance hall for Bravo team. Eliminate the 1st floor guard in this room, using the doorway for cover (press the cover button to crouch behind walls or objects), before Bravo arrives. Bravo team proceeds to EXT.
Order of Operations: Blue team clears the 2nd and 3rd floors, followed by Red team clearing the 1st floor. Red team eliminates their main hall guard first, then Blue team eliminates theirs. If you encounter difficulties, you can skip clearing this room and escort the hostages directly back to EXT, or use fragmentation grenades (frags) instead.
- The sound of your shooting can stop enemy patrols (tangos).
- If tangos enter the ambassador's room, they will execute him.
- You do not have to kill every enemy, but clearing the 3rd floor and main room is more enjoyable.
- Use the doorway for cover when engaging the 1st floor guard in the main room.
- If you have trouble, you can skip clearing the main room and escort hostages directly to EXT.
- Consider equipping fragmentation grenades (frags) as an alternative.
Cold Thunder
Complete the Cold Thunder mission in Tom Clancy's Rainbow Six Siege by sniping enemies and rescuing hostages with specific team strategies.
- 1Blue Team: Move forward until the forest path opens. Snipe 1-2 patrols on the NE side of the house. Kill the guard on the 2nd floor balcony when he appears. Continue forward and look north to take down a patrol and 2 stationary guards by the camp. Head to the south part of the shed and snipe the remaining guards outside the building. Hold position.
- 2Move west to the SW corner of the stone wall, opposite the basement stairs. Use the HB Sensor (a device that detects nearby enemies) to monitor the 2 front door guards. When they are walking away, eliminate them one by one. Hold position.
- 3Charlie: Carefully approach the basement stairs and use the HB Sensor to detect the guard. You can use flashbangs (explosive devices that temporarily blind enemies) on the cellar before securing the hostage. Hold position by the hostage.
- 4Delta: Escort the hostage to EXT (exterior extraction point).
- 5Red Team: Follow Blue Team down the path and wait as the path opens.
- 6Alpha: Head to the north entrance of the building but do not enter yet. Wait for Bravo Team outside.
- 7Bravo: Clear the 2 guards on the 1st floor. Cautiously head upstairs, watching for patrols. Kill the 2 remaining guards in different rooms by sidestepping and using the door frame for cover (press the cover button to crouch behind walls or objects). Hold position by the hostage.
- 8Delta: Escort the hostage to EXT.
Order of Operations: Snipe all enemies as Blue Team first. Then, move to Bravo and kill the front door guards. Red Team then secures the house. Charlie and Blue Team rescue the last hostage. Delta Team escorts everyone to EXT.
- You cannot use flashbangs on the first hostage you reach, as this will alert the other hostage guard, unless you rescue both at the same time.
- Consider a sniping team and a stealth team for this mission.
Similar guides you might like



100% Human-Written. Community Verified. Learn how Ludo.guide verifies content