
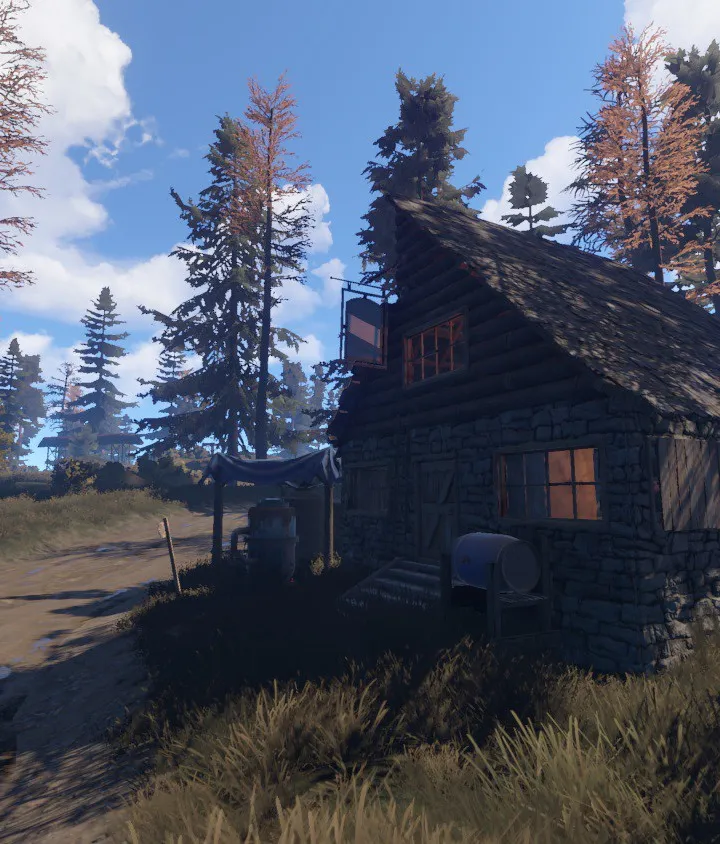
Master Rust's mid-game with our guide on Workbench Tier 2 and firearms. Learn to craft revolvers, shotguns, and secure vital components like High Quality Metal.
Phase 3: Mid-Game Expansion - Workbench Tier 2 & Firearms
Dive into Phase 3 of your Rust journey: Mid-Game Expansion. You've established a foothold, secured basic necessities, and likely endured your first major threats. This phase, typically spanning gameplay hours 8-20, is about transitioning from survival to strategic dominance. Your focus will shift to acquiring advanced technology, securing superior resources, and preparing for the inevitable conflicts that define Rust's mid-to-late game.
Key objectives in this phase include efficiently farming game-changing materials, understanding the importance and risks of monument runs, and beginning to craft powerful weapons and tools. By the end of this phase, you should possess a more rock-solid base, a reliable resource income, and the means to defend yourself against increasingly well-equipped adversaries. Prepare to arm yourself and assert your presence on the island.
Objective: Crafting the Workbench Tier 2
The Workbench Tier 2 is a critical technological leap, serving as the gateway to a new arsenal of tools, armor, and, most importantly, firearms. No longer will you be limited to bows and spears; this workbench earns the ability to craft pistols, shotguns, and even early assault rifles, fundamentally changing your approach to combat and base defense. Acquiring and crafting this workbench is a top priority.
Required Resources for Workbench Tier 2:
- 500 Metal Fragments: Smelted from Metal Ore in a Furnace.
- 50 High Quality Metal (HQM): This is a high-stakes and often scarce resource. While it can be found in rare HQM nodes, a more consistent mid-game source is by recycling specific components.
- 125 Scrap: Commonly found in barrels, crates, and dropped by NPCs.
Ensure you have a powered Furnace running for efficient Metal Ore smelting. Prioritize farming HQM by actively recycling components or by seeking out the rare HQM nodes.
Acquiring High Quality Metal (HQM):
HQM is essential for most Tier 2 and above crafting. Here's how to get it:
- Recycling Components: This is the most reliable method for players at this stage. Common components that recycle into HQM include:
- Gears: Found in barrels, crates, and dropped by Scientists. Recycle from items like Tool Cupboards or Road Signs.
- Sheet Metal: Found in barrels, crates, and dropped by Scientists. .
- Motors: Found in barrels, crates, and dropped by Scientists. .
- Propane Tanks: Found in barrels and crates.
- High Quality Metal Nodes: These appear as shimmering, distinct ore nodes on the ground. They are rarer than regular Metal Ore nodes but yield HQM directly.
- Elite Tier NPC Drops: While true that NPCs at high-tier monuments like the Oil Rig or Military Tunnels have a higher chance of dropping HQM directly, these locations are heavily guarded and require significant preparation (Tier 2+ gear, firearms, medical supplies) to engage safely. For players just reaching Workbench Tier 2, focusing on component recycling is generally more accessible and safer.
Crafting the Workbench Tier 2:
Once you have gathered the necessary resources, you can craft the Workbench Tier 2 directly from your inventory crafting menu. It requires a dedicated crafting time and space. Place it in your base to unlock its full potential.
Objective: Acquiring and Crafting Firearms
Once your Workbench Tier 2 is crafted and placed, your next primary objective is to acquire firearms. This involves two main steps: obtaining the necessary blueprints and gathering the specific components for crafting. Mastering firearms is essential for both offensive capabilities and effective base defense.
1. Blueprint Acquisition Strategies:
Learning blueprints is fundamental to progressing your crafting capabilities. Here are the most common and effective methods:
- Workbench Research: This is the most direct and reliable method for learning blueprints.
- Process: Find an item you want to learn the blueprint for (e.g., a Revolver, a Pump Shotgun). Place this item into the Research Table.
- Cost: The Research Table will display the amount of Scrap required to learn the blueprint. This cost varies depending on the tier of the item. For Tier 2 items, expect costs ranging from 100-300 Scrap.
- Strategy: Prioritize researching firearms and their essential components first. You can find items to research from loot crates, enemy players, or by trading with other players.
- Monument Looting: Higher-tier monuments often contain loot tables with a chance to spawn firearms and their blueprints directly.
- Locations: Monuments like the Airfield, Military Tunnels, Launch Site, and Oil Rig are prime locations for finding advanced loot. However, these are high-risk areas. For easier access to loot that can yield firearms or components for research, consider monuments like:
- Supermarket: Good for general loot and has a Recycler.
- Gas Station: Similar to Supermarket, with a Recycler.
- Fishing Village: Offers several loot and a Recycler.
- Junkyard: Contains valuable components and a Recycler.
- Risk vs. Reward: Even lower-tier monuments can be contested by other players. Always approach with caution, ideally with a friend and basic gear.
- Locations: Monuments like the Airfield, Military Tunnels, Launch Site, and Oil Rig are prime locations for finding advanced loot. However, these are high-risk areas. For easier access to loot that can yield firearms or components for research, consider monuments like:
- Trading: Engage with other players on your server.
- Methods: Use in-game chat or community forums to find players willing to trade blueprints or crafted items.
- Considerations: Be cautious when trading. Agree on terms clearly and ensure the trade is fair.
- Scrapping for Components: While not directly acquiring blueprints, scrapping unwanted items at a Recycler is do-or-die for obtaining the components needed to craft items that can then be researched. Some rare components might also be found directly in loot.
Recommended Early Firearm Blueprints:
As you progress and gather Scrap for research, focus on these firearms first. They offer a significant upgrade and are generally easier to craft and maintain at Workbench Tier 2.
- Revolver: A reliable starting firearm. Good damage, decent accuracy, and manageable ammo cost. Essential for early PvP engagements.
- Waterpipe Shotgun: Extremely cheap to craft and devastating at close range. Ideal for base defense and ambushes, though its range and reload speed are significant drawbacks.
- Pump Shotgun: A significant upgrade over the Waterpipe, offering better range, damage, and a faster reload. Requires more advanced components but is a staple for mid-game combat.
- Custom SMG: The first true automatic weapon available at Tier 2. High rate of fire makes it excellent for close-quarters combat, but recoil can be challenging for new players.
2. Component Gathering for Firearms:
Each firearm requires a specific set of components. Efficiently gathering these is vital for consistent crafting.
- Metal Fragments: The most common building material for firearm bodies and basic parts. Smelted from Metal Ore.
- High Quality Metal (HQM): Essential for more advanced parts, increased durability, and higher-tier firearms. Farmed from HQM nodes, recycled from components (Gears, Sheet Metal, Motors), or dropped by elite NPCs (high risk).
- Springs: A critical component for almost all firearms, enabling their mechanical function. Commonly found by recycling items like Gears, Road Signs, or from various loot crates.
- Pipes: Used in the construction of shotguns and some other firearms. Found by recycling Propane Tanks, Sheet Metal, or from loot crates.
- Gears: Often required for automatic weapons and more complex mechanisms like SMGs. Found by recycling items like Tool Cupboards, Road Signs, or from loot.
- Wood: Used for stocks and grips on certain firearms, providing better handling. Harvested from trees.
Firearms Craftable at Workbench Tier 2:
Prioritize crafting firearms that offer a significant combat advantage over melee weapons and are cost-effective to produce and maintain. The following are typically available at Workbench Tier 2:
| Firearm | Ammunition Type | Crafting Cost (Workbench Tier 2) | Key Components | Notes |
|---|---|---|---|---|
| Revolver | Pistol Bullet | 250 Metal Fragments, 50 High Quality Metal, 5 Springs | 200 Metal Fragments, 50 High Quality Metal, 5 Springs | A solid starting firearm. Decent damage at close to medium range and relatively accurate. A good balance of power and cost. |
| Waterpipe Shotgun | Shotgun Shell | 150 Metal Fragments, 50 Wood, 2 Pipes | 150 Metal Fragments, 50 Wood, 2 Pipes | Extremely cheap to craft and devastating at very close range. Its primary drawbacks are low accuracy, slow reload, and limited range. Excellent for ambushes. |
| Custom SMG | Pistol Bullet | 300 Metal Fragments, 75 High Quality Metal, 10 Springs, 5 Gears | 300 Metal Fragments, 75 High Quality Metal, 10 Springs, 5 Gears | Offers a higher rate of fire than the Revolver, making it effective for close-to-mid range engagements. Recoil can be challenging to control for new players. |
| Pump Shotgun | Shotgun Shell | 400 Metal Fragments, 100 High Quality Metal, 8 Springs, 3 Pipes | 400 Metal Fragments, 100 High Quality Metal, 8 Springs, 3 Pipes | An upgrade over the Waterpipe Shotgun, offering improved range, damage, and a slightly faster reload. Requires more advanced components. |
| Semi-Automatic Pistol | Pistol Bullet | 300 Metal Fragments, 75 High Quality Metal, 10 Springs, 5 Gears | 300 Metal Fragments, 75 High Quality Metal, 10 Springs, 5 Gears | A faster-firing pistol than the Revolver, but with a smaller magazine capacity and potentially less stopping power per shot. Good for sustained fire. |
Ammunition Crafting:
Firearms are useless without ammunition. Crafting ammunition requires Gunpowder (produced from Sulfur Ore and Charcoal) and Metal Fragments. Always ensure you have a substantial stack of ammunition before venturing out, as running out mid-combat is a common and often fatal mistake.
- Pistol Bullet: 10 Metal Fragments + 1 Gunpowder
- Shotgun Shell: 10 Metal Fragments + 1 Gunpowder
To maximize your ammunition production, establish a reliable source of Sulfur and Charcoal. Sulfur can be found in sulfur nodes, and Charcoal is produced by smelting Wood in a Furnace.
Preparing for Mid-Game Conflicts
As you acquire firearms, you'll inevitably encounter other players and well-equipped NPCs. Preparing for these conflicts goes beyond just crafting weapons. You need to consider defense, mobility, and survival.
1. Armor and Protection:
Invest in armor to significantly increase your survivability. The Workbench Tier 2 allows for the crafting of more advanced armor sets.
- Metal Armor Set: (Helmet, Chestplate, Pants, Boots) - Offers a good balance of protection and mobility. Requires Metal Fragments and High Quality Metal.
- Roadsign Armor Set: (Roadsign Jacket, Roadsign Kilt) - Provides excellent protection, especially against projectile damage. Requires Road Signs (found in barrels and loot) and Metal Fragments.
- Tier 1 & Tier 2 Helmets: Such as the Metal Face Mask or Riot Helmet, offer do-or-die head protection.
Always aim to wear the best armor you can craft or acquire. A full set of Metal Armor is a significant upgrade over cloth.
2. Base Defenses:
Your base needs to evolve to withstand more sophisticated attacks.
- Reinforced Doors: Upgrade from wooden doors to Sheet Metal or Armored Doors.
- Window Bars: Prevent easy entry through windows.
- Shotgun Traps: Craftable at Workbench Tier 2, these are excellent deterrents for raiders attempting to breach your base. They require Shotgun Shells to be loaded.
- Auto Turrets: While typically requiring Workbench Tier 3, you might find them in loot or trade for them. They are highly effective defensive measures.
- Honeycomb: Expanding your base with an extra layer or two of walls around your core can significantly slow down raiders.
3. Medical Supplies:
Carry a good supply of Bandages and Medical Kits. Knowing when and how to use them during combat can be the difference between life and death.
4. Strategic Positioning and Movement:
- Cover: Always use natural and man-made cover when engaging in combat.
- Awareness: Pay attention to your surroundings. Listen for footsteps, gunshots, and be aware of potential ambush points.
- Escape Routes: Always have a plan for retreating if a fight turns against you.
100% Human-Written. Community Verified. Learn how Ludo.guide verifies content