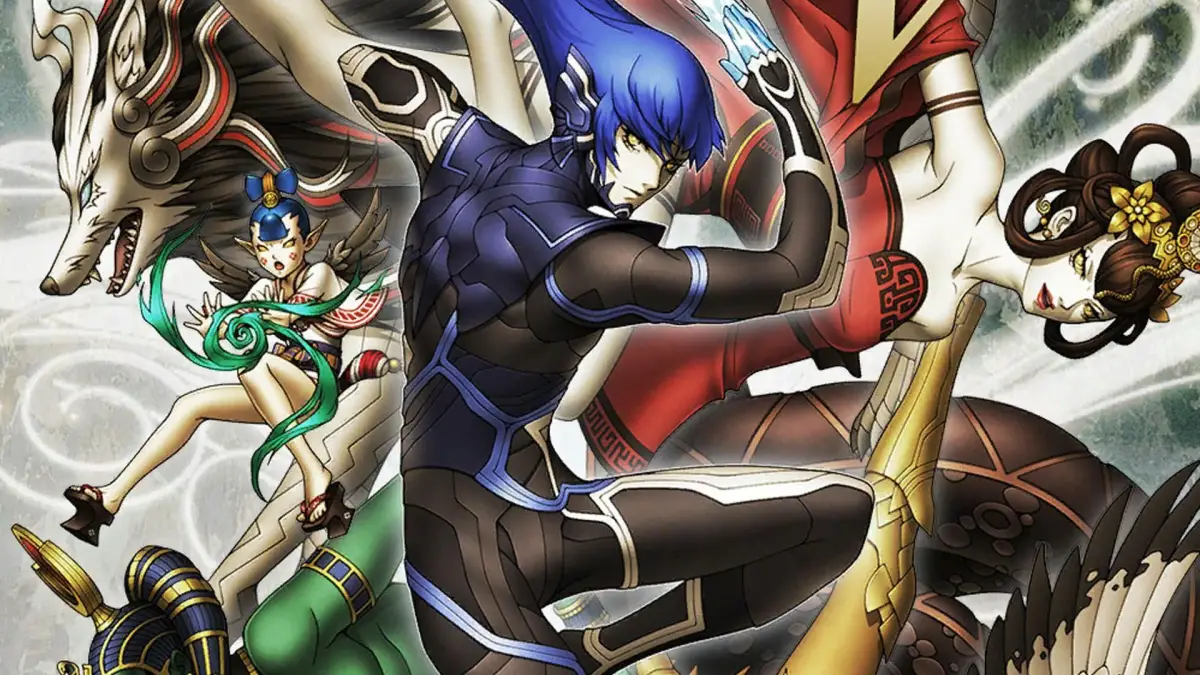
Welcome to Shin Megami Tensei V: Vengeance, an atmospheric RPG where you'll navigate the shattered world of Da'at. As a Nahobino, you'll explore this post-apocalyptic Tokyo, battle demons, and fuse them to your will. Vengeance offers two distinct story paths: the familiar Canon of Creation and the all-new Canon of Vengeance, each with unique characters and events.
This guide covers both storylines, providing updated strategies for Punishing Foes and bosses, alongside details on new item locations and subquests. We'll help you master demon fusion, navigate Da'at, and progress through the story, whether you choose the path of creation or vengeance.
Definitive Grinding Guide/Explaining Navigators and Search points
Learn how to grind Macca, Incense, essences, and more in Shin Megami Tensei V: Vengeance. Explains Navigators and Search Points.
Balms cannot be grinded for in Shin Megami Tensei V: Vengeance. There is a fixed number available in each new playthrough, and while they can be found from search points, these are fixed, one-time discoveries.
About Navigators and Search Points
Search points are fixed locations within each area of a region. Navigators can reveal some of these points when you approach them. There are two main types of search points:
- Fixed Types: These always yield the same items, including rare ones like Balms. They are a one-time occurrence per playthrough and do not respawn (be brought back to life at a checkpoint after death). Fixed types also include Mitama (special demons) spawns, which can be used for easy Mitama drops and can be re-attempted via save scumming (reloading your save file) if they escape. Fixed points reset in New Game Plus (NG+).
- Random Types: These provide a random item from a specific pool when searched. Save scumming will likely change the results. The item pool varies between random search points, and may rarely include Mitama encounters or normal enemy encounters. Regions like Odaiba and Taito have many random spots with a good chance for rare items. Chiyoda and Taito are the only regions with search points that yield jewels like diamonds.
To grind random search spots, fast travel to a distant area within the same region (e.g., from Tamachi to Odaiba or vice versa). The results from a search point are influenced by RNG (random number generation), which can be affected by factors like the time elapsed since saving, previously searched points, battles fought, and moon phase. If you are not getting desired results, try waiting before interacting with the search spot, or leave and re-enter the area to reset it. Some random pools also contain enemy encounters, particularly in Taito and Chiyoda, with some spots having up to three encounter variants and one item drop.
Mitama are not part of the random search spots pool but have a set chance to occur in all search spots, with certain navigators greatly increasing this rate. Normal enemy encounters are not directly related to navigators, but some can make results more likely.
Navigators
There are six different navigators in Shin Megami Tensei V: Vengeance, with five active at any given time:
- Amanozako: Acquired early in the game. Has no special qualities and becomes unavailable after certain late-game quests.
- Jack O' Lantern: Acquired in the second region, Fairy Village. Has the highest rate of enemy encounters, making him useful for Mitama farming. He can cause enemy spawns frequently but can be inconsistent; Decarabia is an alternative if he is not working.
- Hua Po: Acquired early in the third region via a quest. Some players report increased Incense drops, but testing has not confirmed this outside of fixed search points. She may find elemental shards and gems more easily from random spots.
- Yatagarasu: Acquired in the fourth region through a quest. May find Sutras and Aogami essences (in Odaiba) more easily. Notably, Yatagarasu can completely prevent enemy encounters from random search points.
- Atavairas: Acquired by completing his quest in Minato and then speaking to him in Odaiba. Becomes available when Amanozako leaves. He has a decent rate of Sutra drops, primarily increases Macca found, and often finds Gems.
- Decarabia: Found near the end of the third region. Requires payment of 40,000 Macca. While some report a high battle rate, it is lower than Jack O' Lantern's. Decarabia has a high Mitama encounter rate, easily spawning Mitama groups, and frequently spawns four red Mitama in Odaiba.
- Balms are found only in fixed search points and are a one-time acquisition per playthrough.
- For Mitama farming, Jack O' Lantern or Decarabia are recommended navigators.
- Yatagarasu is useful if you want to avoid enemy encounters from random search points.
- Odaiba and Taito offer better chances for rare items from random search points compared to Minato.
- Jewels like diamonds can only be found in search points located in Chiyoda and Taito.
- Experiment with waiting or leaving and returning to an area to reset random search points if you are not getting desired items.
General Tips and Advice
Master Shin Megami Tensei V: Vengeance with our General Tips and Advice guide. Learn about exploration, demon building, resource management, and essential strategies for success.
This guide provides general tips and advice for Shin Megami Tensei V: Vengeance, covering exploration, resource management, quest completion, and character building.
Exploration Tips:
- Always check search points and vending machines for resources.
- Save petrified demons, Gospels, and Grimoires for the endgame.
- Find all Miman in each region during a single playthrough, as they reset between playthroughs.
- Complete as many quests as possible, returning later for difficult ones. Some quest chains unlock new fusions and the hidden 4th ending.
- Talk to NPCs, as some may offer items or talismans.
- Initiate combat by attacking demons before they notice you to gain the first turn.
- Work with the brief window after winning or running from a fight to reposition and attack other demons.
- Collect talismans to unlock new Magatsuhi skills.
- Engage challenging foes once you reach the appropriate level.
- Avoid learning mastery miracles early on; focus on other useful miracles and save mastery for super bosses or endgame.
Building the Nahobino:
This section offers opinions on character builds based on experience.
Early Game (Magic Build):
- Focus all skill points into Magic.
- Equip elemental single-attack spells of varying elements, prioritizing the strongest available via essences.
- Delegate healing, buffing, and debuffing to other demons.
- Maintain this build until at least level 20, though it remains reliable throughout the game.
Super Bosses (Strength Build):
- Shift stat point allocation solely to Strength until it reaches 140-150.
- Continue using elemental skills as a magic user; a pure strength build may lack necessary skills early on.
- Elemental Draco Strike skills are strength-based but have a limited lifespan.
Late Game Builds:
- Magic Build: Focus on severe single-attack elemental spells for every element, plus utility skills like Great Mana Spring.
- Strength Build: This build is powerful and effective against most enemies. Essential skills/essences include Murakumo (from Aogami Type 0 essence), High Almighty Pleroma, Almighty Pleroma, Critical Zealot, Critical Aura, Great Mana Spring/Great Life Spring, Enduring Soul, and Abyssal Mask.
Affinity and Resistances:
- Affinity choices depend on the situation and enemy attack types.
- For late game and super bosses, consider using Sandalphon's essence to equip Repel Force instead of Great Life Spring, or Vishnu to equip Repel/Drain Fire.
- The goal for super bosses is to have Null Phys and no weaknesses, with as many resistances as possible.
General Tips and Advice (2)
Explore Shin Megami Tensei V: Vengeance with our General Tips and Advice guide. Learn about exploration, demon building, and strategy for success.
Exploration Tips:
- Check all search points and vending machines; every resource is valuable.
- Save petrified demons, Gospels, and Grimoires for the end game.
- Find all Miman in each region during a single playthrough, as they reset in subsequent ones.
- Complete all possible quests, returning to difficult ones later. Some quest chains unlock new fusions and the hidden 4th ending.
- Talk to every NPC, as some may offer items or talismans.
- Initiate combat by attacking demons before they notice you to gain the first turn.
- After a fight or escape, use the brief window where other demons are stationary to attack and gain initiative.
- Collect talismans to unlock new Magatsuhi skills.
- Engage challenging foes when you reach an appropriate level.
- Avoid learning Mastery Miracles early on; focus on more useful miracles. Reserve Mastery for super bosses or end-game content after unlocking other Miracles.
Building the Nahobino:
This section is based on personal opinion and experience.
Early Game (Up to Level 20):
- Focus on a magic build, allocating all skill points to Magic.
- Equip elemental single-attack spells of various elements, prioritizing the strongest available via essences.
- Delegate healing, buffing, and debuffing to other demons.
This magic build is generally reliable throughout the entire game.
Super Bosses Build:
- If aiming for super bosses, switch to a strength build, investing stat points solely into Strength until it reaches 140-150.
- Continue using and adding elemental skills, as a pure strength build may lack necessary skills early on.
- Elemental Draco Strike skills can be used but have a limited lifespan.
Late Game Builds:
- Magic Build: Consists of severe single-attack elemental spells for every element, plus utility skills like Great Mana Spring.
- Strength Build: Significantly more powerful and effective against most enemies. Requires specific essences and skills:
- Murakumo (from Aogami Type 0 essence)
- High Almighty Pleroma and Almighty Pleroma (mid to late-game demon essences)
- Critical Zealot and Critical Aura
- Great Mana Spring or Great Life Spring
- Enduring Soul
- Abyssal Mask
Affinity and Resistances:
- Affinity choices depend on the situation and the attacks of current enemies or bosses.
- For late game and super bosses, consider using Sandalphon's essence to equip Repel Force instead of Great Life Spring.
- Alternatively, use Vishnu and equip Repel/Drain Fire.
- The goal for super bosses is to have Null Phys and no weaknesses, with as many resistances as possible.
Walkthrough
Your first steps in Shin Megami Tensei V: Vengeance! Learn about difficulty settings, early choices, and navigating the initial areas of Tokyo.
Alright, let's get started with Shin Megami Tensei V: Vengeance! First things first, you'll be prompted to pick a difficulty. This guide's written with Hard mode in mind, so you'll get the most out of the advice, but honestly, the tips here will help no matter what you choose.
Here's a quick rundown of the difficulties:
| Difficulty | Details |
| Safety | This is basically a story mode. You can just button mash your way through, perfect if you're here for the narrative and not the challenge. (Comes as free DLC) |
| Casual | If you're new to games like this, Casual is a smooth ride. You might stumble a bit, but major setbacks are unlikely. |
| Normal | This is for players who enjoy Atlus JRPGs like SMT and Persona. You'll get a good balance of challenge and fun. (You can switch this difficulty on and off whenever you like) |
| Hard | This one's for the veterans who crave a serious challenge. Expect enemies to dodge and crit more often, and they'll have more HP. It's designed to really test your skills and maybe a bit of your luck. (You can only pick this when you start a new game, and while you can change it later, you can't switch back to Hard once you've changed it.) |
After the opening scenes, you'll get to name your protagonist. Go ahead and give him a name you like!
Once you're in the classroom, take a moment to walk around and chat with everyone. After that, head towards the objective marker that pops up on your screen.
You'll see some more scenes, and then you'll be presented with a choice. These story dialogue choices can shift your alignment. Unlike older SMT games, this doesn't lock you into an ending just yet – that's a decision you make much later. However, aligning yourself with your chosen ending route will give you some nice bonuses down the line. We'll get into that more when it's game-changing, but for now, just pick either option; it won't change what happens immediately.
When you regain control, you'll be on the city map. Feel free to chat with any green NPCs you see. Then, make your way to the station and head inside.
More scenes will play out, and you'll have control again. You can talk to the folks around or go straight for the objective. After listening to what the crowd has to say, return to your group, where only Miyazu will be left.
You'll face another choice here, but again, don't stress over it – your answer doesn't really matter at this point.
Head to the back of the station and move into the next area. You'll be prompted to save your game, so make sure you do that!
Now, on the world map, head north towards the Takanawa Tunnel and enter it. More scenes await you.
Just walk forward until you trigger another scene, and then another one that presents you with a choice you don't really have to think about.
And that's it – the game is officially starting!
Previous: Balms and other fixed Search point locations
Next: Alignment Choice Guide
Similar guides you might like




100% Human-Written. Community Verified. Learn how Ludo.guide verifies content