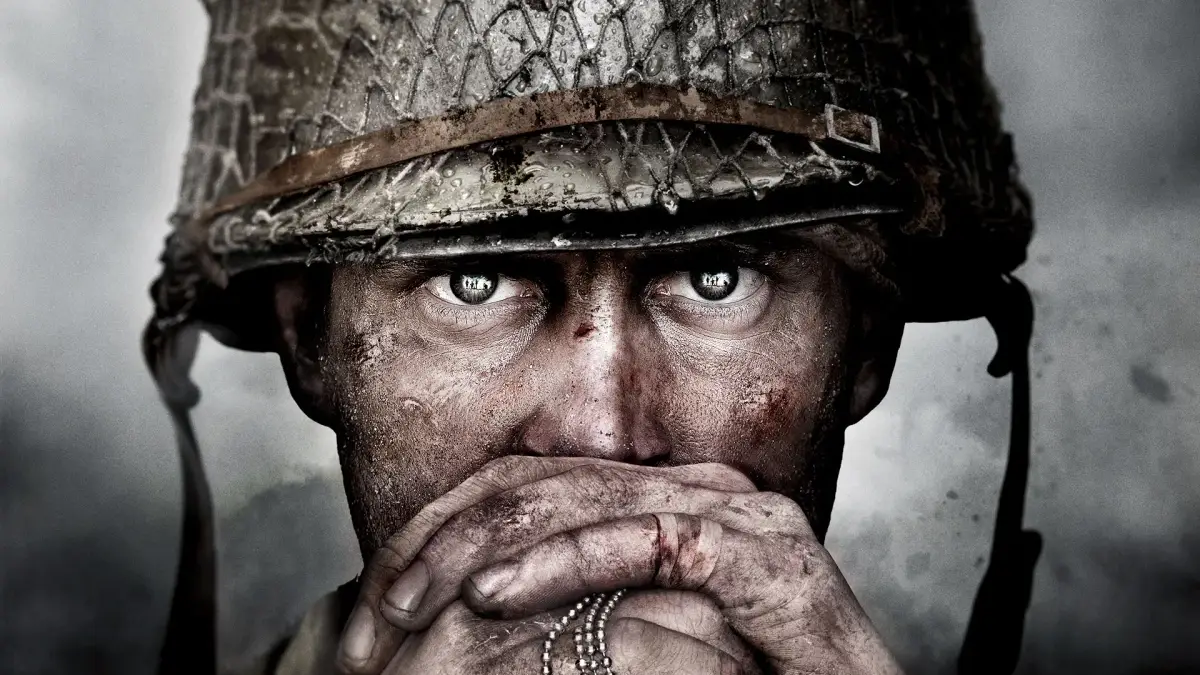
Step onto the battlefield with Call of Duty: WWII, a gripping shooter that plunges you into the heart of iconic World War II combat. This extensive guide features 38 sections, covering everything from getting started and the main walkthrough to character builds and boss strategies. Find expert tips, item locations, and multiplayer map breakdowns to dominate every front.
Walkthrough
Comprehensive Call of Duty: WWII walkthrough covering all missions, collectibles, Heroic Actions, and trophies. Includes general tips and strategies for the single-player campaign.
Dive into the Call of Duty: WWII walkthrough. The game itself is a fairly straightforward FPS and anyone who has experience in the genre should not have much trouble getting through the single player campaign. This guide will include general information on the levels and some tips for some of the more difficult segments such as where to position yourself or good times to use certain abilities or guns. This is by no means necessary, and there are plenty of legitimate strategies to get through almost every fight in the game. Before getting into the guide, here are some general tips for using it and general strategies for getting through the game.
This Guide Is Not Spoiler Free
Be warned that I will describe scenes as they are happening, so there are spoilers in this guide. I will absolute not be spoiling anything that happens later in the story, but I will be describing what is going on at that moment. If you are worried about future spoilers, I urge you to not read ahead.
Heroic Actions/Mementos/Chapter Trophies and Achievements
There are 11 missions in total in this game and a brief epilogue following the final mission. Every single chapter in this game (with the exception of the epilogue) will have a chapter specific trophy associated it. There will be one for completing the mission, but an additional one for doing something specific in that chapter. A lot of the time it is something like "get through this segment undetected" or "do this one segment particularly well". In the walkthrough, I will put in exactly where these chapter based trophies can be obtained to give you context for when you should try unlocking them if you are interested in that. There is a Trophy/Achievement List And Guide section in this guide as well, but it will mostly provide the same information found in the walkthrough. There are other trophies you can get in the story campaign that typically are something you'll get through the cumulative playthrough by doing certain things multiple times through multiple chapters. These will not be included in the walkthrough, so if you want advice getting those please refer to the Trophy/Achievement List and Guide section of the guide.
Additionally, there are two categories of missable things throughout Call of Duty: WWII. This will not affect the game itself in anyway, but there are a total of four trophies associated with finding them all. The first of these is Mementos, little trinkets hidden in the levels that can be stolen...er...I mean "held on to for the preservation of history". The second is Heroic Actions, which are divided up into three different kinds of feats that can be performed. There are places where you can drag an ally to safety, places where you can get enemy soldiers to surrender, and places where you can save an ally locked in a struggle with a Nazi. All of these occur in very specific locations and will not change in the course of a playthrough. There are 33 Mementos and 23 Heroic Actions to find, and this guide details how and where to find them all. It is included in the main walkthrough section and will be described as they show up in the course of the story. If you are looking for only the Mementos and Heroic Actions and do not feel like you need the additional context provided by the guide, please refer to the Memento and Heroic Action section of the guide.
General Tips And Tricks For The Story Campaign
While a lot of the gameplay here should be very familiar for anyone that has played the previous Call of Duty games, it is worth noting there are certain exceptions. The biggest here is that your healthy will not automatically regenerate, and you will need to go around and gather First Aid Kits to restore your healthy. A lot of times in between objectives, you will have a little while to look around there area, and this is a good time to gather up some First Aid Kits and swap out for new weapons. There are a lot of First Aid Kits here, and it there are a lot just scattered around. There are also boxes full of ammo or grenade refills at fairly frequent intervals, so make sure you stock up on ammo and first aid whenever you get a chance. Enemies will drop guns, so if you start running low on ammo it is a good idea to swap it out for something that has more bullets in it.
Also, whenever fights break out it is best to get somewhere in cover. Even the easier difficulties are going to be tough if you just wander out in the open. Move from cover to cover and go for as many headshots as possible. It is fairly common shooter advice, but it holds true here as well. Don't forget to make good use of your grenades by tossing one out whenever things get hectic. Regular grenades are great for clearing out crowds, and the smoke grenades are good for providing cover or even disabling nearby troops. Finally, if you see some sort of mounted machine gun, make good use of it. There are several segments where a MG will be sitting there and be ready for use, and in almost all of these scenarios they can provide great help for crowd control. In general, take your time, use cover, and make sure you have plenty of ammo.
Squad Based Abilities
Another unique aspect to this entry in the series is that each member of your squad has some sort of unique ability you can use to make the fights easier. Not all members of the squad will be available at once, and the indicators in the lower right of the screen will show you who is with you at the moment. Once the yellow indicator around their face is full, you will be able to request them to use their ability. This indicator will fill up as you kill enemies, and to use it you just need to go over to the character you want and press the d-pad in the indicated direction. They do not share an indicator, so you can use one and not have to worry about it resetting the other characters' abilities. Taking advantage of these abilities can make the game much easier, so use them as
Controls and General Information
Get a grip on Call of Duty: WWII! Learn PS4 & Xbox controls, understand Red Daniels' journey, and master shooting and cover mechanics for a smooth ride through the campaign.
Alright, let's get you squared away with the basics for Call of Duty: WWII. Think of this as your quick-start guide before diving into the action. We'll cover how to move, shoot, and generally survive the battlefield. Don't worry, it's pretty straightforward, especially if you've played shooters before.
For the most part, you'll be playing as Ronald "Red" Daniels, a soldier fighting his way through 11 intense levels. It's a pretty linear experience, so don't stress about getting lost – the game guides you pretty well. The main goal is simple: shoot Nazis, move forward, and try to stay alive. There are some collectibles, 33 Mementos in total, but even finding those won't take you too far off the beaten path.
Your best friends in this game are your guns and the ammo you'll find scattered around. The core gameplay loop is "shoot the bad guys, move forward." The most must-have skills to develop are good aim and smart use of cover. You can hide behind all sorts of objects, and if the cover is the right height, you can even aim over it to take shots without exposing yourself. Seriously, use cover whenever you can – it's way better than standing out in the open.
Here are the default controls for PlayStation 4 and Xbox One. PC players can find their mappings in the pause menu.
PS4 Controls
| Button | Action |
| Left analog stick | Move character |
| Right analog stick | Move camera |
| Directional Buttons | Activate Squad Ability |
| X | Jump |
| O | Duck |
| O (HOLD) | Go prone |
| Triangle | Switch weapon |
| Square | Reload |
| R2 | Fire/shoot |
| R1 | Throw frag grenade |
| L2 | Aim down sights |
| L1 | Throw tactical grenade |
| R3 (press) | Melee attack |
| L3 (hold) | Sprint |
| Options | Pause game, bring up menu |
Xbox One Controls
| Button | Action |
| Left analog stick | Move character |
| Right analog stick | Move camera |
| Directional Buttons | Activate Squad Ability |
| A | Jump |
| B | Duck |
| B (HOLD) | Go prone |
| Y | Switch weapon |
| X | Reload |
| Right Trigger | Fire/shoot |
| Right Button | Throw frag grenade |
| Left Trigger | Aim down sights |
| Left Button | Throw tactical grenade |
| Right analog stick (push in) | Melee attack |
| Left analog stick (push in) | Sprint |
| Menu | Pause game, bring up menu |
That's the gist of it! Keep your aim steady, use cover like your life depends on it (because it does!), and you'll be just fine. Have fun out there!
Stronghold
Follow our comprehensive guide to completing the Stronghold mission in Call of Duty: WWII. Includes objectives, collectibles, and strategies for success.
Daniels wakes up from a nightmare about the big, bad wolf and has a brief conversation with Zussman about how he doesn't need to prove himself to Pierson no matter how infected or unhealed his serious wound is. From here you are thrown right back into the thick of battle, needing to reach a strategic point to lay down suppressing fire for some other troops.
OBJECTIVE UPDATE: TAKE THE CHURCH
The church provides a nice vantage point over the rest of the town, so clearly that is where you want to get to. You also get a brand new ability here, and you can rest mortar strikes from Aiello which will prove tremendously useful in the battles to come. You throw it just like you would a normal grenade, so aim at the troops across the way and watch the fireworks that will follow. It's great for clearing out big groups of enemies or maybe just getting one jerk hiding behind cover you don't particularly like. There are a lot of enemies in and around that building directly across from you when the mission starts. Use the cover given to you to thin their ranks, then race across the street and pick off some more from the safety of the doorway. Be careful, because if you leave some of the Nazis outside alive, they can flank you here when you approach the house. Once the bottom floor is cleared out, head to the second story to finish off the remaining few. You'll know you've finally cleared the house when you get a message from Pierson telling you to push towards the church.
MEMENTO #7: 1 out of 3 on Stronghold (7/33)
On the second story of this broken down house, head to the far back wall, opposite to where you started the level from. Right in the middle is what looks like used to be a small room that had most of its walls and floors blown out. However, there is still a little bit of flooring to walk on here, that leans against the left side of what remains of the wall. On this wall is a little mirror, and hanging from the mirror is a locket. Grab it and head on out.
Things don't get easier from here, though, because there will be more enemies waiting for you as soon as you exit the house. Reinforcements arrive in jeeps and are now swarming in front of the church itself, and there are a couple different ways you can tackle them. You can use the second story here to give you a nice vantage point of the Nazis across the street, or you can head outside and use some cover around the house to engage in combat instead. Use some grenades if you find a nice big group, and there are several gaps in the walls upstairs that provide excellent cover and great vantage points to try and pick some off with headshots. A mortar also works really well here if you have one available. There are a decent number here and they can come from multiple locations, so standing out in the open is not advised unless you desperately want to donate some blood to this particular street.
Eventually, more Nazi reinforcements will arrive, this time in a halftrack filled with troops. Find some covering take your time taking them out. If you are particularly good with grenades, you can wipe out almost the entire group with a well place throw on top of the halftrack. If not, focus your fire on any troops remaining on the halftrack and clear them out as quickly as you can. Once they spill out of the truck, it might be useful to have Pierson mark the enemies so you can easily pick out where they're hiding at. Once the final one falls, make your way to where the halftrack now sits.
HEROIC ACTION #6: 1 out of 1 on Stronghold (6/23)
Once the halftrack arrives, one of your fellow soldiers will get hit by enemy fire. He won't be able to move, and Pierson will shout for you to go save him. He will be close outside the house in the center of the square, next to a truck nearby where the halftrack just bursted out of. Follow the button prompt to grab him and drag him back behind cover to earn this very well deserved Heroic Action.
OBJECTIVE UPDATE: DEFEND THE AREA
Even though you just claimed the area, more Nazis now show up to try and steal it back. There is a very nice machine gun located right in the halftrack and a bunch of enemies coming your way that happen to be weak to bullets being put in their body. Climb in the halftrack and use the machine gun to clear out the Nazis as they make their advance. Unlike the machine gun in the farmhouse back in mission one, the cover here is actually pretty good so you can take advantage of the machine gun without taking heavy fire. There are a good number both on the street and back upstairs in the house, but all of them happen to be directly in the line of fire of the machine gun so you should have no problem clearing this group out. There will be a man with a rocket up on the second story of one of the dilapidated houses, so make him a priority and take out the rest in any order you choose.
OBJECTIVE UPDATE: RALLY WITH PIERSON
Move over to the objective marker. Celebrate your success, possibly with novelty party hats and a cake.
OBJECTIVE UPDATE: CLEAR THE CHURCH
Kick down the church door like you would if you were extremely desperate for communion. The church looks empty, but isn't. This is a church that is filled with Nazis which, as you may have guessed, makes it the absolute worst kind of church. Pierson suggests you grab some ammo from the crate in the center of the room, but once you do it triggers all of the Nazis to come out of hiding. A machine gun on the second floor will immediately begin taking fire at you and additional enemies will swarm in on both the bottom and top fl
D-Day
Master the D-Day mission in Call of Duty: WWII. Learn how to breach the seawall, navigate trenches, and clear bunkers with our detailed walkthrough and tips.
The game opens with a fairly long cutscene. Take it all in. This is the most relaxing the game is going to be from here on out.
OBJECTIVE: REACH THE SEAWALL
After the cutscenes finish, the game starts out in earnest by having you storm the beaches on Normandy during D-Day. You are immediately met by machine gun fire and basically everyone that is on the boat with you gets immediately mowed down while you a few other lucky people manage to jump over the sides. Follow Lieutenant Turner and he will give you your first mission. You'll need to pick up the Bangalore torpedo sitting underneath the armless dead guy in front of you and carry it over to the seawall so you and the rest of the army can breach it. Stick to cover where you can in this entire opening segment, as your objective here is basically just to get to the seawall without dying. The machine gun fire will chip away your health quickly even on the easiest difficulties, so wandering out into the open is just begging for death. Fortunately, there is a ton of cover in this area and for now you should move from cover to cover as quickly as possible. You might get hit a few times, but this isn't a huge concern (unless you're going for the trophy - see below) as there is plenty of health waiting for you on just the other side of the seawall
Once you reach the seawall objective marker, you'll be treated to your first (of many) quick time events. Following the prompts on the screen will treat you to a nice explosion that will open up a path for you and all your other friends on the beach. Run on through and get prepared to shoot all the Nazis on the other side.
TROPHY/ACHIEVEMENT: ONE OF THE LUCKY FEW
Bronze Trophy or 15G
Breach the seawall in under 2 minutes without taking MG fire.
The game wastes no time getting right into the trophies as the first trophy you can unlock is literally the first thing you do in the game. As soon as you get control of your character, you have two minutes to get from your starting position to the QTE at the seawall, and you need to avoid all MG fire along the way. Getting shot even once kills the trophy, but luckily you quickly pause the game and select "restart from your last checkpoint" to give it another go.
The trophy itself is not that complicated once you know what you're doing. After picking up the Bangalore torpedo, your best way forward is just to mimic the cues given to you by your fellow soldiers. They run for cover whenever the enemy is reloading (and basically announce it by going "hey it is safe to run right now, follow us!"), so you want to follow them as they are running for cover at the safest possible times. Try to locate Pierson as quickly as possible, as his path through the gunfire is optimal and following him as close as possible is the easiest way to get the trophy. There are a series of barricades all the way from the edge of the beach to the seawall objective marker, and you want to run to each one and drop down as quickly as you can. At the final barricade, wait again until you hear the gunfire stop and then run to the seawall objective marker. Complete the QTE and the trophy should pop.
Be warned that you need to actually go prone behind each of the barriers, as standing or kneeling behind them is not enough to prevent you from getting hit. Hold down the circle button to crawl and keep yourself safe while the barrier is being hit by MG fire.
OBJECTIVE UPDATE: ASCEND THE BLUFFS
Once through, quickly veer over to the left as there is nothing of interest over on the right except death and sadness. You'll now enter the trenches, which are full of enemies. As soon as you make your way into the trenches, you should notice a handful of enemies directly on the either side of the entry way. Take them out as quickly as possible, ducking behind the side of the wall as needed. Friendly reminder that health does not regenerate automatically in this game, so never stay in the open for too long. Once the final one drops and no more pop around the corner, make your way forward through the first tunnel and enter the trenches in earnest.
Around the corner you'll find Zussman, who will toss you your first health pack. Always try to keep one on you in case of emergencies, as this is the way you'll heal damage in this game. Zussman can toss you an occasional health pack throughout the course of the campaign, or you can find them frequently littering the environment as you make your way through the missions.
Make your way forward, clearing out the Nazis you run into along the way. For now, all enemies will appear inside the trenches so do not not worry about someone shooting at you from above. There will be a couple more enemies just past Zussman, either walking towards you or ducking behind cover. Make your way forward and use cover as needed. There is a health pack right out in the open in the next clearing. Grab it and move on. Near the end of this first trench, you'll see a couple of enemies on top who jump down to confront you directly. After clearing them out, make your way up the stairs on the left.
MEMENTO #1: 1 out of 3 on D-Day Campaign (1/33)
Before heading up the stairs, make your way all the way to the end of the trench. It dead ends, but on the right is the entrance to a pillbox. Make your way in and right on the edge of the pillbox looking out onto the beach is a knife that has been wedged into it. Grab it before moving on.
Make your way up the hill. There are a handful of enemies at the very top, most of which will stay out in the open and let you shoot them. There is usually one or two that likes to be a bit smarter and dives behind the burning wagon on the side. Clear out the rest and then charge the stragglers to take them all out. Turner has a new objective for you once you do.
OBJECTIVE UPDATE: CLEAR THE BUNKERS
Now there are five bunkers you will need to clear out of their current Nazi infestation (the
Similar guides you might like





100% Human-Written. Community Verified. Learn how Ludo.guide verifies content