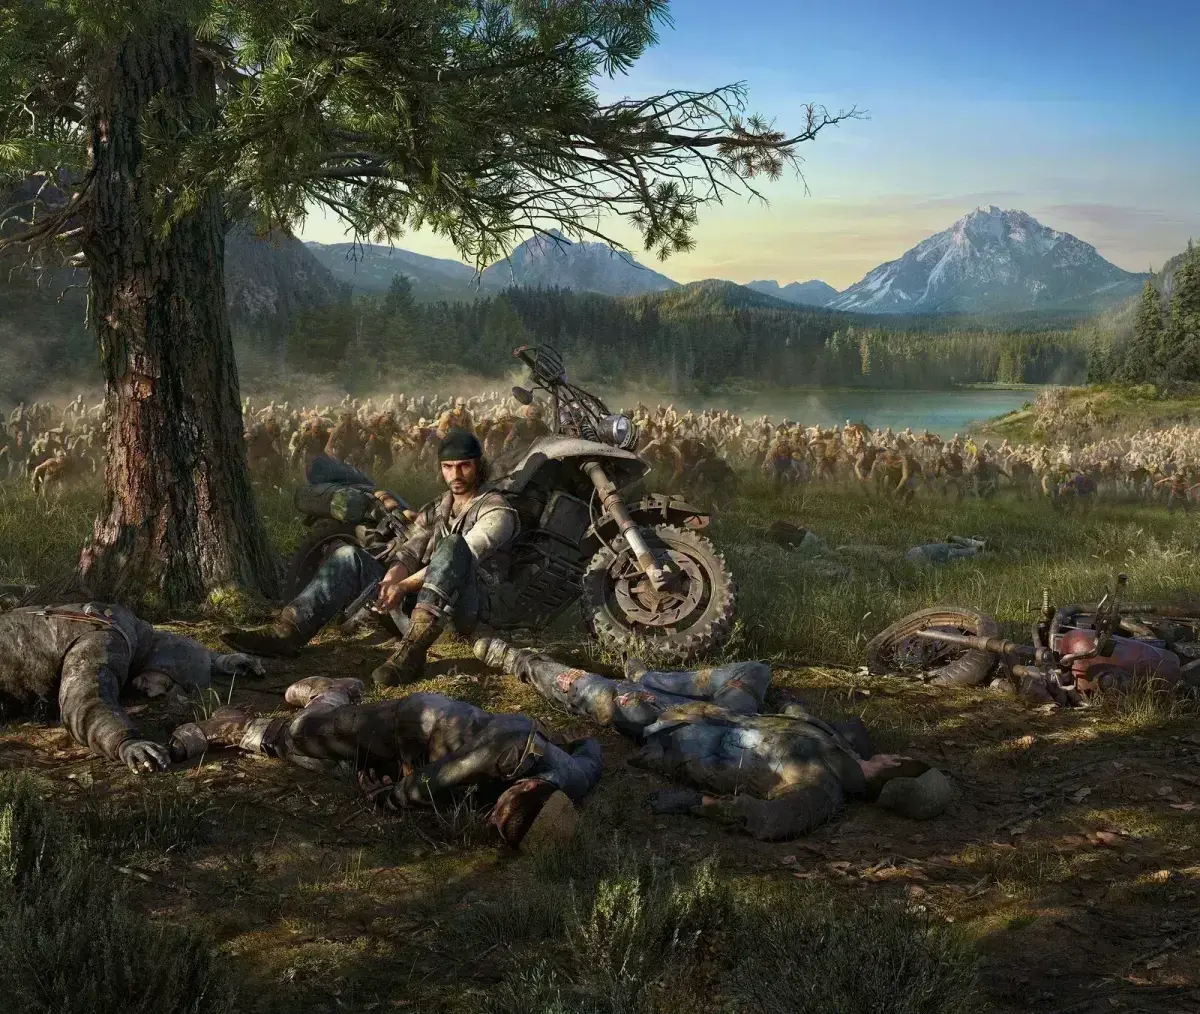
Face the Freaker hordes in Days Gone, a brutal action game for PC and PS4. This extensive guide offers 348 sections covering everything from getting started and walkthroughs to weapon advice and collectible locations. Master melee combat, conquer encampment jobs, and explore every corner of the world to survive.
Section 1: Game Basics
Get a grip on Deacon St. John's survival adventure in Days Gone. Learn about weapons, crafting, and the harsh world of Oregon to stay alive against Freaks and raiders.
Alright, so you're diving into the wild, unforgiving world of Days Gone. It's a tough place out there, and you'll be playing as Deacon St. John, a former biker just trying to find his way after the world went sideways. A nasty pandemic turned most folks into Freaks and Swarmers, and they're all heading north. You'll be dealing with these infected, plus some nasty raider gangs and a fanatical cult called the Rippers who really have it out for Deacon and his buddy Boozer. Oh, and there's a Colonel with a militia who's on a whole crusade. Your main goal? Survive in the Oregon wilderness.
When it comes to gear, you've got a few options. You'll always have your trusty boot knife for stealthy takedowns, but it's not much good in a straight fight. Regular melee weapons, like planks or baseball bats you find lying around, have a damage and durability meter, so keep an eye on them. You can even craft some better ones, like the Spiked Bat after the 'No Starving Patriots' mission, or the awesome Baseball Bat Axe you get from the Ambush Camp Hunter storyline. If you really invest in the Melee skills, especially with the Superior Metal Axe you can find later, you'll be taking down Freaks in just a few hits.
You also get three weapon slots: a Sidearm, a Primary Weapon, and a Special Weapon. You start with a 9MM handgun and get a crossbow early on. You can pick up weapons from fallen enemies or buy them at camps like Hot Springs. Some awesome weapons are mission rewards, like Boozer's Shotgun after 'I Could Use a Hand' or the Rock Chuck assault rifle. Don't forget about explosives! Molotovs are super useful for burning out infestations, and you can craft them early. Pipe bombs come later, and grenades require a higher Trust Level. These can also be found scattered around.
Keeping your weapons upgraded is key. While some heavy hitters like the MG 55 or Talon 7 sniper rifle require a lot of grinding or high Trust Levels that are tough to get early, there are plenty of solid options. Shotguns aren't generally recommended over assault rifles or SMGs with good range and suppressors. Speaking of suppressors, they're made from oil filters and degrade over time – about 4% per shot for a sidearm suppressor. You can attach and remove them, which is great for sneaking around. Use a suppressed weapon until you're discovered, then maybe switch it up.
Remember, skills like Field Repairs let you fix melee weapons, and Hard-Hitter boosts their damage. If you really go deep into the Melee Tree, Home Run makes your melee attacks devastating. These weapons are going to be a big part of your survival, so keep them in good shape or swap them out before you're left with just your knife!
Section 3: Smoke On The Mountain
Complete the Smoke On The Mountain mission in Days Gone. Learn how to approach the camp, defeat Drifters, and secure rewards of 3,000 XP, 2,000 trust, and 550 credits.
- 1Fast travel to the O'Leary Mountain Safehouse. Harvest cedar trees for crafting materials.
- 2Ride to the mission marker east of the Safehouse, parking about 100 meters before the second boxcar.
- 3Avoid or silently eliminate foraging Freaks (enemies) on the railroad tracks. Be aware that gunfire can attract Freaks and a horde from the Horse Lake NERO Checkpoint.
- 4Identify and disable the tripwire south of the boxcar using Survival Vision (a mechanic that highlights important items and enemies).
- 5Take cover (press the cover button to crouch behind walls or objects) in the brush atop the grade to scout and tag the nine Drifters defending the camp.
- 6Begin eliminating the Drifters, luring them into kill zones with rocks.
- 7If you remain hidden, use your crossbow or suppressed handgun to kill most Drifters before they retreat into cover.
- 8Secure the site, being mindful of remaining bear traps and tripwires.
- Harvesting cedar trees after departing the Safehouse provides materials for crafting bolts.
- Copeland's propaganda broadcasts will be active.
- Gunfire near the mission site may attract additional Freaks and a horde from the Horse Lake NERO Checkpoint.
- A stealthy approach to the mountain camp is recommended.
- Use rocks to lure Drifters into kill zones.
- Remain aware of bear traps and tripwires covering likely approaches.
Horse Lake Nero Checkpoint:
This is an optional task that provides a fast travel station and a NERO Injector. The location is revealed by a map at the Cascade Radio Tower Ambush Camp during the mission, No Starving Patriots.
- 1Park your bike away from the Horse Lake NERO Checkpoint. Silently dispose of any stray Freaks.
- 2Ensure the horde sleeping in the boxcar has bunked down before attempting entry. Confronting a horde this early in the campaign is not advised.
- 3During the daytime, shoot the speaker on the guard hut under the railroad trestle with your suppressed handgun to detach it. The horde will be sleeping directly above.
- 4Sneak north to find a gas can near the railroad engine. Monitor the area for stray Freaks.
- 5Toss the gas can over the fence to the generator. Shoot the two speakers on the roof with your suppressed handgun from the ground.
- 6Use the truck to reach the roof, then drop into the enclosure to avoid a drowsing Freak in the railcar.
- 7Fuel the generator to energize the door locks. Enter the building to access the NERO Injector and the recorder.
- 8Take the gas can if needed and sneak out, killing silently if necessary to reach your bike without awakening the horde.
- Working stealthily is critical due to the horde that spends daylight hours in the boxcar.
- Going during the night is hit or miss; the horde may be away or wandering the site.
- A gas can can also be found on the tow truck west of the checkpoint.
- Fast traveling to this NERO Checkpoint places you near the tow truck, a safe place to refuel.
Drugged Out Of His Mind:
Copeland has placed a bounty on Randall, whom you must capture alive.
- 1Fast travel to the Little Bear Lake NERO Checkpoint to shorten the trip from O'Leary Mountain Safehouse.
- 2Ensure your bike's fuel is topped off and you have a full supply of handgun ammo.
- 3Interact with the corpse at the mission marker south southwest of the O'Leary Mountain Safehouse.
- 4Chase Randall on his bike. Target his bike using the tutorial prompts to damage it.
- 5You can also ram his bike or run him into objects to damage it. Be aware that Randall will also be targeting you.
- 6Once Randall's bike is downed, you will tie him up and leave him for Copeland after a cutscene (a non-interactive story sequence).
- Remove the suppressor from your 9MM before heading to the site.
- Randall's bike has a health bar.
- You can ram Randall's bike or run him into objects.
Section 2: He Can't Be Far
Follow Deacon and Boozer as they chase down Leon after a comrade's death. Learn how to track enemies, survive ambushes, and make tough choices in this Days Gone walkthrough.
Alright, so you're two years into the apocalypse, and Deacon and Boozer are just cruising through the Oregon wilderness. Things are about to get hairy when they stumble upon a dying comrade, Alvarez, near the Old Pioneer Cemetery. She manages to gasp out that Leon is her attacker before she kicks the bucket. Wouldn't you know it, Leon speeds past on his bike, and that's your cue to give chase, with Boozer right behind you. This isn't just a simple ride; it's a running battle.
- 1Chase Leon: Keep an eye out for Molotovs Leon throws your way and dodge them. Stick close to Boozer, who's trading fire with Leon. The chase will take you off-road, so follow Boozer and use the boost to hit three ramps when he does to clear obstacles. Once you're back on the road, Leon bails from his bike and runs off on foot.
- 2We'll Make It Quick: Leon opens fire on you and Boozer as you pursue him into the forest. Keep following Boozer, duck under a fallen tree, and then activate Survival Vision. This will highlight Leon's footprints, creating a clear dotted trail on your mini-map. After squeezing through a narrow crevice, examine the clue marked by the magnifying glass – you'll feel your controller vibrate as you get close. An apparition of Leon will briefly appear, showing him heading deeper into the woods. Keep following his trail. A cutscene will play out near a makeshift campsite, showing a shootout where you get grazed by a bullet. Leon, out of ammo, flees again.
- 3Track Leon's Wounds: Follow Boozer and jump over a bloody fence; the blood smear confirms Leon is seriously injured. At the end of the dotted trail, you'll find him bleeding out from a stomach wound. He's defiant about attacking Alvarez, stating he wouldn't waste a bullet to end her suffering. Suddenly, a horde of Swarmers (or Freaks, same thing) appears below the hill. You threaten to return the favor he denied Alvarez, letting the Freaks tear him apart if he doesn't reveal where he stashed Alvarez's loot. He confesses the stash is hidden in the Old Pioneer Cemetery, near where he attacked Alvarez. As promised, you put him down with a bullet to the head.
- 4Heal Up and Plan: Follow Boozer back to the campsite. You'll find sterilizer and a bandage on the ground – activating Survival Vision makes them stand out. Open your utility wheel, craft a bandage, and use it to heal your bullet wound. Head back to the bikes, only to discover your fuel pump was destroyed by Leon's gunfire. You'll need to cover the bike with foliage to hide it. Boozer suggests heading back to the O'Leary Mountain Safehouse to figure out what to do about the bike, but you're set on finding a fuel pump at the garage at Crazy Willies.
- 5I Say We Head North: With your bike hidden, ride double with Boozer towards the garage at Crazy Willies. The goal is to get the fuel pump, find the stash, trade it for camp credits to get supplies, and then head north into the unknown. You'll hit a roadblock. Team up with Boozer to shove the Hummer off the road, and you'll be attacked by five Marauders. You'll take down four of them during this skirmish, which also serves as a tutorial for dodging and melee combat – a essential skill as the game progresses.
- 6Bad Way To Go Out: With the road cleared, ride double with Boozer. He'll stop before the tunnel at the Little Bear NERO Checkpoint. Notice the gas can on the tow truck – tow trucks and NERO Checkpoints always have one. While fuel isn't an immediate issue here, finding it will become vital later. Take Boozer's shotgun and clear the gloomy tunnel. You also have a 9MM handgun. Use Survival Vision to spot vehicles with loot in their trunks or under their hoods and grab it. The service corridor on the right contains sterilizer and a rag, which you can use to craft another bandage. As you advance, a cutscene triggers, and the foul stench of a Swarmer nest fills the tunnel. Boozer wants to bypass it, but you don't. He remarks on your apparent enjoyment of killing. You grab a Molotov from Boozer's saddlebag to burn the nest.
Storyline Transitions:
- Chasing Leon → We'll Make It Quick
- We'll Make It Quick → I Say We Head North
- I Say We Head North → Bad Way To Go Out
Section 2: He Can't Be Far (2)
Follow this Days Gone walkthrough for 'He Can't Be Far (2)' to chase Leon, find Alvarez's stash, and survive the Oregon countryside. Includes mission steps and tips.
- 1Begin by chasing Leon on your bike. Dodge the Molotovs he throws and follow Boozer.
- 2After reentering the roadway, Leon will ditch his bike and flee on foot. Continue to follow Boozer.
- 3Use Survival Vision to track Leon's footprints, which will appear as a dotted trail on your mini-map.
- 4Follow the trail, squeezing through a narrow crevice. Examine the clue at the magnifying glass.
- 5A cutscene will play, showing a shootout where you are grazed by a bullet. Leon flees again.
- 6Follow Boozer and jump the bloody fence. The blood smear indicates Leon is badly wounded.
- 7At the end of the trail, Leon reveals he attacked Alvarez and hid the stash in the Old Pioneer Cemetery.
- 8The Freaks smell blood, and you allow them to attack Leon. He reveals the stash location before being killed by the Freaks.
- 9Return to the campsite with Boozer. Craft a bandage using sterilizer and a rag to heal your bullet wound.
- 10Follow Boozer to the bikes and discover your fuel pump is destroyed. Conceal the bike.
- 11Ride double with Boozer towards Crazy Willies garage to find a new fuel pump.
- 12You'll encounter a roadblock. Work with Boozer to shove the Hummer off the road and fight off five Marauders.
- 13Continue riding double with Boozer to the Little Bear NERO Checkpoint.
- 14Take Boozer's shotgun and clear the tunnel. Use Survival Vision to loot vehicles.
- 15In the service corridor, find sterilizer and a rag to craft another bandage.
- 16Advance through the tunnel and encounter a Swarmer nest. Use a Molotov to burn it, then kill the two Freaks that emerge.
- Activating Survival Vision will highlight important items like sterilizer and bandages.
- Gas cans can be found on tow trucks and at NERO Checkpoints.
- Loot vehicles in the tunnel for useful items.
- Crafting bandages is essential for healing, especially when inventory space is limited.
Storyline Transitions:
- Chasing Leon → We'll Make It Quick
- We'll Make It Quick → I Say We Head North
- I Say We Head North → Bad Way To Go Out
Similar guides you might like






100% Human-Written. Community Verified. Learn how Ludo.guide verifies content