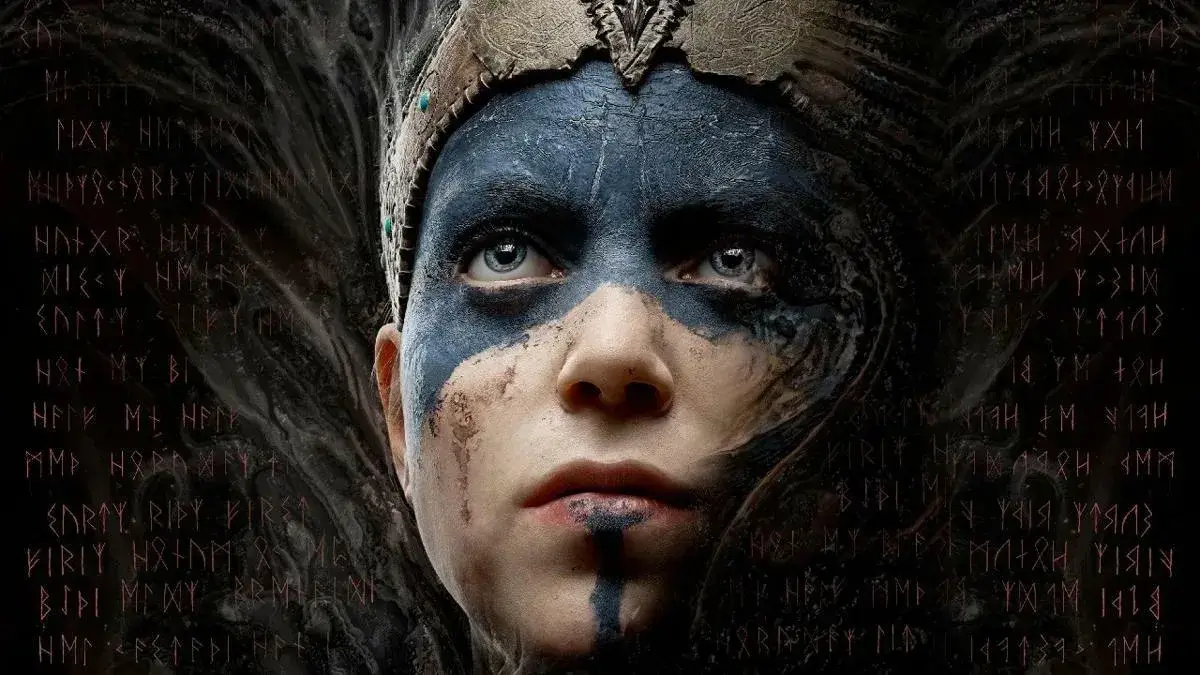
Hellblade: Senua's Sacrifice is a dark fantasy action-adventure where you play as Senua, a traumatized warrior from the Pict tribe. Driven by the brutal murder of her lover, Dillion, by Vikings, she embarks on a harrowing journey to the Norse underworld to save his soul. You'll navigate the Orkey Islands, battling creepily masked enemies and solving environmental puzzles, all while experiencing Senua's psychosis through constant voices and unsettling visions. The game is best experienced with a headset to fully immerse yourself in its atmospheric world and lore, drawing heavily from Scandinavian and Celtic folklore.
This guide will help you conquer the challenges Senua faces. We'll provide a step-by-step walkthrough to navigate the game's progression, offer strategies for defeating formidable bosses, and detail the locations of all lore stones scattered throughout the world. We'll also clarify the game's unique 'rot' system and how it impacts your progress, ensuring you can overcome every obstacle on Senua's quest for redemption.
ᚹᚨᛚᚲ ᚦᚱᛟᚢᚷᚺ
A spoiler-free walkthrough for Hellblade: Senua's Sacrifice, detailing objectives, puzzles, lorestones, and boss fights with optional video guides and timestamps.
This walkthrough will be generally SPOILER FREE. Each section will contain an optional video walkthrough. These walkthroughs have expert gameplay. They will display expert combat techniques, and move through the game in a well planned manner to show you all the puzzles and lorestones. However, the videos are not spoiler free. WALKTHROUGH VIDEOS CONTAIN SPOILERS, so watch them at your own risk. I will include lists of timestamps of when I reach important objectives in the videos. If you use these timestamps to skip to those spots in the video, you can generally skip any story spoilers that you don't want to see while still watching the video to see how to complete an objective.
I will also include videos of the boss fights. Boss fight videos come directly from the walkthroughs, but BOSS FIGHT VIDEOS CONTAIN NO STORY SPOILERS.
Conventions used in this Walkthrough
Points of no return will be marked in the guide with a double horizontal rule, like this.
After you pass a point of no return, you cannot return to the area you are leaving to collect Lorestones. In rare instances, you may be able to return later after you complete another objective. These instances will be specifically explained.
Sections of the guide where I explain new game mechanics and provide relevant tips will be highlighted in blocks like this.
Specific objectives will be placed between two horizonal rules, so that you can easily see where they begin and where they end. They will also contain some sort of graphic to indicate the beginning, and a smaller version of that same graphic to indicate their end.
Note that objectives can be nested inside each other. A Lorestone could be found while you're attempting to complete another objective. Nested objectives such as this will be indented to indicate that they are nested within another objective.
This explains the need for objective graphics to show the beginning and end of a specific objective, so that you can tell when an objective actually ends, as opposed to when a nested objective appears within the original objective.
ᚹᚨᛚᚲ ᚦᚱᛟᚢᚷᚺ (2)
A spoiler-free walkthrough for Hellblade: Senua's Sacrifice, detailing objectives, puzzles, and lorestones with optional video guides and timestamps. Learn conventions used in the guide.
This walkthrough will be generally SPOILER FREE. Each section will contain an optional video walkthrough. These walkthroughs have expert gameplay. They will display expert combat techniques, and move through the game in a well planned manner to show you all the puzzles and lorestones. However, the videos are not spoiler free. WALKTHROUGH VIDEOS CONTAIN SPOILERS, so watch them at your own risk. I will include lists of timestamps of when I reach important objectives in the videos. If you use these timestamps to skip to those spots in the video, you can generally skip any story spoilers that you don't want to see while still watching the video to see how to complete an objective.
I will also include videos of the boss fights. Boss fight videos come directly from the walkthroughs, but BOSS FIGHT VIDEOS CONTAIN NO STORY SPOILERS.
Conventions used in this Walkthrough
Points of no return will be marked in the guide with a double horizontal rule, like this.
* * *
* * *
After you pass a point of no return, you cannot return to the area you are leaving to collect Lorestones. In rare instances, you may be able to return later after you complete another objective. These instances will be specifically explained.
Sections of the guide where I explain new game mechanics and provide relevant tips will be highlighted in blocks like this.
* * *
Specific objectives will be placed between two horizonal rules, so that you can easily see where they begin and where they end. They will also contain some sort of graphic to indicate the beginning, and a smaller version of that same graphic to indicate their end.
* * *
Note that objectives can be nested inside each other. A Lorestone could be found while you're attempting to complete another objective. Nested objectives such as this will be indented to indicate that they are nested within another objective.
* * *
This explains the need for objective graphics to show the beginning and end of a specific objective, so that you can tell when an objective actually ends, as opposed to when a nested objective appears within the original objective.
* * *
- Next: The Land of Mist and Fog - ᛋᛖᛖᚲ
The Land of Mist and Fog - ᛋᛖᛖᚲ
Follow our detailed walkthrough for 'The Land of Mist and Fog' in Hellblade: Senua's Sacrifice, covering Lorestones, Rune Gates, and environmental puzzles.
- 1The game begins with an extended cutscene introducing Senua and her journey by canoe. You can control the camera but not Senua's movement.
- 2Upon gaining control, approach the stone monolith. A ring of runes will appear, marking Lorestone 1/4. Aim at the center of the stone and press R2 to collect it.
- 3Continue forward along the linear path. Senua will automatically climb over a log.
- 4You will encounter shallow swampy water; Senua can wade through this without issue.
- 5The path leads to a beach overlooking an island with a wooden dragon, representing Helheim. Continue under a bridge (Gjallarbrú).
- 6After the bridge, turn left into the rocks. Lorestone 2/4 is located at the base of a waterfall.
- 7Head up the stone stairs to the right and climb the ladder using the interact button (default is R2, but can be set to other buttons like Triangle).
- 8Follow the path through a tunnel and across a wide beam. You cannot fall from this beam.
- 9At the other side, jump down from the wooden platform onto a white painted area, leading into a cave. This is a point of no return for collecting previous Lorestones.
- 10Follow the cave to a door with a glowing red rune. Approach the door to trigger a vision and activate the Rune puzzle.
- 11To solve the Rune puzzle, you need to find an object in the environment that matches the shape of the Rune on the door. Red runes will appear on screen as you get closer, turning white when you are looking in the right direction. Aim at the correct object and hold R2 to focus and activate the Rune.
- 12The first Rune puzzle is located back down the hall, where sunlight shines through a ceiling hole onto various objects. Find the object that matches the Rune shape and focus on it.
- Lorestones provide lore from Druth about Norse mythology. You must stay close to the Lorestone while Druth is speaking to hear the full story. Collecting Lorestones is not required for progression but is necessary for trophies.
- Lorestones are the only missable objectives in the game.
- The interact button (default R2) is used for climbing ladders and interacting with objects. It is recommended to set this to a consistent button (e.g., Triangle) for all interactions.
- The game features long sections without combat; investing in the story is recommended for enjoyment.
- The Rune puzzle mechanic involves finding environmental shapes that match the Rune symbols on doors.
The Land of Mist and Fog - ᛋᛖᛖᚲ (2)
Follow our detailed walkthrough for 'The Land of Mist and Fog' in Hellblade: Senua's Sacrifice, guiding you through lorestones, rune gates, and environmental puzzles.
- 1The game begins with a lengthy cinematic sequence where Senua rows her canoe, introducing her character and circumstances. You can control the camera but cannot interact with anything.
- 2Upon gaining control, you will see a stone monolith. As you approach it, a ring of runes appears. This is Lorestone 1/4. Walk towards it and press R2 while aiming at the center to collect it.
- 3After collecting the Lorestone, proceed forward along the path. Senua will automatically climb over a log.
- 4Continue until you reach shallow swampy water. Senua can move through this water without issue.
- 5You will eventually reach a beach overlooking an island with a wooden dragon structure, representing Helheim. Continue along the beach and under a bridge (Gjallarbrú).
- 6After passing under the bridge, turn left into the rocks. Lorestone 2/4 is located at the base of a waterfall.
- 7Collect the Lorestone, then head up the stone stairs to your right.
- 8At the top of the stairs, climb the ladder using the interact button (default is R2, but can be configured).
- 9At the top of the ladder, the path leads through a small tunnel and back the other way. You will need to cross a wide beam; Senua will automatically traverse this safely.
- 10On the other side, you will see a wooden platform marked with white paint. Jump down onto it to enter a cave. This is a point of no return for collecting previous lorestones.
- 11Follow the cave until you reach a door with a glowing red rune.
- 12Focus on the door with R2 to activate the Rune puzzle.
- 13To solve this first rune puzzle, return down the hall. Look for an area where sunlight shines through a hole in the ceiling. The shape of the rune can be found in the environment illuminated by this light. Aim at the environmental shape and hold R2 to focus and activate the rune.
- Lorestones provide lore from Norse mythology narrated by Druth. Stay close to the Lorestone while the story plays to hear it fully.
- Lorestones are the only missable collectibles. Ensure you collect them as you encounter them.
- The interact button (default R2) is used for collecting lorestones, climbing ladders, and interacting with objects. It's recommended to set this to a consistent button across all playthroughs.
- The game features long stretches without combat; engage with the narrative to enhance the experience.
- The rune puzzle requires finding environmental shapes that match the rune on the door. Red runes appear on screen as you get closer to a potential match, turning white when you are looking directly at it.
100% Human-Written. Community Verified. Learn how Ludo.guide verifies content