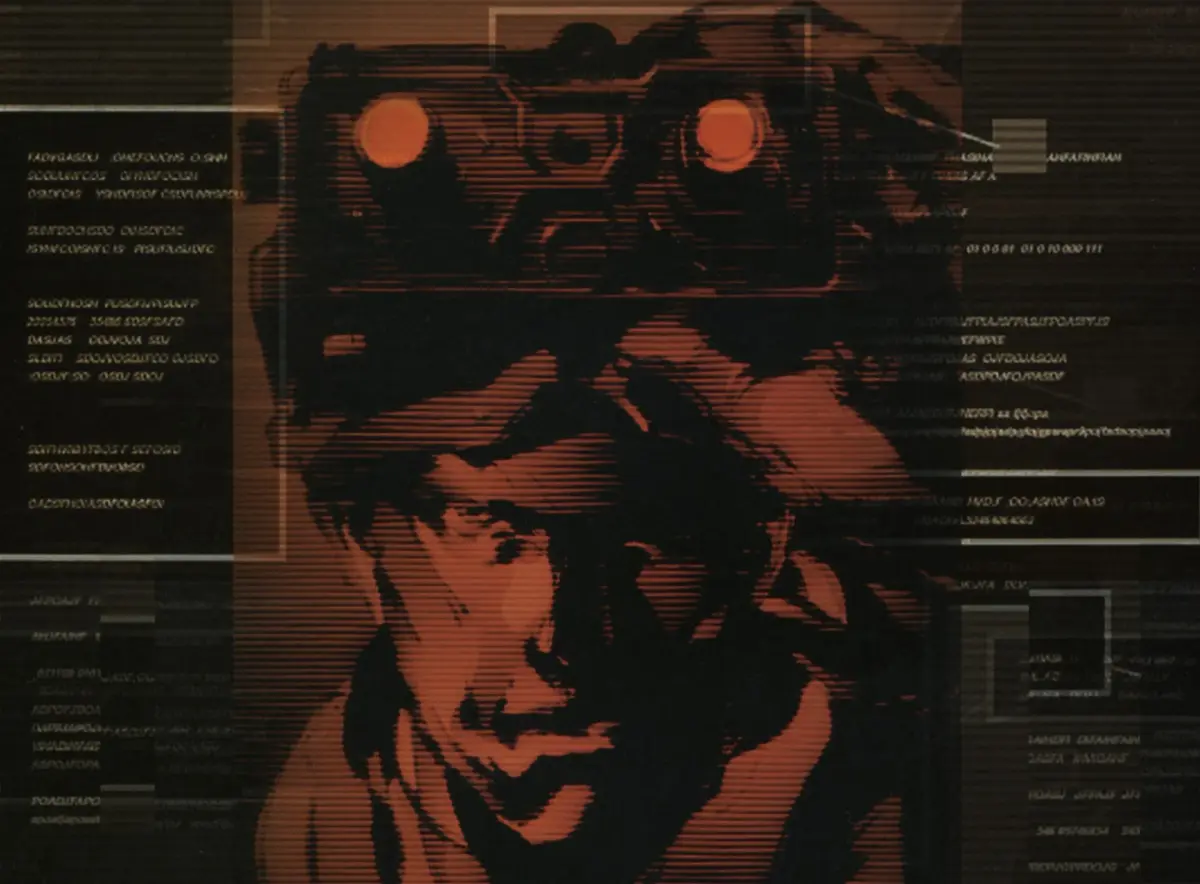
Welcome to Shadow Moses Island, rookie. Metal Gear Solid, released in 1998 by Konami Computer Entertainment Japan, throws you into the tactical espionage action as Solid Snake. Your mission: infiltrate a remote Alaskan nuclear disposal facility, rescue hostages, and stop a rogue nuclear strike. This is a single-player, action-stealth experience where mastering the art of staying unseen is paramount. You'll be crawling through vents, utilizing camouflage, and taking down guards without raising an alarm.
This guide is your best friend for navigating the treacherous paths of Shadow Moses. We'll cover everything from basic controls and weapon guides to advanced infiltration tactics, ensuring you can find those elusive item locations and overcome every boss encounter. Whether you're aiming for a perfect run or just trying to survive, we've got the expert advice to help you succeed in this iconic PlayStation title.
Part 2
Metal Gear Solid Part 2 walkthrough: Infiltrate Outer Heaven, rescue POWs, find Grey Fox, and discover Metal Gear. Includes item locations and guard strategies.
- 1You (Solid Snake) begin swimming towards Outer Heaven. Receive a call from Big Boss detailing your mission: infiltrate Outer Heaven, destroy Metal Gear, search for Grey Fox, and rescue any POWs. Note the transceiver frequency 120.85 for help.
- 2You start outside +++BUILDING ONE+++. Enter and proceed to the next screen.
- 3Sneak past two guards and head right. Enter the leftmost truck for ---RATIONS---. Hide behind the center truck. Once the guard exits, enter it to get ---CARD 1---. Enter the rightmost truck for ---BINOCULARS---.
- 4Return to the screen with the two guards and boxes, then head down to the entrance of BUILDING ONE. Head right, using tanks as cover (press the cover button to crouch behind walls or objects) to sneak past two guards.
- 5Use CARD 1 (accessed via F3) to enter the room. Wait for the guard to fall asleep, then take him out. Grab the ---GAS MASK--- from the table.
- 6Head back to the BUILDING ONE entrance screen, then north to an elevator guarded by two soldiers. Head east.
- 7In this new screen, find three trucks and doors on the south and east walls. Enter the left truck for the ===HANDGUN=== (you have no ammo yet). Hide behind the trucks. Wait for a guard to exit the far right truck, then enter it to find ===MINES===.
- 8Return to the elevator screen. Wait for the guards to leave, then use CARD 1 (F3) to enter the elevator and go to the third floor.
- 9Navigate past two cameras (one on the west wall, one on the north side of the central square) and avoid two guards. Enter the open door on the left to find AMMO.
- 10Use CARD 1 (F3) to enter the door on the south wall. Release the POW tied to a chair.
- 11Use CARD 1 (F3) to open the door on the east wall. Equip your GAS MASK (accessed via F3) and enter the gas room.
- 12Receive a call from Big Boss reminding you about the GAS MASK. Exit the gas room and use CARD 1 (F3) to enter the door in the southeast corner.
- 13Take out the guard who approaches by punching him. Avoid the camera and use CARD 1 (F3) to enter the door on the southwest part of the room. Find another POW who mentions a captured FOX-HOUNDER.
- 14Exit the room and head east. Enter the open door. Wait for the rolling pin to move right, grab the ===PLASTIC EXPLOSIVE===, and hide in the left slot. Return to the room entrance.
- 15Wait for the rolling pin to move left, then run through the open door on the right.
- 16Sneak past a guard and proceed right. Take out the two guards that descend from the north.
- 17On the next screen, avoid two cameras and a guard. Use CARD 1 (F3) to enter the door in the southeast. Grab CARD 2 from the desk.
- 18Exit and use CARD 2 (F3) to enter the door on the north wall, finding RATIONS.
- 19Exit and return to the room after the gas room. Take out the guard and avoid the camera again. Use CARD 2 (F3) to enter the door in the northwest corner to find ===REMOTE-CONTROLLED MISSLES===.
- Use the environment for cover (e.g., tanks) to avoid detection by guards.
- Conserve ammo for the Handgun until you find more.
- Be aware of camera placements and timings to avoid triggering alarms.
- Punching is effective for silent takedowns on sleeping or unaware guards.
- Remember to equip the Gas Mask before entering the gas room.
Part 3
Navigate Part 3 of Metal Gear Solid with this comprehensive walkthrough. Includes strategies for guards, laser traps, and rescuing POWs, plus item locations like the Silencer and Grenade Launcher.
- 1From the start, use REMOTE-CONTROLLED MISSLES (F2) to destroy the control box, disabling the electric floor.
- 2Proceed to the next screen, take out the guard, and use CARD 1 (F3) to enter a room. Rescue the third POW, who reveals Diane's frequency (120.33). Exit and head north.
- 3Ignore the elevator and head west. Take out the two approaching guards by punching them. Enter the door on the north side using CARD 2 (F3) after waiting for the guard to move.
- 4Inside, find the ---CARDBOARD BOX---. Exit and deal with the two guards outside. Use CARD 2 (F3) to enter the next door.
- 5Quickly move to the south wall and use CARD 2 (F3) to enter a room with four guards (Ultra Box). Defeat them and pick up the ===SILENCER===.
- 6Use CARD 1 (F3) to enter the east wall room and acquire the ===GRENADE LAUNCHER===.
- 7Exit and head west back to the elevator area. Watch for the camera and head south. Use CARD 2 (F3) to open a door and rescue the fourth POW.
- 8Return to the elevator, defeat the two guards, and use CARD 2 (F3) to take the elevator to the second floor.
- 9Exit the elevator, avoid the two cameras on the left, and proceed south.
- 10On the screen with a wandering guard, wait for him to fall asleep, then kill him and head south.
- 11Navigate the laser traps by following these directions: From the top center, go down to a wall, turn right to a wall, then down. On the next screen, go down, passing between the second and third laser walls. Go down to a wall, right past three laser walls, up past two laser walls, then right to a door.
- 12Use CARD 1 (F3) to enter the room and rescue the fifth POW. Your star rank increases to two stars.
- 13Exit and navigate back through the laser traps to the screen with the sleeping guard. Take him out again and head up the left path.
- 14Go left again to a screen with three guards. Take them out one by one and proceed down the southwest path.
- 15Avoid the security camera and enter the door on the right to find AMMO. Exit and enter the door on the left to find PLASTIC EXPLOSIVES.
- 16Exit and head back to the elevator. Take it to the first floor.
- 17Exit the elevator, defeat the two guards patrolling the tanks, and head south.
- 18Avoid the three cameras (two right, one left) using crates and use CARD 2 (F3) to enter the room on the left. Rescue the sixth POW, who reveals Grey Fox's confinement.
- 19Exit and head south. On the next screen, do not move. Take out the left guard, then the right guard when he's not looking.
- 20Use CARD 2 (F3) to enter the door on the right and find a ===SUB MACHINE GUN===.
- 21Exit and use CARD 1 (F3) to enter the door on the left and rescue the seventh POW.
- The Silencer allows you to use your gun without alerting guards.
- Your star rank increases with every five POWs rescued, allowing you to carry more equipment and ammo. Killing a POW decreases your rank.
- Laser traps cannot be detected by cigarettes in this game, unlike in Metal Gear Solid.
- Third POW rescued.
- Fourth POW rescued.
- Fifth POW rescued (Star Rank increases to two stars).
- Sixth POW rescued (learns about Grey Fox).
- Seventh POW rescued.
- Acquired items: CARDBOARD BOX, SILENCER, GRENADE LAUNCHER, PLASTIC EXPLOSIVES, SUB MACHINE GUN.
Part 4
Guide to Metal Gear Solid Part 4: Learn how to get captured, rescue Grey Fox, and defeat the first boss, Shoot Gunner, with no weapons. Includes item locations and strategies.
- 1Exit the room and head south. Take out the two patrolling guards behind the tanks. Head left.
- 2In the next screen, a guard will tell you you are captured. Snake is taken to a secret cell.
- 3After capture, Big Boss calls (F4) and instructs you to find Grey Fox's cell. Punch the north part of the west wall until you hear a tap, then break through.
- 4Enter the cell and find Grey Fox. He reveals Metal Gear's nuclear armament and the need to find its designer, Dr. Pettrovich Madnar.
- 5Punch the south wall until you hear a tap, then break through to exit the cell.
- 6You are now in the first floor basement of Building One with no equipment. Head right.
- 7The boss Shoot Gunner appears. Hide behind crates on the right. Call Big Boss (F4) (120.85) to learn your weapons are in a south wall room.
- 8Break the door on the right to retrieve your weapons and equipment.
- 9Exit that room, break the door on the left, and enter to find CARD 3 and AMMO.
- 10Return to the crates. Equip REMOTE-CONTROLLED MISSLES (F3) and hit Shoot Gunner 3-4 times to defeat him.
- 11After the battle, you receive the TRANSMITTER. Press Space Bar on it to discard it.
- 12Use CARD 3 (F3) to exit via the east door.
- 13In the spiral area, kill the dog and punch the wall across from the north door. Use a PLASTIC EXPLOSIVE (F2) to destroy it. Head east.
- 14Follow the path until you can't go further. Go back one screen, punch the south wall, and use another PLASTIC EXPLOSIVE (F2) to break through.
- 15Follow the path to a door. Use CARD 3 (F3) to open it and take the BOMB BLAST SUIT from the desk.
- 16Return to the spiral area and head north. Tap the center of the west wall until you hear a tap, then use a PLASTIC EXPLOSIVE (F2) to blow it up. Enter to find the UNIFORM.
- 17Head back down and follow the spiral path. Tap the left-center of the south wall until you hear a tap, then use a PLASTIC EXPLOSIVE (F2) to blow it up. Take the AMMO and PLASTIC EXPLOSIVES inside.
- 18Follow the path north to an elevator. Take it to the second floor.
- 19On the second floor, use crates to avoid cameras and head south. Take out the sleeping guard and go left.
- 20Emerge and take out the three guards. Use CARD 3 (F3) to enter the west door.
- 21Proceed through the next room and quickly through the room with the rolling pin, exiting via the south door.
- 22Avoid the guard behind the crates and head south.
- 23Take out or avoid the three guards in the south part of the room with the large wall.
- 24Enter the open door on the left to find MINES surrounded by sleeping guards. Take the MINES and exit.
- 25Avoid guards and use CARD 3 (F3) to enter the closed door on the right. Rescue the POW, who mentions reaching the courtyard by parachute.
- 26Exit the room, avoid guards, and head south.
Tips:
- Allowing yourself to be captured is the intended way to access the secret cell.
- Punching walls until you hear a
Part 5
Master Metal Gear Solid Part 5 with our guide. Defeat Machine Gun Kid and the Hind D, rescue POWs, navigate laser traps, and find crucial items like the Parachute and Mine Detector.
- 1In the center of the room, use a crate or a REMOTE CONTROLLED MISSLE to take out the guard to avoid the electric floor. Use CARD 3 to enter the center door and grab the INFRARED GOGGLES.
- 2Exit the room and return to the room with the sleeping guard. Take him out and head down to the laser trap area.
- 3Equip the INFRARED GOGGLES to see the lasers. Snake through the first and second screens of lasers to the south, then head west.
- 4Use CARD 3 to enter the room in the middle of this area and rescue the POW. He will inform you that Dr. Pettrovich is in the courtyard.
- 5Exit the room and use CARD 3 to enter the door on the left. You will find the second boss, Machine Gun Kid.
- 6Boss Fight: Machine Gun Kid: Hide behind a wall in the south part of the room and use REMOTE CONTROLLED MISSLES to defeat him. Four missiles should be sufficient.
- 7After the boss fight, use CARD 1 to enter the door in the north part of the room and find the PARACHUTE.
- 8Your objective is now to find Dr. Pettrovich. Head to the roof. Restock your inventory in BUILDING ONE if needed.
- 9Take the elevator in the northeast part of BUILDING ONE to the roof.
- 10Upon exiting the elevator, Big Boss will call, warning about the wind barrier and the need for a BOMB BLAST SUIT. Equip it if you have it from the basement, or go get it.
- 11Head south. Take out or sneak past the two patrolling guards.
- 12In the next screen, take out the guard and use CARD 3 to enter the room in the southeast. Obtain REMOTE CONTROLLED MISSLES if needed.
- 13Exit the room and return to the elevator area. Head west, staying south behind walls to avoid the three patrolling guards.
- 14Head west again, staying south and heading west to avoid the two guards patrolling around crates.
- 15Continue west, take out or sneak past the next two guards, and head south to the next screen.
- 16Enter the open door and grab the AMMO. Exit the room.
- 17Head south via the right path. Use CARD 2 to enter the room and rescue the POW.
- 18Exit the room and return to the screen with the two guards and crates. Head south.
- 19Cross the swaying bridge carefully, heading straight down slowly. Repeat for the second swaying bridge.
- 20On the next screen, a rocket man guard will appear. Quickly move west to escape.
- 21Use REMOTE CONTROLLED MISSLES to destroy the control panel for the electric floor. Use CARD 3 to enter the room.
- 22Stand by the door and eliminate all entering rocket guards until the alarm stops. Grab the MINE DETECTOR from the desk and exit the room.
- 23Head back to the screen after the bridge and go east. Run past the rocket guards to the next screen.
- 24Boss Fight: Hind D: The Hind D will attack from the ground. Stand left of the cockpit at grenade range and use the GRENADE LAUNCHER to defeat it. Use 1-2 RATIONS if hit.
- 25After the boss fight, head north, then west through the passageway to a balcony.
- 26Equip the PARACHUTE and jump off the balcony to the courtyard.
- 27In the courtyard, take out the three guard dogs. Head south.
- 28DO NOT enter the truck on the left. Equip your MINE DETECTOR and navigate through the MINES to enter the truck on the right. Find CARD 4 inside.
- 29Exit the truck. The room accessible with CARD 4 on this screen is empty. Head left.
- 30Take out the two dogs on this screen. Use CARD 4 to enter the room on the far left. Rescue the POW, who reveals Dr. Pettrovich is in BUILDING TWO.
- 31Exit the room and use CARD 4 to exit the courtyard via the north door. Use CARD 4 to enter the door on the screen.
- Use the crate to avoid the guard in the first room or take him out with a REMOTE CONTROLLED MISSLE.
- The INFRARED GOGGLES are essential for navigating the laser trap area.
- Four REMOTE CONTROLLED MISSLES are usually enough to defeat Machine Gun Kid.
- Restock your inventory before heading to the roof.
- If you don't have the BOMB BLAST SUIT, go back to the basement to get it before heading to the roof.
- Move slowly and straight when crossing the swaying bridges.
- The GRENADE LAUNCHER is effective against the Hind D.
- Avoid the left truck in the courtyard; it forces you to restart the parachute section.
- Use the MINE DETECTOR to safely navigate the mines.
- INFRARED GOGGLES
- PARACHUTE
- MINE DETECTOR
- CARD 3 (multiple uses)
- CARD 1
- CARD 2
- CARD 4
- POW rescues
Similar guides you might like






100% Human-Written. Community Verified. Learn how Ludo.guide verifies content