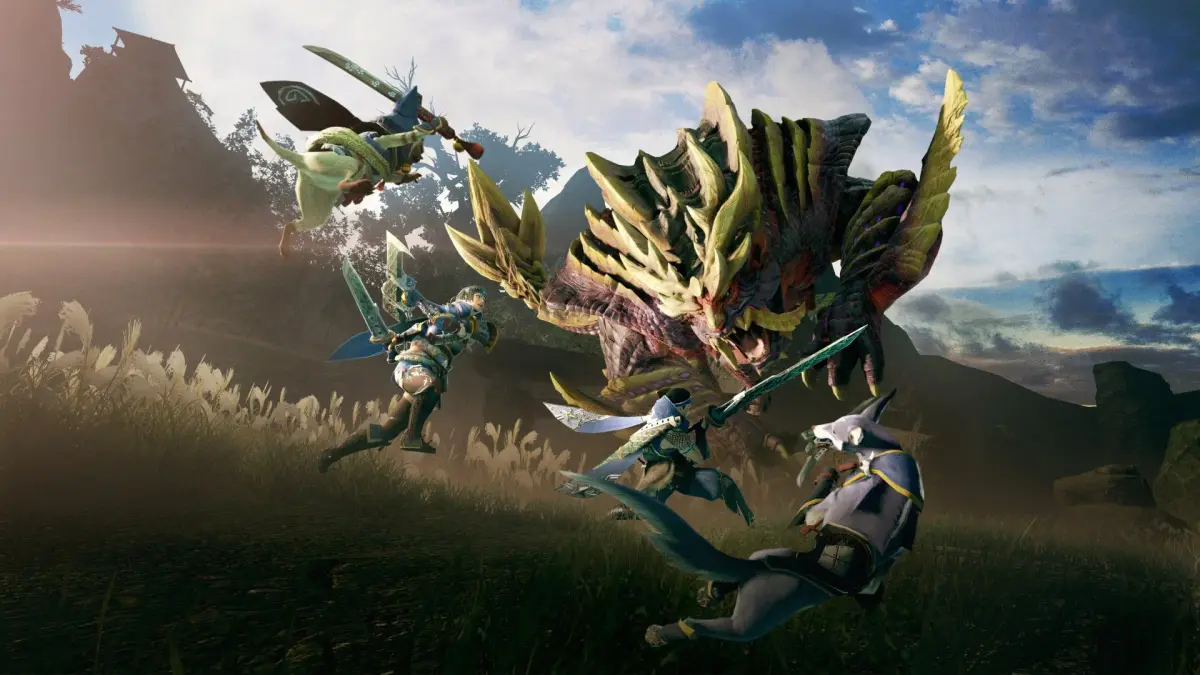
Welcome to Monster Hunter Rise, Capcom's latest action RPG where you'll hunt down massive monsters and craft powerful gear from their remains. It's a deep, rewarding experience perfect for solo players and co-op groups alike, offering satisfying combat and a constant loop of preparation and execution.
This guide is here to help you master the hunt. We'll cover everything from weapon tutorials and armor set recommendations to monster weaknesses and strategies for tackling the toughest challenges, including those found in the Sunbreak expansion. Get ready to craft the ultimate gear and take down every beast in Kamura Village.
Frost Islands
Dive into the Charge Blade in Monster Hunter Rise! Learn about Impact vs. Elemental phials, motion values, and the basic moveset to start your journey with this complex weapon.
Enter the Charge Blade guide for Monster Hunter Rise! This weapon can seem a bit intimidating at first with all its options, but we're going to break it down so you can get the hang of it. Think of Motion Values (MV) as a percentage of your weapon's raw damage – they help us figure out which attacks are strongest for the time they take to pull off.
Version History
- 1.0 - Initial release with moveset, basic builds, and armor skill info.
- 2.0 - Added new Charge Blade options, armor skills, and builds following the 2.0 update. Expanded on the Morphing Axe Advance wirebug skill.
- 3.0 - Updated for the 3.0 update, including new Charge Blades and a clearer explanation of Morphing Axe Advance, noting it can be used from a neutral stance.
Moveset: Basics
Impact Phials and Elemental Phials
There are two main types of Charge Blades: Impact and Elemental. Impact phials are great because they ignore a monster's weak spots (called hitzones) and deal stun (KO) and exhaust damage. KO stuns a monster for about 10 seconds, making it vulnerable, while exhaust tires them out faster. Impact is generally the go-to because of the free KOs and consistent damage, especially against parts like Nargacuga's wingblades.
Elemental phials, on the other hand, trade KO and exhaust for pure elemental damage. To get the most out of them, you'll need to consistently hit the monster's elemental weak spots. They're powerful when used correctly against the right monsters.
The Charge Blade has a lot of moves, but don't let that scare you! We'll start with the basics in Sword Mode.
| Move | Input | MV | Description |
|---|---|---|---|
| Forward slash | X+A or X from sheathed | 20MV | A forward lunging slash used to close distance. |
| Three hit combo | X-X-X | 12+15+28 | A horizontal slash, followed by an overhead slash, finishing with a horizontal roundslash. This is your bread and butter combo. You can also perform the third hit (roundslash) after a sidestep evade. |
| Charged Slash | Hold A until a flash, then release | 27+18MV | A quick charged vertical duo of sword strikes. This move is key for filling your phials quickly. You can follow up with a roundslash by pressing X. |
| Fade Slash | A + any direction after any attack | 25MV | This move lets you slide a medium distance while performing a roundslash. It's super useful for repositioning yourself and controlling your facing direction. |
| Shield Thrust | X+A after any attack | 12+8MV | A quick upward thrust with your shield. |
| Load Phials | ZR+A from id | — | (Input incomplete in source) |
Shrine Ruins
Great Wirebugs/Jewel Lilies: Lava Caverns
Find Great Wirebugs and Jewel Lilies in monster hunter rise Lava Caverns for permanent shortcuts. Learn locations in Areas 7, 9, 10, and 12.
Great Wirebugs are larger versions of wirebugs that allow you to create permanent shortcuts. To use them, you need to find a suitable Jewel Lily spot and place a Great Wirebug from your inventory. You can get Great Wirebugs from Senior Hunter Hanenaga in Kamura Village, and some are already present on the map, often in mid-air.
- Great Wirebugs in inventory (obtainable from Senior Hunter Hanenaga).
- 1The Lava Caverns has five Great Wirebug spots, primarily located near the central giant lava flow. Four are positioned on the edges of this flow, with two pairs further north and south, enabling quick travel between the east and west sides of the map.
- 2For travel from the underground section to the surface, use the six Upwelling Winds. These are found near areas where you can fall from the surface. If you fall, an Upwelling Wind is likely nearby.
- 3Area 7: Locate a Jewel Lily in the north-east corner of Area 7, near the giant lava flow. Travel east from Sub-Camp 2 and wire-dash across the gap. This will launch you across the lava flow towards the northern part of Area 10, close to Sub-Camp 1.
- 4Area 9: Find a similar Jewel Lily near the center of Area 9. This will also launch you across the giant lava flow, positioning you in the southern part of Area 10.
- 5Area 10: Two Jewel Lilies are located here. One is in the northern part of Area 10, a short distance south from the hole in the ground near Sub-Camp 1. It propels you west towards the Great Wirebug spot in Area 7. The second Jewel Lily is in the southern part of Area 10, north of another large hole in the ground. This one launches you west near the Great Wirebug spot in Area 9.
- 6Area 12: At the bottom of the entrance to the underground in Area 12, there is a Jewel Lily. You can reach this area from Area 12 or by traveling east from the underground portion of Area 10. Using a Great Wirebug here will transport you to the beginning of the Area 12 entrance, bypassing the need to climb vine-covered walls.
- The Great Wirebug spots near the giant lava flow are excellent for quickly traversing between the eastern and western halves of the map.
- If you fall into the underground areas, look for Upwelling Winds to return to the surface efficiently.
- The Jewel Lily in Area 12 is particularly useful for quickly accessing the underground section without extensive climbing.
- Permanent shortcuts via Great Wirebugs.
- Efficient travel using Upwelling Winds.
Roly-poly Lanterns: Village Quests
Learn how to complete the Roly-poly Lanterns 1-star Village Quest in Monster Hunter Rise. Collect 8 Firelanterns from Shimmering Red Berry bushes in Shrine Ruins.
Roly-poly Lanterns: Village Quests
Learn how to complete the Roly-poly Lanterns 1-star Village Quest in Monster Hunter Rise. Collect 8 Firelanterns from Shimmering Red Berry bushes in Shrine Ruins.

Similar guides you might like






100% Human-Written. Community Verified. Learn how Ludo.guide verifies content