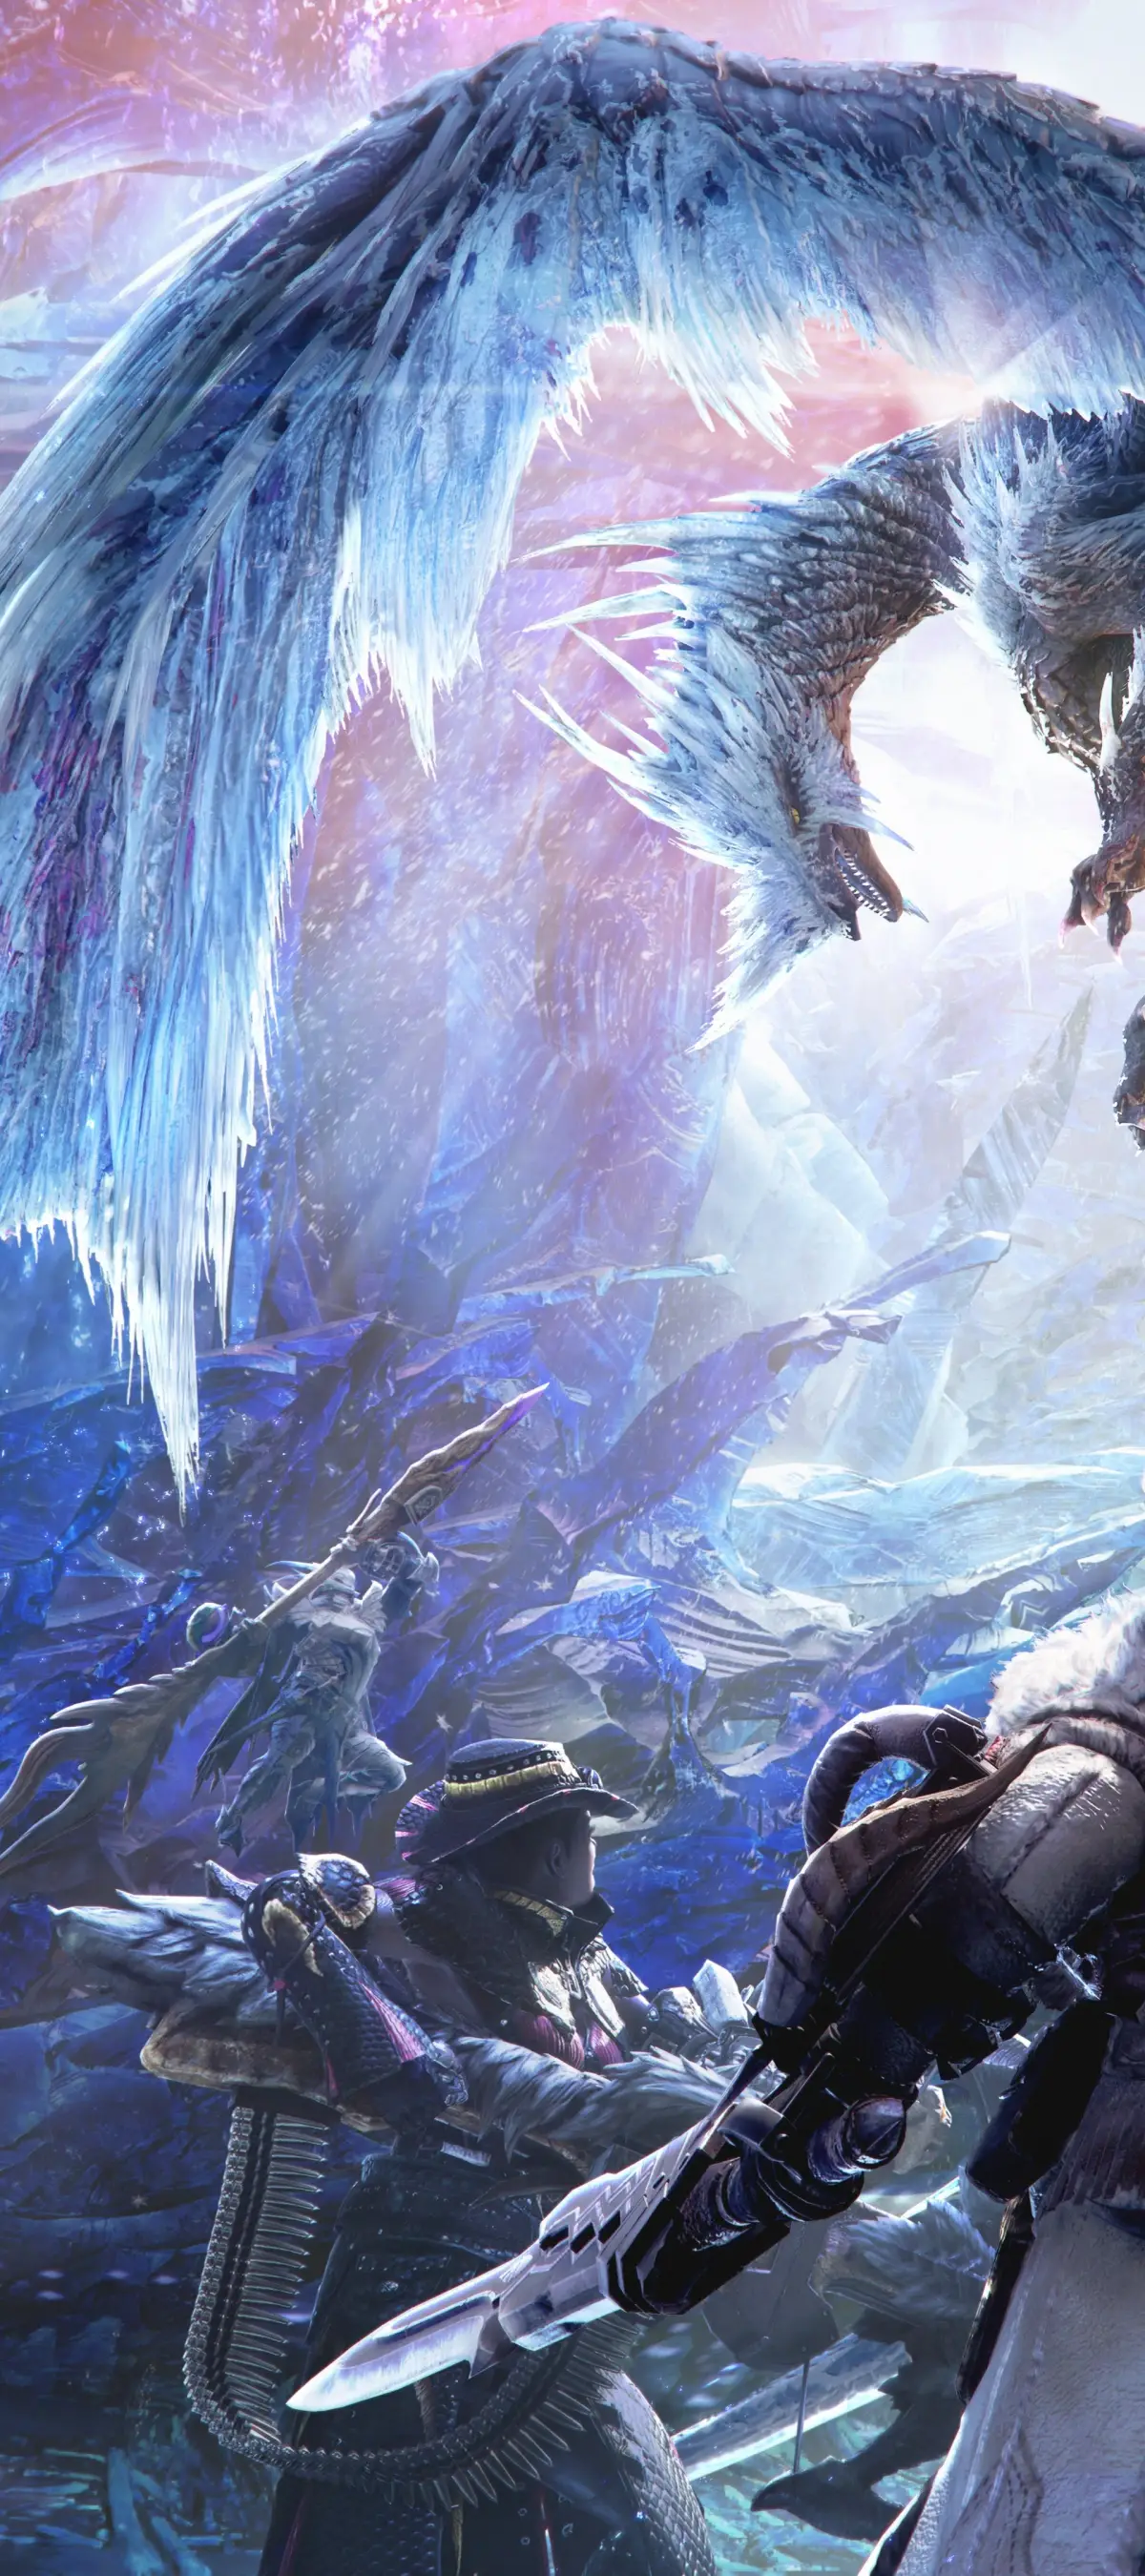
Welcome to Monster Hunter World: Iceborne! This massive expansion builds on the already incredible foundation of Monster Hunter: World, throwing you into the new, frigid region of Hoarfrost Reach. Prepare for a challenging new hunting experience where you’ll utilize the densely packed environment to your advantage, taking on numerous monsters that engage in turf wars and prey on each other. With all 14 weapon types receiving new mechanics, there’s always a fresh way to approach the hunt.
This guide is here to help you conquer the challenges of Iceborne. We’ll cover everything you need to master the new hunting mechanics, navigate the diverse locale of Hoarfrost Reach, and overcome the toughest new monsters. Whether you're aiming to collect every item, perfect your combat with specific weapon types, or simply survive the harsh new environments, we've got you covered.
Optional Quests
Monster Hunter World: Iceborne Optional Quests offer replayable challenges for currency (z) and rewards. Learn about A Thicket of Thugs, Butting Heads with Nature, and more.
A Thicket of Thugs
Players can earn 720 z for completing this quest again. They must slay 7 Jagras enemies. Jagras are generally resistant to water-based attacks. They are weaker to fire and lightning elemental attacks. This is the first slaying quest in the game and will become the first optional quest. Players may replay it for the 720 z at any time continuously.
Butting Heads with Nature
Slaying 12 Kestodon is the goal in this quest within a 50-minute time limit. Players can faint up to three times before failing the quest. The reward will be 720 z. Players can slay both male and female Kestodons to complete the optional quest.
The Great Glutton
This is the hunting quest repeated from earlier. Players can choose to do this quest again via the Optional quests at the quest board or the handler. Players must hunt a Jagras within the time limit and under the required faint conditions. This quest becomes available after completing the main story version.
Campsite Crasher
This quest becomes available after defeating the Kulu-Ya-Ku near the Northeast Campsite at the Ancient Forest location. Players can replay this quest called Campsite Crasher and defeat the Kulu-Ya-Ku again under the required conditions.
Scatternut Shortage
In this optional quest, you must take on the Pukei-Pukei. Players can receive this Optional Quest after defeating the Pukei-Pukei at the Ancient Forest in the main stories assigned quests segment. Once that has been completed players may fight the Pukei-Pukei again at their leisure in the Scatternut Shortage Optional Quest.
Mired in the Spire
After defeating the Barroth for the first time, during the "best kind of quest". Players can replay the Barroth segment or hunt in Mired in the Spire. Players must meet the requirements and hunt the Barroth. Please note these quests are already marked as completed because they are practical if not completely identical to the main story versions.
The Piscine Problem
Players will have to hunt a Jyuratodus in this Optional Quest. If you are having trouble or forgot how to take down a Jyuratodus, please see our in-depth Bestiary section under Larger Monsters. This quest is only available after completing Sinister in the Swamp.
Snatch The Snatcher
This is the first capture quest that is optional yet is not part of the main quest. Capturing to me is rather difficult especially for newer players. Players should know most importantly that there are capturing supplies in the Supply Box at the start of these quests always. For example, players will get 8 Tranq Bombs and 2 Trap Tools always. Trap Tools can be converted with other materials to make pitfall or shock traps.
In this Optional Capture Quest, you must capture the Kulu-Ya-Ku of the Wildspire Waste region. Since there is little to no indicator on the map on how weak a monster is, or the heads up display (HUD (heads-up display — the on-screen icons showing health, ammo and the minimap)), players have to go by their gut and game knowledge. If the monster is walking slowly or Limping this is a huge sign you may need to lay down the trap.
I have personally caught two monsters at the moment, both Kulu-Ya-Ku and for this Optional quest, I suggest you do the same for me until I update this information. Use the Pitfall Trap when you see the Kulu-Ya-Ku limping and have damaged it enough times. Players should save the second Trap tool to make another Pitfall Trap if the first fails. Players may only hold one Pitfall Trap at a time but can stash the resources (Trap Tools) in their supply box at camps.
It should work like so. The Monster takes a ton of damage and begins running or limping away. The player puts down the pitfall trap and the monster is at that point instantly captured and you win. If that doesn't work, you apparently didn't deal enough damage to the Kulu-Ya-Ku and in that case, try again. I will have the Shock Trap analysis up in a day or two, stay tuned daily for updates.
The Current Situation
This Optional Quest will semi-repeat the quest where you hunted the Tobi-Kadachi during the games Main Questline. Players have this quest already completed but they may want to try it again. If so as a refresher, remember that the Tobi-Kadachi is weak against Water elemental attacks and it is also very susceptible to Poison Attacks. Throwing poisoned meat on the ground may be a viable outlook on things.
Poison Bombs are also very useful as are Poison Coated Arrows and of course Poison Throwing Knives from the Slinger. The Jyuratodus set for the Palico also adds Water Elemental Damage with its weapon. This can cause extra damage to the Tobi-Kadachi. Players should take note that the Madness Pangas are Dual Blades we can acquire very early on, this is also a great method of beast vs beast on the Tobi-Kadchi.
One Helluva Sinus Infection
Anjanath is the main focus in this Optional Quest. This quest can be completed for a second time via the Optional Quest menu at the Quest notice board. Players can take on the Anjanath again via the menu. Remember this quest is not necessary to complete and players would probably be better off facing an Anjanath via Investigation. However, if you want to replay the Anjanath early or the Investigation is unavailable this is always a constant option. Players will still earn carvings and rewards, yet the results are far better during an Investigation.
Resource Center
Learn about the Resource Center in Monster Hunter World: Iceborne, including Bounties, Investigations, and Deliveries. Unlock it after completing main story assignments.
- 1The Resource Center is divided into three main sections: Bounties, Investigations, and Deliveries.
- 2Bounties include Registered Bounties, Limited Bounties, and Critical Bounties, which generally reward Research Points and Armor Spheres for completing repeating quests.
- 3Investigations are quests for capturing or slaying larger monsters, which must be completed one at a time and posted on the Quest Notice Board. They are the best way to farm monster parts and offer bonus rewards shown as Bronze, Silver, and Golden rewards with Question Marks.
- 4Investigations are added by finding animal trackings, and you will receive a notification on the HUD (heads-up display — the on-screen icons showing health, ammo and the minimap).
- 5The number of times an Investigation can be farmed is indicated next to the Investigation under the Left Column.
- 6Deliveries are fetch quests where you find items in the field or on an expedition, rewarding players with new or other Food type items for the Canteen.
- Investigations are generally better than farming monsters on Expeditions or Optional repeated quests due to bonus rewards.
- Capturing or Hunting monsters via Investigations is the simplest and most time-saving method for farming specific monster parts.
- Check in with the Resource Center located in Astera's Tradeyard location 1F to collect rewards.
Investigations
Investigations are a highly efficient way to farm monster parts in Monster Hunter World: Iceborne. You can take on a large number of these, around 50 or more. New Investigations become available as you track monster footprints and other clues. The game will notify you on the HUD when new Investigations are available.
Completing Investigations provides not only the standard carving rewards for defeating a monster but also bonus rewards, indicated by Bronze, Silver, and Golden rewards with Question Marks. The number of times you can farm a specific Investigation is shown in the Left Column next to the Investigation's name.
Warning: Always check the number of available uses for an Investigation before starting, as they are limited.
Critical Bounties
Rebuild the Ancient Forest Campsite
This Critical Bounty is part of the main quest. You must follow the scoutflies (small glowing insects that guide you) to the North East Campsite on the world map. Marking the location on your World Map or the researcher closest to it by pressing R3 will make it easier. Scoutflies will stop guiding you in combat, so avoid battles or wait for them to return if you get lost.
Warning: Scoutflies will cease to lead your character when in combat.
Capture a Woodland Pteryx
To acquire this Critical Bounty, look for the green glowing dot on the world map of the Ancient Forest. You can cycle through map markers with the R1 button when your map is open. Find the Endemic Life Researcher; she will give you this Critical Bounty. Afterward, head to Area 11 inside the Ancient Forest, slightly North East and near the larger trees. Capture the Woodland Pteryx with the Capture Net and return to the Researcher.
Warning: Ensure you use the Capture Net and do not defeat the Woodland Pteryx.
Arena Quests
Master Monster Hunter World: Iceborne's Arena Quests! Get expert tips and strategies for tackling Pukei Pukei and Kulu-Ya-Ku to achieve A-Rank.
Alright, time to dig into the Arena Quests in Monster Hunter World: Iceborne! These are special challenges that test your skills, often with pre-set gear. Think of them as a fun way to practice and earn some cool rewards. We'll go through the first couple of quests to get you started.
Arena Quest 01: Pukei Pukei
This is your first taste of the Arena, and you'll be facing a Pukei Pukei. This guy loves to knock you down, stun you, and cover you in poison, so be ready! For this tutorial run, it's best if Player One picks the Light Bowgun specialization, and Player Two goes for the Switch Axe. Player One will be doing most of the heavy lifting with strategic attacks, while Player Two can focus on consistent damage to the Pukei Pukei's head.
- 1Right at the start, sprint forward and vault over the fence using the Circle button. As you're vaulting, quickly switch to your Barrel Bombs using the D-pad.
- 2Place both Barrel Bombs on the ground right where you land after the vault.
- 3Immediately after, place your Pitfall Trap. Make sure you and your Switch Axe partner are communicating well – this is key! You want to bait the Pukei Pukei into the Pitfall Trap.
- 4While the Pukei Pukei is either being lured or is caught in the trap, quickly place all your Wyvern Blast special ammo.
- 5Detonate the barrels with any ammo type; Spread ammo is great here because of its wide hit area. This should also trigger the Wyvern Blast.
- 6Once the Pukei Pukei is free, switch to Paralysis ammo. Always stay in sync with your partner! Let them know when the Pukei Pukei is stunned so they can go all out with head attacks. The game mentions the tail is weak too, but honestly, focusing on the head seems more effective.
- 7Before your Paralysis ammo runs out, get your Thunder Trap ready. This will give you a long-lasting stun on the Pukei Pukei within a large area. Again, have your Switch Axe partner focus on the head.
- 8Remember to use your Gun Powder item whenever you get a free moment, especially right after the Wyvern Blasts. It adds extra damage to your shots. Try to avoid using Normal Ammo 1 or 2, as they're weaker and harder to land consistently. Don't forget that Wyvern Blast is special ammo and needs to recharge. After the initial three, try to place another near the Pukei Pukei's head whenever you can.
- Communication with your partner is make-or-break, especially when coordinating traps and stuns.
- Focusing damage on the head seems to be the most effective strategy.
- Use Barrel Bombs and Wyvern Blast for burst damage.
- Paralysis and Thunder Traps can create significant openings for attack.
- Avoid weaker ammo types like Normal Ammo 1 and 2 if possible.
Arena Quest 02: Kulu-Ya-Ku - A-Rank
This second Arena Quest is noticeably easier than the Pukei Pukei fight. For this one, a team of two Dual Blades users worked really well for us.
- 1The main strategy here is to effectively use the Flash Pod and Dash Juice. Dash Juice is super important because it helps with your stamina, which is vital for the Dual Blades' Demon Mode, as it drains stamina rapidly.
- 2Once you've used Dash Juice, you or your partner should use a Flash Pod to blind the Kulu-Ya-Ku.
- 3With the Kulu-Ya-Ku blinded and Dash Juice active, switch to Demon Mode. Spam your Triangle (light attacks) on the Kulu-Ya-Ku's head.
- 4Just rinse and repeat this process! You should even have a Shock Trap left over by the end.
- Always keep Dash Juice active for stamina management when using Dual Blades.
- Coordinate Flash Pod usage with your partner for maximum uptime on blinded Kulu-Ya-Ku.
- Focus all attacks on the head during the blinded state.
- A Shock Trap can be a lifesaver if you need extra control.
Great Swords
Unleash devastating charged attacks with the Great Sword in Monster Hunter World: Iceborne. Learn about weapon trees, crafting, and key upgrades to dominate your hunts.
Alright, let's talk about the absolute behemoth of the weapon class: the Great Sword. This weapon is all about landing massive, charged hits that can stagger monsters and deal incredible damage. It's a bit slower, sure, but when you connect with a fully charged attack, you'll feel like a true hunter.
The Great Sword class is known for its ability to charge up its attacks. The longer you hold the charge, the more powerful the hit. This means you'll need to learn monster attack patterns to find those openings and unleash your fury. A key benefit of wielding a Great Sword is that you take less physical damage while it's out, which is a nice little buffer when you're learning the ropes.
Like all weapons in Monster Hunter World, Great Swords can be upgraded through different weapon trees. We'll cover some of the early-game options here to get you started.
Buster Blade
This is your starting point for any Great Sword journey in Monster Hunter World. It's a solid, no-frills weapon that lets you get a feel for the charged attack mechanics. As you progress, you'll be able to level it up, and we'll have detailed stats for each tier right here on GameFAQs.com. Stick with it, and keep checking back daily as I'm updating the guide solo!
Jagras Blade
This blade is a step up from the Buster Blade and is part of the Ore tree, eventually leading into the Great Jagras Tree. To get it, you'll first need to forge a Buster Blade. Then, you'll be hunting Great Jagras materials. To push it to Tier II, you'll need a couple of Tzitzi Ya-Ku Claws. For Tier III, you'll need more Great Jagras parts and about 4000 Z. At Tier III, it boasts around 678 damage and generally has up to green sharpness.
Bone Blade
Another early-game option, the Bone Blade comes from the _Bone Tree_. You can level it up to three times. To craft the initial Bone Blade, you'll need 200 Z and 2 Monster Bone S. Crafting Bone Blade II requires similar materials. For Bone Blade III, you'll need 2 Monster Bone M, one Ancient Bone, and 1000 z.
Previous Section: Arena Quests
Next Section: Light Bowguns
100% Human-Written. Community Verified. Learn how Ludo.guide verifies content