Master map navigation and pathing in Peglin. Learn to choose optimal routes, identify encounters, and manage resources to defeat the final boss.
Navigating the map in Peglin is a must-have skill that can make or break a run. Understanding how to choose your path, identify key encounters, and manage your resources effectively will significantly increase your chances of reaching and defeating the final boss. This section will provide a detailed walkthrough of optimal map navigation strategies.
Understanding the Map Layout
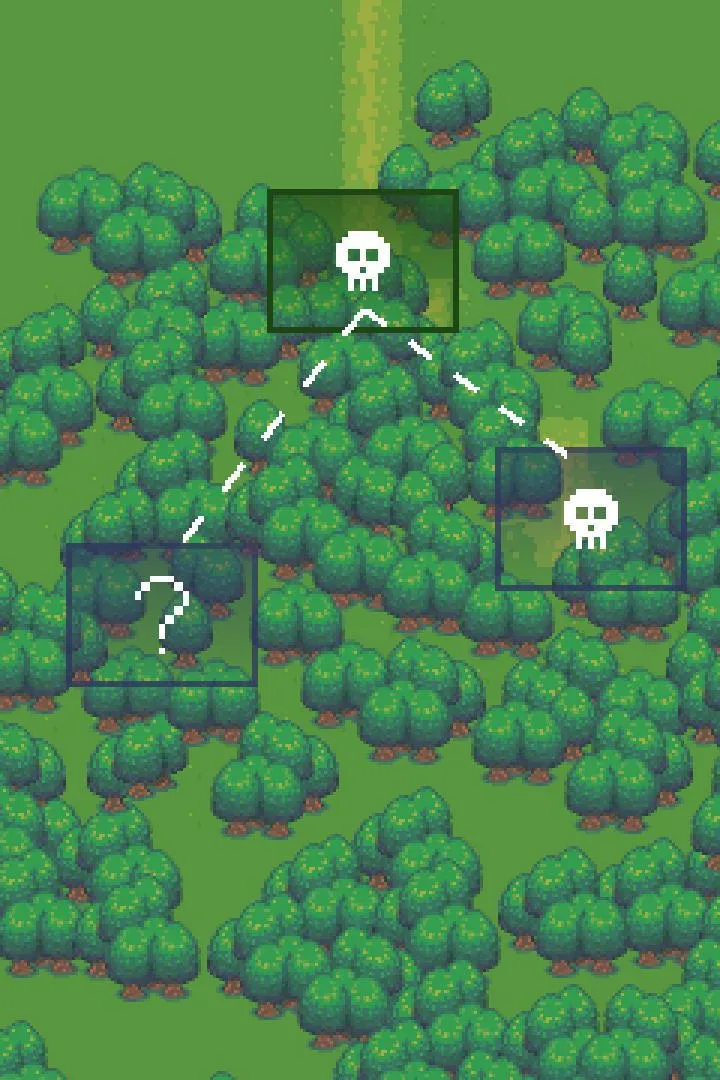
The Peglin map is procedurally generated, but it always follows a general structure: a series of nodes connected by paths. Each node represents a different type of encounter, and your goal is to choose a path that maximizes your strength while minimizing risk. Before making any decisions, always take a moment to survey the available paths and identify the types of nodes ahead.
- Battle Nodes (Sword Icon): These are your primary source of gold and relics. While necessary, too many consecutive battles can deplete your health and resources.
- Elite Battle Nodes (Skull Icon): Tougher battles offering better rewards, including rare relics and more gold. Prioritize these if your build is strong, but approach with caution if you're struggling.
- Shop Nodes (Coin Bag Icon): Essential for purchasing new orbs, relics, and refreshing your health. Always try to hit a shop when you have ample gold or need specific upgrades.
- Treasure Nodes (Chest Icon): Guaranteed relics, often rare or epic. These are high-value nodes and should be prioritized whenever possible.
- Mystery Nodes (Question Mark Icon): These can be anything from a beneficial event (e.g., free gold, a relic choice) to a challenging battle or a detrimental effect. They add an element of risk and reward.
- Healing Nodes (Heart Icon): Restore a portion of your health. High-stakes for sustaining long runs, especially after tough battles.
- Blacksmith Nodes (Anvil Icon): Allow you to upgrade your orbs, making them more powerful. Prioritize these to enhance your core damage output.
Pathing Strategies: Early Game (Act 1)
In Act 1, your primary goal is to establish a strong foundation for your build. This means acquiring good orbs and relics, and accumulating enough gold for future purchases.
- Prioritize Treasure and Elite Nodes: Early relics can define your run. Look for paths that offer a Treasure node or an Elite Battle. The rewards from Elites are often worth the increased difficulty.
- Seek Out Shops: Aim to visit at least one shop per act. Use your initial gold to purchase strong common or uncommon orbs that synergize with your starting orb, or a useful early relic.
- Balance Battles and Healing: Don't shy away from regular battles, as they provide essential gold. However, if you're taking significant damage, look for a Healing node before committing to another tough fight.
- Mystery Node Caution: In the early game, Mystery nodes can be risky. If your build isn't established, a bad outcome can severely hinder your progress. Consider them if other paths are unappealing or if you're feeling lucky.
Pathing Strategies: Mid Game (Act 2)
Act 2 is where your build starts to solidify. You should be looking to refine your orb deck, acquire powerful relics, and prepare for the challenges of Act 3.
- Focus on Synergies: By now, you should have a clearer idea of your build's direction (e.g., crit build, bomb build, refresh build). Prioritize relics and orbs from shops and Treasure nodes that enhance these synergies.
- Blacksmith Importance: Act 2 is an excellent time to visit Blacksmith nodes. Upgrading your core damage orbs can significantly boost your power level.
- Elite Hunting: If your build is strong, actively seek out Elite Battle nodes. The rare relics they offer can be game-changing.
- Health Management: Act 2 enemies hit harder. Pay close attention to your health bar and plan for Healing nodes, especially after Elite battles.
- Gold Accumulation: Ensure you're still fighting enough battles to accumulate gold. You'll want a healthy reserve for the Act 3 shop.
Pathing Strategies: Late Game (Act 3 & Boss Prep)
Act 3 is the final stretch before the boss. Your pathing here should be focused on maximizing your strength and ensuring you're in peak condition for the final encounter.
- Final Shop Visit: Always try to hit the last shop before the boss. This is your final opportunity to purchase make-or-break relics, powerful orbs, or refresh your health. Save up gold specifically for this.
- Last-Minute Upgrades: If available, a Blacksmith node can provide that final damage boost to your key orbs.
- Healing Priority: If your health is low, prioritize Healing nodes, even over a potentially good relic from a Treasure node. Entering the boss fight with low health is a recipe for disaster.
- Avoid Unnecessary Risk: Unless absolutely necessary for a specific relic or orb, avoid Mystery nodes in Act 3. A bad outcome here can be devastating.
- Consider Skipping: If a path offers only regular battles and you're already strong, consider if the gold is worth the potential health loss. Sometimes, taking a shorter path to the boss is the best strategy.
General Tips for Effective Pathing
- Look Ahead: Always plan several nodes in advance. Don't just focus on the next node; consider what opportunities lie two or three nodes down the path.
- Adaptability: The map is random, so be prepared to adapt your strategy. If your ideal path isn't available, make the best choice from the options presented.
- Resource Management: Keep track of your gold, health, and orb deck. Your pathing decisions should always reflect your current resource status.
- Relic Knowledge: Familiarize yourself with the game's relics. Knowing which relics are powerful and which synergize with your build will help you make better decisions at Treasure nodes and shops.
- Experiment: Don't be afraid to try different paths and strategies. What works for one build might not work for another. Learning from your runs is key to improving.
100% Human-Written. Community Verified. Learn how Ludo.guide verifies content