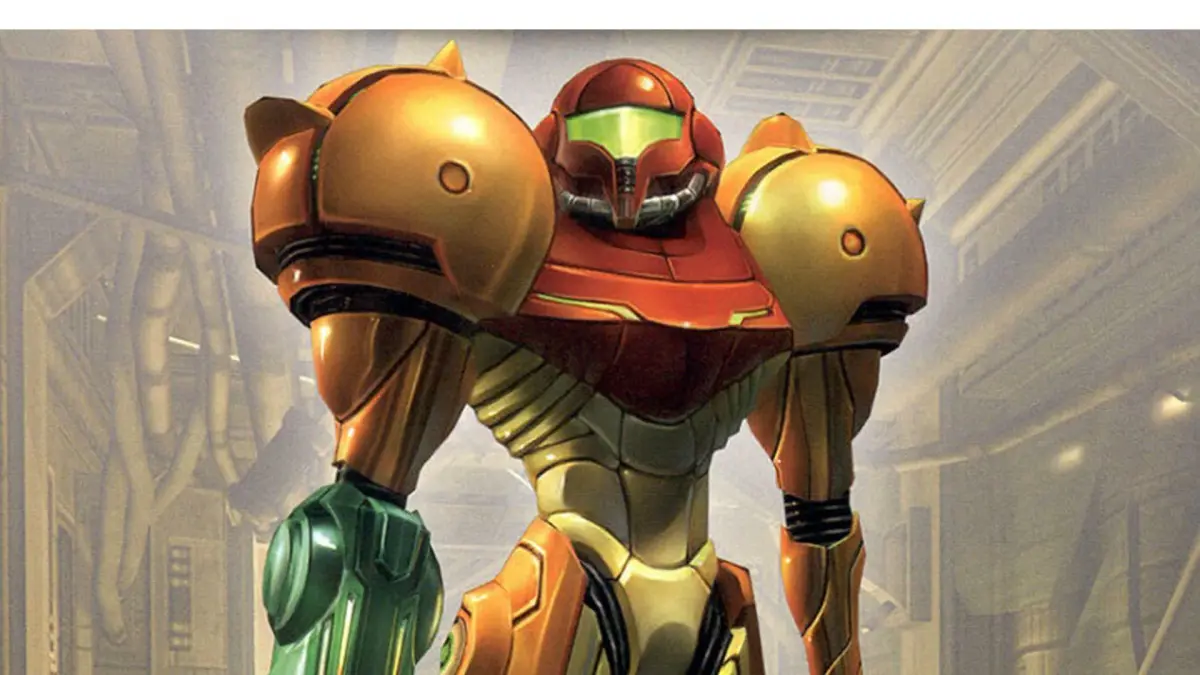
Step into the visor of bounty hunter Samus Aran as she explores the mysterious and dangerous alien world of Tallon IV. Metroid Prime blends first-person exploration and shooting with intricate level design, challenging puzzles, and a deep sense of isolation. You'll navigate diverse environments, from the derelict Frigate Orpheon to the hazardous Phazon Mines, uncovering the planet's secrets and battling its hostile inhabitants.
This guide is your essential companion for mastering Samus's journey. We'll provide strategies for every major boss fight, ensure you don't miss crucial upgrades like Energy Tanks and Missile Tanks, and help you uncover every hidden Artifact. Whether you're aiming for a 100% completion or just need a hand overcoming a tough section, we've got you covered.
Menus/Displays
Navigate Metroid Prime's menus, including the Main Menu, Pause Menu, and Options. Understand your HUD elements like the mini-radar and Energy Reserve Meter.
- 1From the Title Screen, press A to access the Main Menu.
- 2Select 'Play' to start a game or manage save files.
- 3Choose 'Options' to access game settings.
- 4Select 'Extras' to view the Concept Gallery, Character Gallery, and Soundtrack Gallery.
- 5During gameplay, press the appropriate button to bring up the Pause Menu.
- 6The Pause Menu allows access to your 'Inventory', 'Log Book', and 'Options'.
- 7The 'Log Book' stores entries gathered by analyzing elements in the game.
- 8The 'Options' menu, accessible from both Main and Pause menus, offers detailed settings.
Main Visor Display Explained:
- Energy Reserve Meter: Located across the top of the heads-up display (HUD (heads-up display — the on-screen icons showing health, ammo and the minimap)), showing your active Energy Tank and reserve Energy Tanks.
- Mini-radar (your minimap with nearby blips and threats marked): In the top left corner, displaying enemies (orange dots) and your forward field of vision.
- Sector Map: A small map of the current section in the top right corner.
- Threat Assessment: On the left side, this meter increases near dangerous areas like lava or acid, indicating incoming damage.
- Missile Reserves: On the right side, tracking your current Missile count.
- Visors: Shown in the lower left corner.
- Beam Weapons: Shown in the lower right corner.
- Targeting Reticle: In the center, indicating where your shots will travel.
Options Menu Details:
- Controls: Customize your control scheme.
- Display: Adjust HUD Opacity (transparency of HUD elements), Helmet Visibility (toggles helmet visuals), HUD Lag (mimics suit lag on turning), Hint System (alerts for story objectives), Extras Alert (notifies of new Extras content), Color Assist (for color blindness, with Red, Green, or Blue options), and Color Assist Intensity.
- Sound: Adjust SFX Volume, Music Volume, Narration (options for 'Partial' matching European version or 'Full' matching Japanese version, including area announcements), and Cinematic Subtitles (for voiced narration).
- Options can be restored to default. The Options menu also allows you to Quit Game and return to the Main Menu.
- Check the Options menu during gameplay for a more complete set of settings compared to the Main Menu.
- Save your game before quitting from the Options menu.
- The Hint System is on by default and provides alerts for your next story objective.
- Color Assist is off by default and is an accessibility feature.
- Narration options can add background voice-overs and area announcements.
Controls
Explore Metroid Prime Remastered's control schemes: Dual Sticks, Pointer, Hybrid, and Classic. Learn button mappings, fine-tuning options, and gyro aiming for optimal gameplay.
Metroid Prime Remastered offers multiple control schemes to suit your playstyle, from modern FPS layouts to classic GameCube controls. Each scheme can be further customized with a stockpile of fine-tuning options. Here's a breakdown of the available control types and their mappings:
Control Schemes:
- Dual Sticks: Modern FPS style with left stick for movement and right stick for aiming. Shoulder buttons handle shooting.
- Pointer: Mimics the Wii controls, using gyro aiming with the right Joy-Con for aiming and turning.
- Hybrid: Combines Classic and Pointer styles, offering Classic controls with optional gyro aiming when holding ZR.
- Classic: A faithful remapping of the original GameCube controls onto the Switch controller.
Below are the detailed button mappings for each scheme during standard gameplay and when in Morph Ball mode. Additionally, explore the fine-tuning options available to further customize your experience.
Standard Controls
| Action | Dual Sticks | Pointer | Hybrid | Classic |
|---|---|---|---|---|
| Movement | Up/Down: Walk forwards/backwards Left/Right: Strafe left/right |
Up/Down: Walk forwards/backwards Left/Right: Turn left/right |
Up/Down: Walk forwards/backwards Left/Right: Turn left/right |
Up/Down: Walk forwards/backwards Left/Right: Turn left/right Aim while ZR/R is held |
| Aiming | Up/Down: Look down/up Left/Right: Turn left/right |
Up: Power Beam Left: Plasma Beam Right: Wave Beam Down: Ice Beam |
Up: Power Beam Left: Plasma Beam Right: Wave Beam Down: Ice Beam |
Up: Power Beam Left: Plasma Beam Right: Wave Beam Down: Ice Beam |
| Jump / Dodge | Jump Dodge while Lock-On |
Jump Dodge while Lock-On |
Jump Dodge while Lock-On |
Jump Dodge while Lock-On |
| Morph Ball | Enter Morph Ball Mode | Enter Morph Ball Mode | Enter Morph Ball Mode | Enter Morph Ball Mode |
| Shoot Beam | Shoot Beam Hold for Charge Beam |
Shoot Beam Hold for Charge Beam |
Shoot Beam Hold for Charge Beam |
Shoot Beam Hold for Charge Beam |
| Missile | Hold to Toggle Beam select on D-Pad | Fire Missile | Fire Missile | Fire Missile |
| Lock-On / Grapple / Scan | Lock-On Grapple Beam Scan with Scan Visor |
Lock-On Grapple Beam Scan with Scan Visor |
Lock-On Grapple Beam Scan with Scan Visor |
Lock-On Grapple Beam Scan with Scan Visor |
| Secondary Aiming Control | Shoot Beam Hold for Charge Beam |
Reset Gyro Aiming | Hold to Enable Gyro Aiming | Hold for Aiming Mode |
| Additional Actions | Jump Dodge while Lock-On |
Fire Missile | Reset Gyro Aiming | Hold to Enable Gyro Aiming |
| Visor Switching | Combat Visor (Hold X) Power Beam |
Combat Visor | Combat Visor | Combat Visor |
| Visor Switching | Scan Visor (Hold X) Wave Beam |
Scan Visor | Scan Visor | X-Ray Visor |
| Visor Switching | X-Ray Visor (Hold X) Plasma Beam |
X-Ray Visor | X-Ray Visor | Scan Visor |
| Visor Switching | Thermal Visor (Hold X) Ice Beam |
Thermal Visor | Thermal Visor | Thermal Visor |
| Map | Map Screen | Map Screen | Map Screen | Map Screen |
| Pause | Pause Menu | Pause Menu | Pause Menu | Pause Menu |
| Gyro Aiming | N/A | Aim and Turn Fine Aiming during Lock-On |
Aim and Turn while ZR is held | N/A |
Morph Ball Controls
| Action | Dual Sticks | Pointer | Hybrid | Classic |
|---|---|---|---|---|
| Roll | Roll (Up is away from camera) | Roll (Up is away from camera) | Roll (Up is away from camera) | Roll (Up is away from camera) |
| Bomb | Bomb | Bomb | Bomb | Bomb |
| Boost Ball | Boost Ball (Hold) | Boost Ball (Hold) | Boost Ball (Hold) | Boost Ball (Hold) |
| Exit Morph Ball | Exit Morph Ball Mode | Exit Morph Ball Mode | Exit Morph Ball Mode | Exit Morph Ball Mode |
| Spring Ball / Power Bomb | Spring Ball | Power Bomb | Power Bomb | Power Bomb |
| Spider Ball / Lock Camera | Spider Ball (Hold) Lock Chase Camera (Hold) |
Spider Ball (Hold) Lock Chase Camera (Hold) |
Spider Ball (Hold) Lock Chase Camera (Hold) |
Lock Chase Camera (Hold) |
| Additional Morph Ball Actions | Bomb | N/A | N/A | Spider Ball (Hold) |
| Additional Morph Ball Actions | Boost Ball (Hold) | Boost Ball (Hold) | Boost Ball (Hold) | Lock Chase Camera (Hold) |
| Additional Morph Ball Actions | Power Bomb | N/A | N/A | Spider Ball (Hold) |
| Gyro Spring Ball | Spring Ball | Spring Ball | Spring Ball | Spring Ball |
Additional Control Options
Beyond the core control schemes, a variety of fine-tuning options are available:
All Controls
- Swap Beam and Visor: Changes the assignment of visor and beam controls. For Dual Sticks, the D-Pad controls beams and holding X switches visors. For other schemes, the D-Pad controls beams and the Right Stick switches visors.
- Spring Ball Sensitivity: Adjusts the sensitivity for the Spring Ball's "flick" motion. Higher values require less motion.
Dual Sticks Specific
- Swap Beam and Missile: Swaps the functions of the X and R buttons. R becomes the beam toggle, and X fires Missiles.
- Camera: Options include "Stick Only" (default) and "Gyro + Stick", where gyro adds more sensitive camera control.
- Camera Stick Sensitivity X/Y: Adjusts the sensitivity of the Right Stick for camera movement.
- Lock-On Free Aim: When enabled (Gyro, Stick, or Both), allows for fine aiming adjustments of the targeting reticle while Lock-On is engaged.
- Gyro Aim Sensitivity X/Y: Adjusts the sensitivity of the Gyro control for the targeting reticle when enabled.
FAQ
Frequently Asked Questions about Metroid Prime Remastered. Learn about the game's release, timeline placement, saving, controls, endings, and 100% completion requirements.
Q: Just what is _Metroid Prime Remastered_?
A: This is a 2023 remaster to the 2002 action first-person Metroid game from Nintendo by Retro Studios.
Q: How does this differ from the original version as well as the edition of _Metroid Prime_ in the _Metroid Prime Trilogy_ for the Wii and Wii U?
A: Whereas the _Trilogy_ version of _Prime_ was a slight graphics upscale with the addition of Wii controls, _Remastered_ has gone the extra mile with regards to updating the presentation. Models, textures, and effects have all been given a modern "HD" pass and in some cases have almost been completely redesigned to improve on the game's visuals. Also, _Remastered_ has the option of multiple control schemes depending on the player's personal style, including a modern "Dual Stick" control scheme by default.
Q: Where does this game take place in the Metroid timeline?
A: _Metroid Prime_ occurs soon after the events of the original _Metroid_, and before _Metroid II_.
Q: How do I save the game?
A: You need to find Save Stations scattered about Tallon, or return to your Gunship. There are NO checkpoints or auto-saves in this game, so BE SURE TO SAVE MANUALLY before closing the game.
Q: How do I do a Double Bomb Jump?
A: This version carries over with it the "Spring Ball" function that was put in _Metroid Prime Trilogy_. To that end, performing a "Double Bomb Jump" actually only requires one Bomb. Simply hop up while in Morph Ball mode, lay a Bomb in midair, then jump again into the Bomb's explosion.
Q: I'm lost. Where should I go next?
A: Make sure Hints are turned on. After a few minutes of wandering around aimlessly, your suit will give you an alert of where to go next in the story.
Q: How do I get the different endings?
A: Percentage of items collected determines each ending in this game. Time is not factored in to which ending you get. Scans in the Log Book don't count towards that percentage, so you'll still get that good ending even if you missed a scan.
Q: What do I need to have for 100%?
A: You need to find:
- The other four beams: Wave, Ice, Plasma, and Phazon
- The other three suits: Varia, Gravity, and Phazon
- The five Morph Ball upgrades: Morph Ball, Bombs, Spider Ball, Boost Ball, and Power Bombs
- The two additional visors: Thermal and X-Ray
- The Charge Beam
- The Grapple Beam
- The Space Jump Boots
- 250 Missiles (The Missile Launcher and 49 Expansions)
- 14 Energy Tanks (They will complete the line across the bar)
- 8 Power Bombs (The original four and 4 Expansions)
- 4 Beam Combos (Super Missile, Wavebuster, Ice Spreader, Flamethrower)
Q: I'm close to 100%, so I counted up the items I have left to get, and if every item counts as 1%, I'm short one item! Which one am I missing?
A: The Phazon Beam and Suit are counted up as two separate items, despite getting both at the same time.
Tips/Tricks
Discover essential tips and tricks for Metroid Prime Remastered. Learn about controls, scanning, combat, collectibles, and more to enhance your gameplay experience.
Absolutely mess with the controls in the early game to find out what's right for you. if you've played modern FPS games, the default Dual Sticks will probably be the way to go.
Remember that the Spring Ball function exists in this version of the game. Flicking your controller upwards to jump can make things a lot easier than trying to master Bomb Jumps.
There are rooms in the game that can help you out:
- The biggest help is the Save Station rooms. Enter one and you can save your progress and restore your energy.
- Most sectors will also have a Map Station, where you can download a map of your current area.
- There are also a few stations that can refill your Missiles.
- If you go to your Gunship, you'll save, restore energy, and all ammo.
Whenever entering a new room, it's advisable to bring up your Scan Visor and poke around the room. Sure, you may be chomping at the bit for action, but you can miss very important stuff by not taking a breather and scanning. In some cases, you can even limit or eliminate threats in the room by scanning something first. There may seem like a lot of things to scan early in the game, but the concentration tapers off as you progress.
On the subject of poking around, any collectible item will make a low-frequency hum as you get close. Get used to its sound because it might mean a well-hidden Missile Expansion or Energy Tank.
Combat can become hectic and complicated at first, but it's basically a matter of remembering all your abilities. When fighting a bunch of small, fast enemies (such as War Wasps), you can try aiming manually, but it may be better to use your Lock-On for the nearest one, then once it's down, tapping Lock-On again to quickly target the next enemy.
When facing a large or slow enemy, remember your strafing and dodging, because many of the slowest foes can shoot fast and quite straight. You'll have to be the quick, annoying one.
Don't forget your Missiles as a secondary weapon. They track towards your target if you use Lock-On.
Lastly, do not expect the enemies in any particular room to remain the same forever. Often, as a result of collecting items in an area, the rooms will populate with different, sometimes stronger enemies.
As a corollary to that previous tip, if all you need to do is pass through the room, consider ignoring the enemies as they attack you and just speeding to the next room, since they can't pursue you through doors. You may take a small amount of damage, but compare that to the potential energy and Missile loss from fighting everything in your way.
Similar guides you might like





100% Human-Written. Community Verified. Learn how Ludo.guide verifies content