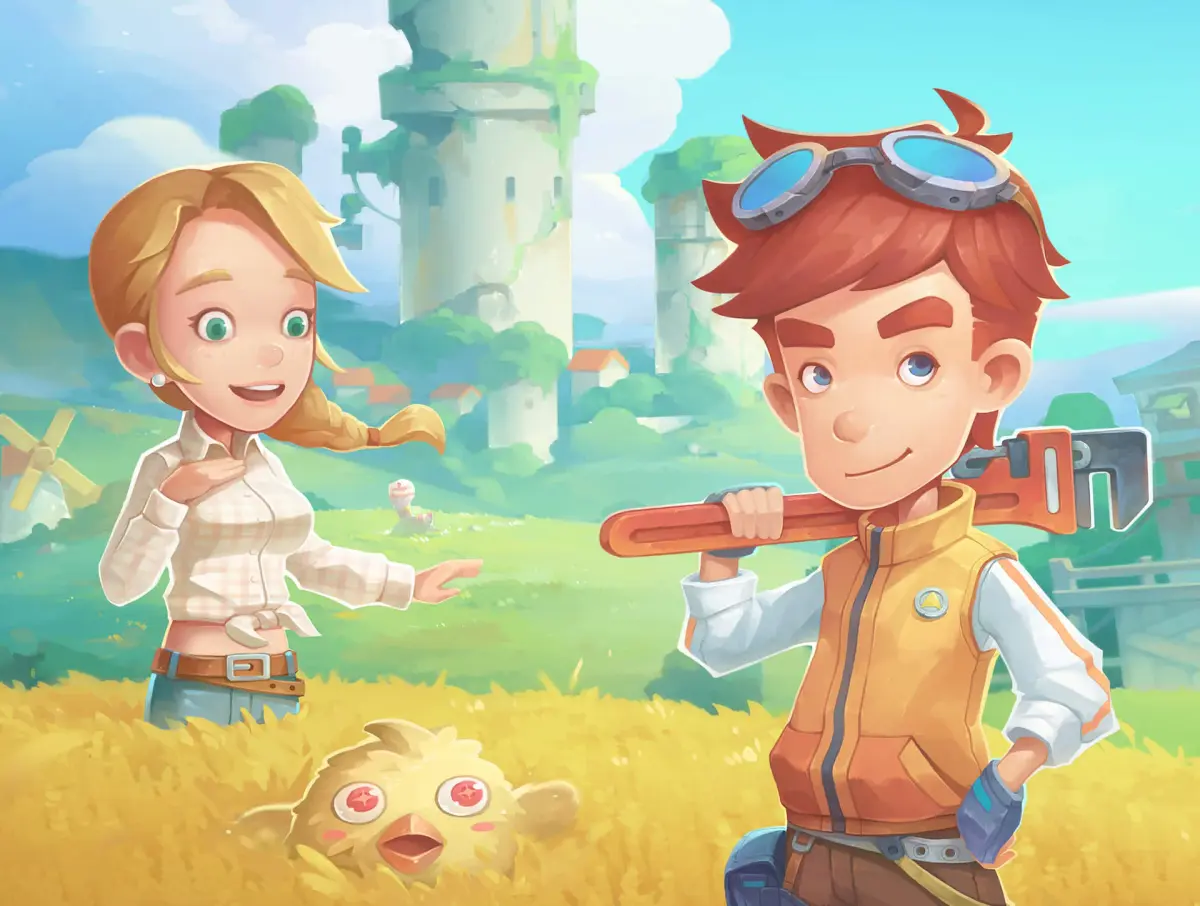
Welcome to Portia! You've inherited your Pa's workshop and are ready to start a new life as a builder. This charming open-world RPG is all about mastering various skills like crafting, farming, fishing, and cooking. You'll be busy building everything from essential items to fulfilling commissions, exploring mysterious ruins, and befriending the colorful townsfolk. It's a game where every day brings new opportunities and challenges.
This guide is here to help you navigate the intricacies of Portia. We'll cover the main storyline quests, making sense of the often overwhelming crafting system with detailed tables and images. Need to build relationships? We've got character profiles and gifting advice. Struggling with specific missions like the Portia Harbor or The First Key, including boss fights like the Piggy-bot 302? We'll break down the required materials, crafting stations, and strategies to help you succeed and become the top builder in town.
Tips and General Advice
Discover essential tips and general advice for My Time at Portia. Learn how to explore, level up your lives, play co-op, and make the most of your adventure.
Hey there, builder! Ready to dive into the wonderful world of Portia? It can feel a bit overwhelming at first, but don't worry, I've got your back. This guide is packed with advice to help you get the most out of your time in this charming town. Think of me as your friendly neighbor, showing you the ropes!
Let's get started on making your Portia experience as smooth and fun as possible.
Here's what we'll cover:
- Making the most of exploration and earning experience (EXP).
- Why trying out different 'Lives' early on is a game-changer.
- How playing with friends can enhance your adventure.
- Balancing the main quest with other activities.
- The importance of visiting key locations like Ginormosia and Treasure Groves.
Explore and Earn EXP
This might sound obvious, but seriously, don't underestimate the power of just wandering around! My Time at Portia really rewards you for exploring. You'll stumble upon all sorts of useful items, encounter different enemies to test your skills against, and discover new areas. All of this helps you level up your character and your various 'Lives' much faster. It's the core loop of the game, so embrace it!
Become a Jack of All Trades
My biggest piece of advice? Try to dabble in as many different 'Lives' as you can, especially early on. Each Life gives you access to unique resources and crafting recipes. This is do-or-die because better crafting means better gear – think stronger tools, more effective potions, and even some cool decorative items for your workshop. Don't get stuck doing just one thing; variety is key to progressing efficiently.
Team Up with Friends (Co-Op)
Got friends who play My Time at Portia? Then you absolutely need to play together! Exploring the world with pals makes everything more enjoyable, from tackling tough bosses to just hanging out and building. Just a heads-up for console players: you'll need an active subscription to services like PlayStation Plus or Xbox Live Gold to play co-op.
Don't Just Stick to the Main Quest
It's tempting to just power through the main story, but trust me, you'll want to mix things up. Take breaks from the main quest to explore other activities. Head over to Ginormosia, work on leveling up your various Lives, or just grind some enemies for materials. If you rush the main story without building up your skills and gear, you'll eventually hit a wall with battles that feel impossible. Balance is key!
Make a Trip to Ginormosia
Ginormosia is this huge island, and it's an absolute goldmine for leveling up and finding rare crafting materials. While you're there, make sure to complete the Shrines scattered around. Doing so will earn you Strangelings, which you can later convert into Buddies to help you out in combat. It's a win-win!
Don't Forget Treasure Groves
As the name suggests, these places are packed with goodies! The best part? The later years in the game are when the Treasure Groves really shine. You'll find the rarest items and face the most powerful enemies there. It's definitely worth the effort to seek them out as you progress.
Keep these tips in mind, and you'll be well on your way to becoming a master builder in Portia!
Mechanics
Navigate My Time at Portia with ease! This guide details all PC controls, UI elements, and map markers to help you master the game.
This section covers the fundamental mechanics of My Time at Portia, including controls, the user interface (UI), and map markers.
Controls
Below are the default PC controls for various actions in the game. Note that some controls may vary depending on your platform or if you have customized them.
| Action | PC |
|---|---|
| Movement | W, S, A, D |
| Dash | SHIFT |
| Camera Movement | RMB |
| Weird Pad | ESC |
| Map | M |
| Examine/Interact/Strike/Dodge | F |
| Attack/Unique Action | LMB |
| Jump/Climb | SPACEBAR |
| Strong Attack | E |
| Unique Interaction/Block (w/Shield equipped) | R |
| Sheathe Weapon | C |
| Select Target | 2 |
| Summon Mount | Z |
| Open Bag | X |
| Greetings | G |
| Chat | ENTER |
| Camera Zoom | N |
| Check Stat Changes | P |
| Life Menu | L |
Understanding the UI
The User Interface (UI) provides essential information at a glance. Here's a breakdown of the key elements:
- 1. Your Life level
- Indicates your current level for your chosen Life (profession).
- 2. Your HP (Health Points) and SP (Skill Points)
- HP represents your health, while SP is used for special abilities.
- 3. Your name and current Life
- Displays your character's name and the Life you are currently pursuing.
- 4. Enemy's HP, name and type
- Shows the health, name, and classification of any enemies you encounter.
- 5. Current objective
- Details your active quest or task.
- 6. Minimap and time of day
- A small map showing your immediate surroundings and the current in-game time.
- 7. Objective's direction
- An indicator pointing towards your current objective.
- 8. Resource's name and level
- Identifies the name and level of resources you can gather.
- 9. Quick Menu
- A menu for quick access to frequently used items or actions.
Understanding the Map
The in-game map uses various markers to denote important locations and points of interest. Familiarizing yourself with these markers will greatly aid your navigation and questing.
Map Markers
- Quest Objective: Indicates the location of your current mission goal.
- Guild Office: The central hub for guild-related activities.
- Armory/Weapon Shop/Armor Shop: Locations to purchase or upgrade weapons and armor.
- Inn: Where you can rest, recover, and sometimes take on jobs.
- General Goods: A shop selling various everyday items.
- Restaurant/Tavern: Places to eat, drink, and socialize.
- Nexus Stone Trader: A merchant specializing in Nexus Stones.
- Life Tools: Shops selling tools specific to different Lives.
- Paladin's Guild: The guild for Paladins.
- Mercenary's Guild: The guild for Mercenaries.
- Magician's Guild: The guild for Magicians.
- Hunter's Guild: The guild for Hunters.
- Blacksmith's Guild: The guild for Blacksmiths.
- Cook's Guild: The guild for Cooks.
- Carpenter's Guild: The guild for Carpenters.
- Alchemist's Guild: The guild for Alchemists.
- Miner's Guild: The guild for Miners.
- Angler's Guild: The guild for Anglers.
- Woodcutter's Guild: The guild for Woodcutters.
- Fish: Indicates a location where fish can be found.
- Tree: Marks a source of wood.
- Ore Deposit: Denotes a location where ore can be mined.
- Enemy: Shows the location of regular enemies.
- Strong Enemy: Highlights tougher enemy encounters.
- Boss: Marks the location of a boss enemy.
- Seal: Indicates a sealed area or objective.
- Personal Request: Shows a personal request from an NPC.
- Personal Request (other Life): Indicates a personal request related to a different Life.
- Travel Spot: A fast travel point on the map.
Tips and General Advice (2)
Unlock your potential in My Time at Portia! Discover essential tips on exploration, leveling up your lives, co-op play, and mastering the game's mechanics for a richer experience.
Hey there! Ready to dive deeper into My Time at Portia? This section is all about giving you those little nudges and pointers that can make a huge difference as you build your life in the workshop. Think of it as getting the inside scoop from someone who's been there!
Explore and Earn EXP: Seriously, don't underestimate this. The game really wants you to poke around every corner. You'll stumble upon all sorts of useful items, find new enemies to test your mettle against, and uncover hidden spots. Doing this is the fastest way to level up both your character and your various 'Lives' (like Carpenter, Miner, etc.).
Become a Jack of All Trades: My biggest piece of advice? Try to dabble in as many Lives as you can, especially early on. Why? Because each Life gives you access to different resources and abilities. You'll need these for crafting better gear, brewing potent potions, and even making your workshop look snazzy with decorative items. It’s all connected!
Team Up with Friends: If you've got pals playing, definitely jump into co-op! Exploring the world together is way more fun, and you can cover more ground. Just a heads-up for console players: you'll need an active subscription to play together online.
The Main Quest Isn't Everything: It's super tempting to just barrel through the main story, but trust me, you'll hit a wall eventually. Mix things up! Head over to the massive island of Ginormosia to really grind out those levels and hunt for rare crafting materials. You'll thank yourself later when you're not getting stomped by enemies that are way above your pay grade.
Ginormosia is Your Grinding Ground: Speaking of Ginormosia, this place is HUGE and perfect for leveling up your Lives and finding those elusive materials. While you're there, make sure to complete the Shrines scattered around. Doing so gets you Strangelings, which you can then convert into Buddies to join your party. More hands make light work, right?
Don't Skip Treasure Groves: These areas live up to their name! Treasure Groves are packed with goodies. The later-game Groves are where the real magic happens, offering the rarest items and the toughest enemies. It's a great place to test your skills and reap some serious rewards.
Prologue
Begin your adventure in My Time at Portia! This guide covers character creation, meeting key characters aboard the ship, and your first objectives to get you started.
Alright, let's get you started on your journey in My Time at Portia! First things first, we gotta make your character. Don't stress too much about the name right now, since you can totally change it later. Just mess around with the customization until you're happy with how they look, then hit that Options button when you're ready.
After that, you'll find yourself on a ship, getting a little intro to this world called Reveria. Stick around for the cutscene – you'll meet Edward and his bird Trip, plus Cooke, who's a super cheerful pink Plushling. Once that's done, you'll get your very first quest: talk to everyone on the ship.
You'll see little pink speech bubbles with '!' on your minimap, pointing you to everyone. Edward and Cooke are right there with you on the front deck, so chat with them first. Then, head towards the back of the ship. You'll find Colm, who's like Cooke but blue, chilling outside the Captain's Cabin. Boyle, the Captain himself, is inside. After that, just climb the stairs on either side of the ship to find Marco and Polo on the back deck. Talking to them will wrap up that objective and give you a new one.
Your next task is to examine the fossil, which is back on the front deck. After a bit of story unfolds, you'll land on a deserted island. Edward will ask you to name it – go ahead and pick whatever you like, you can always change it later. Things get a little wild after that, you'll get separated from your team and end up in some strange rift, landing on a new island. And bam! With the prologue done, you'll snag your first trophy, 'Hello, World of the Past!' – congrats on traveling back in time!
Similar guides you might like






100% Human-Written. Community Verified. Learn how Ludo.guide verifies content