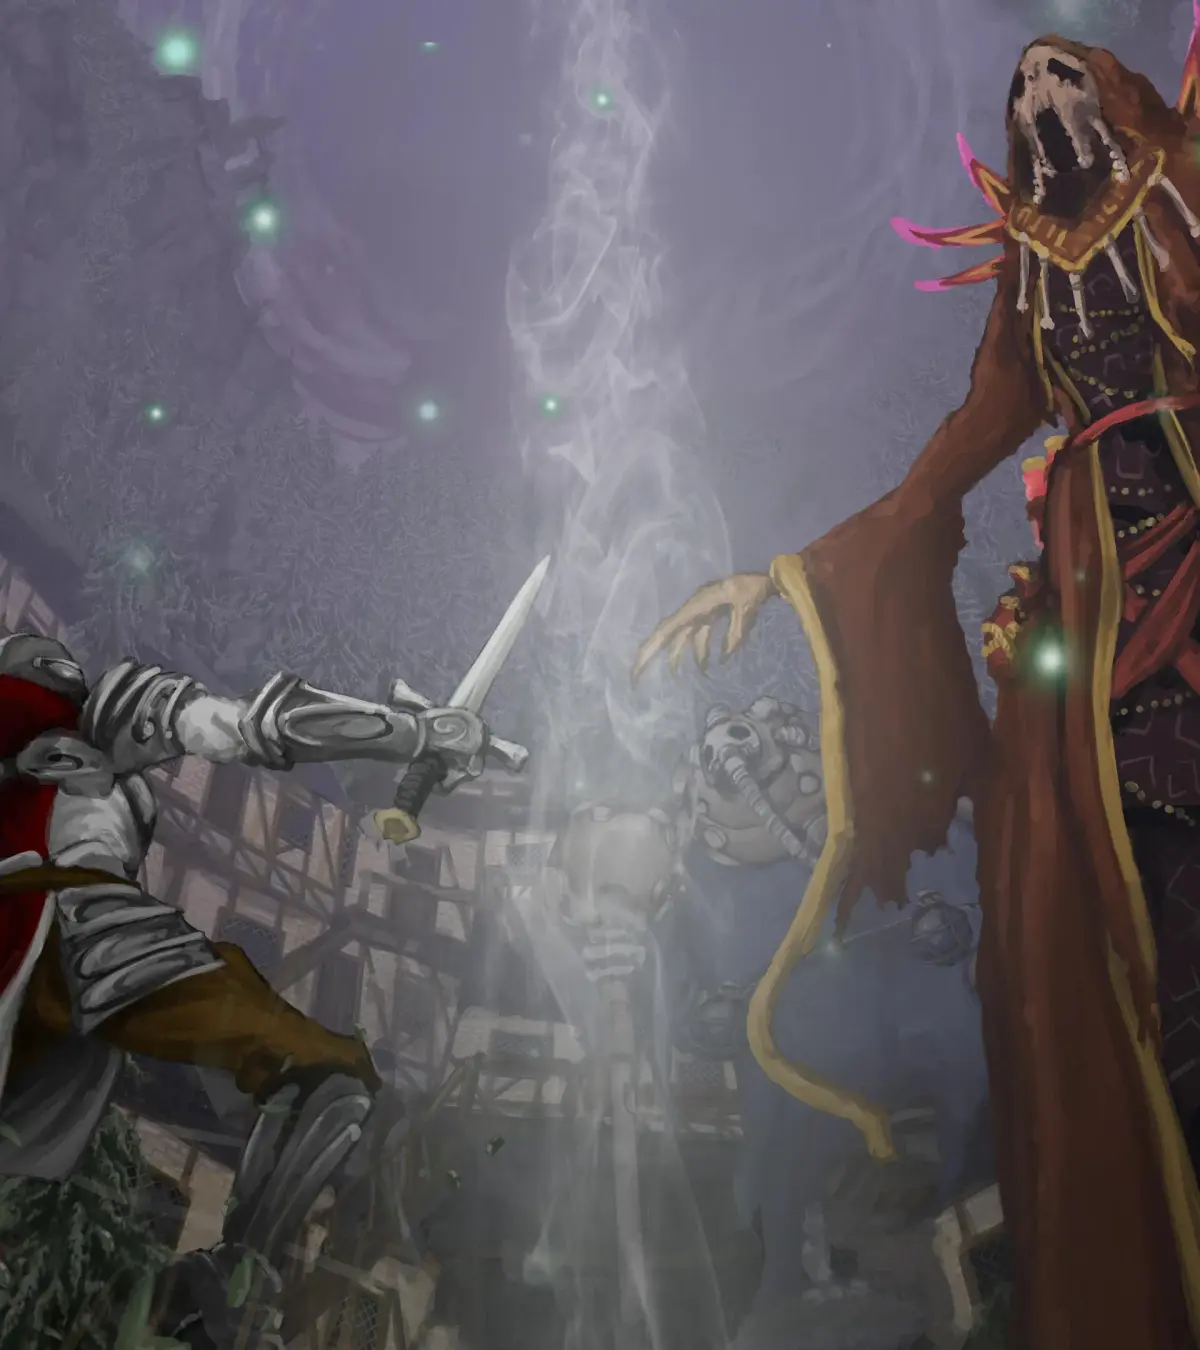
Welcome to Salt and Sacrifice, a challenging 2D action RPG from Ska Studios. You'll be exploring the treacherous Ashborn lands, hunting down powerful Mages who have returned to plague the kingdom. It's a tough world, and survival means mastering combat, crafting, and careful exploration through perilous deserts and other elemental zones.
This guide is here to help you conquer the toughest challenges. We'll cover everything from navigating the desolate Ashbourne Village and its surrounding areas, to taking down those formidable Mages. Whether you're struggling with specific boss fights, trying to find all the secrets, or just want to make sure you don't miss any crucial gear, we've got your back.
Controls
Learn all the essential controls for Salt and Sacrifice, from basic attacks and dodging to using items and parrying. Master your movement and combat with this quick guide.
Hey there! So you're diving into the grim world of Salt and Sacrifice, huh? Don't worry, I've got your back. Let's break down exactly what all those buttons do so you can start smacking those Mages around like a pro. We'll cover the main gameplay controls first, and then we can get into the menu stuff later.
Think of this as your cheat sheet for keeping your character alive and kicking.
| Button | Action | Notes |
| Square | Attack (Melee: Light Attack) | This button is your bread and butter for quick attacks. If you've got a sword or dagger equipped, you'll swing away. If you're rocking a staff for spells, this button will cast your first equipped spell. For bows and magic, you can hold Square to aim your shot or spell. |
| Triangle | Attack (Melee: Heavy Attack) | This is your heavier hit. For melee weapons, it packs more punch but uses more Stamina. If you're using a staff, Triangle casts the second spell you have equipped. Heads up: you only get this second spell slot with a staff equipped. Like Square, you can hold Triangle to aim ranged attacks. |
| Circle | Use/Execute/Confirm | This is your go-to for interacting with the world. Need to open a secret door? Just walk up to it and press Circle. It's also your confirmation button in menus, but we'll get to that later. |
| X | Jump | Simple enough – press X to leap into the air. Handy for dodging or getting over small obstacles. |
| Options | Opens Menu | This brings up your main game menu, where you can check your stats, swap gear, manage your inventory, and all that good stuff. We'll dive deeper into the menu interface separately. |
| Directional Pad (Left/Right) | Cycle Inventory | Quickly scroll through the items and spells you have equipped and ready to use. |
| Directional Pad (Down) | Light Torch (Hold) | Got a torch? Hold Down on the D-pad to light it up. Keep holding until it's fully lit, or it'll just cancel. Essential for those dark, creepy areas. |
| R1 | Use Item/Incantation/Prayer | This uses whatever item, spell, or prayer is currently highlighted in your quick slots (usually shown near your HP/Stamina bar). Make sure the right thing is selected! |
| R2 | Roll | Your primary dodge move! Tap R2 to quickly roll out of danger. If you hold R2 while on a ladder, you'll slide down it. Pro-tip: press Square right after a Roll to do a special 'dodge attack' – it's great for closing distance or catching enemies off guard. |
| L1 | Swap Weapon Set | Quickly switch between your two different weapon loadouts. Super useful in the heat of battle when you need to change your approach. |
| L2 | Block/Use Offhand | Hold L2 to block incoming attacks. This works with shields or even some weapons. If you have a spell or item equipped in your offhand slot, L2 can also be held to aim it, just like Square and Triangle. |
| L2 (Hold) + Square | Parry | This is a high-risk, high-reward move! You need to time it *just* right, pressing L2 and Square together as an enemy's attack is about to land. A successful parry can leave them wide open for a counter-attack. You can parry with shields or certain weapons. |
| Left Analog Stick | Movement | This is how you move your character around the world. Pretty standard stuff! |
| Right Analog Stick | Pan Camera | Use this to look around and adjust your view of the environment. Essential for spotting enemies or finding hidden paths. |
That covers the basics of how to move and fight in Salt and Sacrifice. Keep practicing these controls, and you'll be navigating the treacherous lands and taking down those formidable Mages in no time. We'll cover the menu interface in more detail next!
About this Guide (Please Read)
Learn how this Salt and Sacrifice guide is formatted, including what bold, italics, and blue boxes mean, and understand the author's personal playstyle basis for strategies.
Hey there! Before we dive deep into the treacherous world of Salt and Sacrifice, let's chat for a sec about how this guide is put together. Think of me as your seasoned buddy, walking you through the game. I want you to feel confident, not overwhelmed, so understanding my approach here is key.
You'll notice some formatting choices I've made. If you see a word in bold, it's either a really important detail or a specific item. If it's bold and italicized, that's a clue you're looking at an enemy. And when something is just in italics, it usually points to a location, or sometimes a boss you've already conquered.
I've also used Blue Boxes to highlight clutch stuff. These could be opportunities for trophies, important NPCs you need to chat with, vital info about enemies, or other key points you won't want to miss.
Now, a heads-up: my strategies and suggestions are based on my own personal playstyle. This means what works like a charm for me might not be the perfect fit for you, and that's totally okay! I approach guides the way I like to use them – as a source of ideas and suggestions. I'll walk you through how I tackled situations, hoping it sparks your own brilliant ideas on how to overcome them.
This game demands quick thinking and even quicker reflexes. I've beaten it multiple times with different classes, and while I'll describe my strategies in detail, remember that boss AI can be unpredictable. Sometimes, a suggestion like 'stay in melee range' might be tough to stick to constantly. You'll need to be ready to adapt on the fly!
For all you Archers out there: if I haven't detailed a specific strategy for you in a boss fight, don't worry. It usually means the fight isn't drastically different from what you're already doing. Archers are incredibly versatile, able to handle both close and mid-range combat effectively. Since my strategies cover both melee and long-range approaches, you'll find the advice applies, no matter how you choose to engage.
I really hope this guide helps you on your journey. Let's get started!
About this Guide (Please Read) (2)
Learn how this Salt and Sacrifice guide is structured, what different formatting means (bold, italics, blue boxes), and how the author's personal playstyle influences the strategies provided.
Hey there! Before we dive headfirst into the grim world of Salt and Sacrifice, let's quickly go over how this guide is put together. Think of this as a little heads-up so you know what to expect and why I've made certain choices in how I present information. It’s written from my own experience, so if something doesn't quite click with your playstyle, that’s totally okay!
You'll notice a few formatting cues throughout the guide:
- Words in bold are either super important details or represent an item you can find or use.
- If you see something that's _bold and in italics_, that's a heads-up that you're about to face an _enemy_.
- And when a word or phrase is in italics, it usually points to a specific location we're talking about, or sometimes a boss we've already dealt with.
I also use Blue Boxes to highlight key stuff. These could be chances to snag a trophy, NPCs you should definitely chat with, or do-or-die info about enemies. Basically, anything I think is a big deal gets boxed!
Now, a quick word on my strategies. I write this guide based on how I personally played through the game, and honestly, I approach guides the same way I read them – looking for suggestions to tackle a tricky spot. My advice is what worked for me, and I really hope it sparks some ideas for how you can approach things. This game demands quick thinking and even quicker reflexes, especially against bosses who can often one-shot you. So, while I've beaten the game multiple times with different builds, the strategies are often descriptions of my own fight process. This might mean I suggest something like 'stay in melee range,' but remember, boss AI can be unpredictable, so you'll need to adapt on the fly!
For all you Archers out there: if I haven't detailed a specific strategy for you in a boss fight, it's usually because the approach isn't drastically different from what you've been doing. I actually think Archers are super viable because you can easily switch between a Pistol and a one-handed weapon, giving you great flexibility in both close and mid-range. The strategies are generally written with melee and long-range players in mind, so just apply the advice to your preferred engagement distance.
That's the gist of it! I hope this guide helps you navigate the treacherous lands of Salt and Sacrifice. Let's get going!
- Previous: Introduction
- Next: Controls
Equipment and Inventory
Learn about the Equipment and Inventory system in Salt and Sacrifice. Understand armor slots, weapon sets, charms, spells, and item equipping.
The Equipment and Inventory menu in Salt and Sacrifice can be a bit confusing at first. This guide breaks down each section to help you manage your gear effectively.
Armor and Rings
The first row of your equipment slots is dedicated to armor and rings:
- Head
- Chest
- Hands
- Legs
- Rings (4 slots)
Weapon Sets
The second row contains two "weapon sets," each with three slots. These slots are for your main weapon, offhand, and a third slot for charms, arrows, or spells, depending on your main and offhand choices.
- Main Weapon: Press "X" to open your inventory and select a weapon. Equipping a two-handed weapon defaults to using both hands.
- Offhand: Can be equipped with Wands, Crossbows, or Shields.
- Third Slot: This slot's function depends on your main and offhand equipment:
- With a melee weapon (and not a Crossbow or Wand), you can equip a Charm.
- With a Crossbow or Wand, this slot is for Arrows or Spells, respectively.
- With a Staff, you can equip two Spells.
- With a Bow, you can equip two types of Arrows.
The second weapon set follows the same rules.
Equipped Items
The third row allows you to equip up to 6 items.
Incantations and Prayers
The fourth row is for equipping Incantations and Prayers, with a total of 6 slots available. These are managed on the same line as your items, so having many equipped can make cycling through them in combat challenging.
- Incantations: Magic-based spells with varying effects, such as direct damage (Wildfire), status ailments (Poison Gas), or weapon enchants (Venomous Blade). They have a Magic stat requirement.
- Prayers: Wisdom-based spells often focused on defense, including heals, damage mitigation buffs, and weapon enchants (Holy).
Equipment Notes: Red Lines
You may notice red lines on equipment in your inventory:
- Single Red Diagonal: Typically on weapons, indicating it's difficult to use one-handed. Some Skills can overcome this. Class 5 two-handed melee weapons are only effective when used with both hands. This can be relevant for exploration if you need to use a Torch and a weapon simultaneously.
- Two Red Diagonals (X): Indicates the item cannot be used at all without investing Skill points into the relevant Skill.
Similar guides you might like




100% Human-Written. Community Verified. Learn how Ludo.guide verifies content