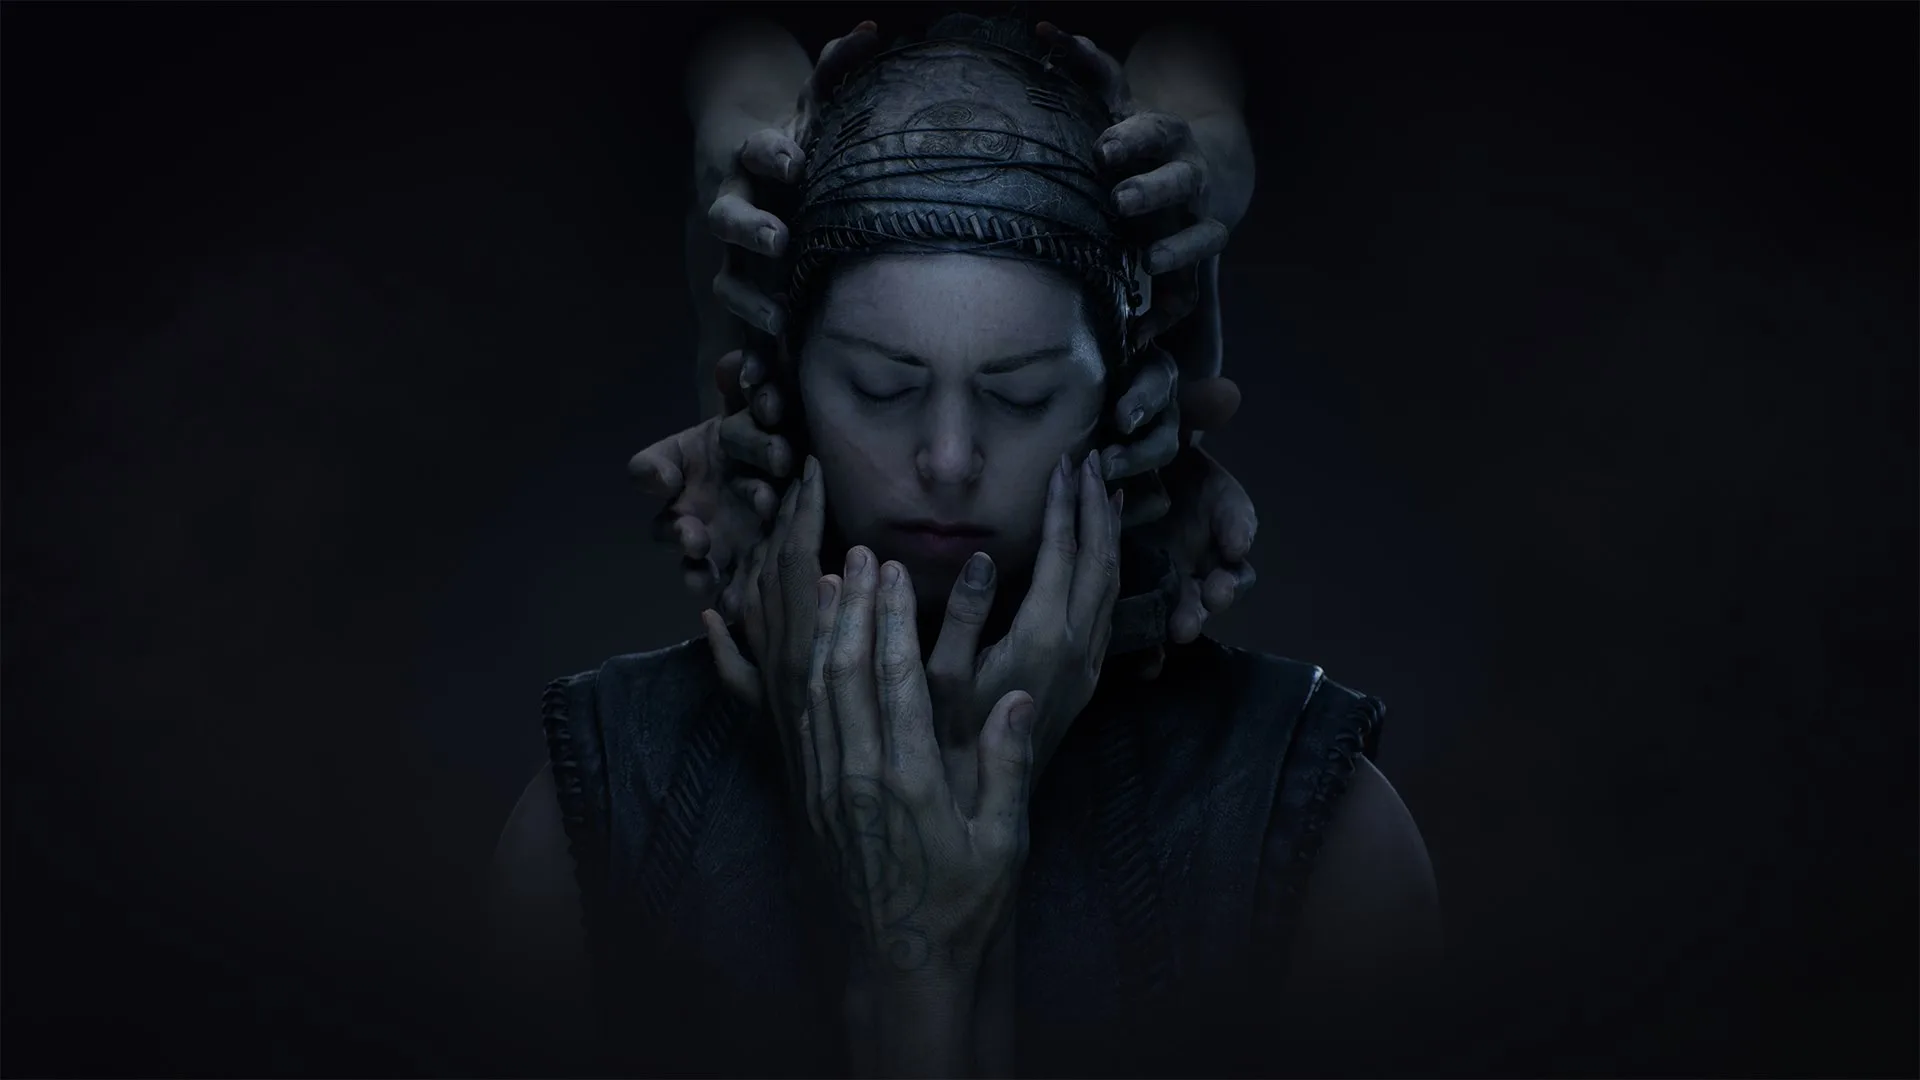
Senua's Saga: Hellblade II throws you into a brutal Norse world as Senua, a Pict warrior on a quest to rescue her son from the Viking gods. You'll be navigating treacherous landscapes, engaging in intense, intricate combat, and uncovering the secrets of the Huldufolk. It's a journey that demands mastery of both Senua's fighting skills and her resilience against the horrors she faces.
This guide is here to help you through every step of Senua's harrowing journey. We'll provide a full walkthrough covering each chapter, ensuring you don't miss any key collectibles like Lorestangir or Hidden Faces. Plus, we'll detail how to unlock every achievement, so you can experience everything the game has to offer.
ᚹᚨᛚᚲ ᚦᚱᛟᚢᚷᚺ
Follow our spoiler-free walkthrough for Senua's Saga: Hellblade II, guiding you through puzzles, lorestones, and combat with expert tips and optional video guides.
Hey there! This guide is designed to help you navigate through Senua's Saga: Hellblade II. It's mostly spoiler-free, so you can follow along without ruining the story. We've got optional video walkthroughs for each section, showing off some slick combat moves and how to solve puzzles and find all the lorestones. Just a heads-up, the main walkthrough videos *do* contain spoilers, so watch those with caution. I'll include timestamps so you can jump to the parts you need without seeing too much story. Boss fight videos are included too, and don't worry, those are spoiler-free!
Here's how we'll mark things:
- Points of no return will be clearly marked with a double horizontal rule (like this:
* * *
). Once you pass these, you usually can't go back to collect things like Lorestones, so make sure you've got everything before you move on. - Tips and explanations for new game mechanics will be in highlighted blocks, like this:
* * * - Specific objectives will be bookended by horizontal rules and a special graphic to make them easy to spot.
- Sometimes, you'll find smaller objectives, like collecting a Lorestone, within a larger one. These will be indented to show they're nested. The objective graphics help you keep track of where each objective starts and ends, so you won't get confused.
Ready to dive in? We'll start with 'The Land of Mist and Fog'.
ᚹᚨᛚᚲ ᚦᚱᛟᚢᚷᚺ (2)
Detailed walkthrough for Senua's Saga: Hellblade II, focusing on the ᚹᚨᛚᚲ ᚦᚱᛟᚢᚷᚺ (2) section. Includes tips, lorestone locations, and boss fight strategies.
Hey there! This guide is designed to help you navigate through Senua's Saga: Hellblade II, specifically covering the ᚹᚨᛚᚲ ᚦᚱᛟᚢᚷᚺ (2) part of the game. We'll keep things as spoiler-free as possible in the text, but be warned: the included video walkthroughs, while featuring expert gameplay, do contain story spoilers. I'll provide timestamps so you can jump to specific objectives without catching too much of the story if you prefer.
The boss fight videos, however, are completely spoiler-free regarding the story, so feel free to watch those without worry!
Conventions Used in This Walkthrough
You'll see a few special markers:
- A double horizontal rule (like the one below) indicates a point of no return. Once you pass this, you usually can't go back to collect Lorestones in the previous area. If there's a rare exception, I'll point it out.
***
- Sections explaining new game mechanics or offering tips will be in shaded blocks, like this one.
***
- Specific objectives will be clearly marked with graphics at the beginning and end, like the ones below. This helps you see exactly when an objective starts and finishes.
***
- Sometimes, you might find a Lorestone or another collectible while working on a main objective. These 'nested' objectives will be indented to show they're part of a larger task. The objective markers will help you keep track of where the main task ends versus when a nested one begins.
***
Keep an eye out for these markers as we go through the guide. Now, let's move on to the next section: The Land of Mist and Fog - ᛋᛖᛖᚲ.
The Land of Mist and Fog - ᛋᛖᛖᚲ
Follow our walkthrough for The Land of Mist and Fog in Senua's Saga: Hellblade II, detailing Lorestone locations, rune puzzles, and progression through the early game.
- 1The game begins with a 7-minute cutscene of Senua rowing her canoe, introducing her story and circumstances. You can only control the camera during this segment.
- 2Upon gaining control, you'll approach a stone monolith. A ring of runes will appear around it. This is Lorestone 1/4. Approach it and press R2 while aiming at the center to collect it.
- 3Continue forward along the linear path. You will encounter a log that Senua automatically climbs over.
- 4You will reach swampy water. Senua can move through shallow water without issue; there is no swimming mechanic.
- 5The path leads to a beach overlooking an island with a wooden dragon, representing Helheim. Continue under a bridge (Gjallarbrú).
- 6After passing under the bridge, turn left into the rocks. Lorestone 2/4 is located at the base of a waterfall.
- 7Head up the stone stairs to the right of the Lorestone and climb the ladder using the Interact button (default is R2, but can be set to Triangle). This guide assumes Triangle is used for interaction.
- 8At the top of the ladder, proceed through a small tunnel and across a wide beam. Senua will automatically walk across safely.
- 9On the other side, a wooden platform marked with white paint indicates a jump-down point into a cave. This is a point of no return for collecting previous Lorestones.
- 10Follow the cave to a door with a glowing red rune. Approach the rune to trigger a vision of Druth and initiate the Rune puzzle.
- 11To solve the Rune puzzle, you need to find an object in the environment that matches the shape of the rune on the door. Red runes will appear on screen as you get closer to the correct object, turning white when you are looking directly at it. Aim at the correct shape and hold R2 to focus and activate the rune.
- 12The first rune puzzle is located back down the hall, in an area where sunlight shines through a ceiling hole. The specific object to focus on is described as being in this sunlit area.
- Lorestones provide lore from Norse mythology and are the only missable collectibles. Listen to Druth's stories by staying close to the Lorestone until he finishes.
- The Interact button (default R2, recommended to set to Triangle) is used for climbing ladders and activating runes. Ensure your preferred button is set consistently.
- Long sections without combat are common; engage with the story to enjoy the game.
- The game features environmental storytelling and atmospheric effects; pay attention to the voices and visuals.
Valravn - The God of Illusion - ᚺᛖᛚᚨᛋ
Guide to Valravn, the God of Illusion, in Senua's Saga: Hellblade II. Learn about combat, puzzles, lorestones, and boss strategies to overcome this challenge.
- 1Approach the door with the Valravn symbol to begin.
- 2Continue forward until you see a small tunnel. Before entering, find Lorestone 1/5 in stone ruins to the right.
- 3Enter the tunnel and proceed to a stone door with a Valravn seal. Focus on the seal (R2) to activate the puzzle.
- 4Follow the path to a draw bridge. Interact with the fastener to lower it.
- 5Across the bridge, find a ring made of sticks and weeds. Looking through it reveals the Valravn seal door disappearing. Walk through the ring to make the stone wall disappear, then proceed through the revealed tunnel.
- 6Go through the tunnel and up a stone staircase, then climb a ladder.
- 7At the top, proceed through a large wooden door. Turn left and attempt to open another wooden door. This triggers a combat encounter.
- 8Combat Encounter:
- If Valravn is fought first: 6 swordsmen appear one at a time. Practice combat here; you can reset the encounter by pausing and exiting to the main menu after defeating 5 enemies. Back up your save to avoid accidentally finishing the fight.
- 9If Surt was fought first: You will face tougher enemies, starting with a swordsman, then two swordsmen, then a swordsman and a mace wielder, followed by another pair of swordsman and mace wielder. You will have the focus ability.
- 10After combat, proceed through the door. You'll find another door with a Valravn seal that cannot be opened directly. Focus on the seal (R2) to activate the puzzle.
- 11To the right of the door are two red trees. Walk behind them to find a hole in the wall. Pass between the trees to make the hole permanent, then go through it.
- 12Follow the path as it curves left, leading you onto a balcony overlooking the door. Climb over a small obstruction.
- 13From the balcony, position yourself so the three hanging raven symbol parts align to match the Valravn symbol on the door. Focus (R2) to lock them in place and unlock the door. Be patient, as the seals can be finicky.
- The order of fighting Valravn and Surt affects enemy difficulty.
- The first combat encounter is a good place to practice combos and combat mechanics.
- The raven seal puzzle may require some trial and error to align correctly.
Similar guides you might like

100% Human-Written. Community Verified. Learn how Ludo.guide verifies content